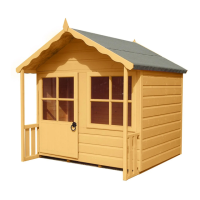
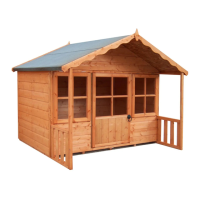
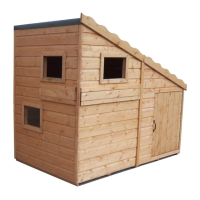
Do you have a question about the Shire Platform For Stork and is the answer not in the manual?
Essential safety instructions and precautions for using the playhouse, including protective gear and supervision.
Recommendations for preparing a level and firm base, and proper positioning to ensure stability and safety.
Details of the 10-year anti-rot warranty, including conditions and exclusions for the playhouse.
Guidelines for caring for the playhouse, including maintenance, and information on recycling materials.
A visual guide to all screws and fixings required for assembling the playhouse, with quantities and sizes.
An illustrated list of all individual parts included in the playhouse kit, with dimensions and part numbers.
An exploded view diagram showing how the playhouse components fit together, with part number callouts.
Key checks, tools, and preparations required before commencing the assembly of the playhouse.
Constructing the base frame using top rails and deck supports, ensuring a square shape for the decking.
Adding more top rails and deck supports to the base frame, preparing it for the decking layer.
Attaching the four legs to the main structure, ensuring they are correctly positioned and secured.
Fitting the bracing pieces to the structure to reinforce its stability and integrity.
Positioning and attaching the floor decking onto the assembled frame, ensuring proper alignment.
Securing the main deck boards to the frame, ensuring they are level and evenly spaced for a flush finish.
Preparing the platform rails by drilling holes for attaching the ladder and other components.
Attaching platform rails, noting potential removal of bracing if the ladder is fitted in a corner.
Fixing platform rails and posts, ensuring the bottom is level with the decking and trimming as needed.
Attaching the front rails to the posts and securing the posts to the rails, ensuring the assembly is square.
Fixing the rails to the deck and the posts to the roof, ensuring the entire structure is square and true.
Positioning and securely attaching the ladder to the playhouse structure.
| Brand | Shire |
|---|---|
| Model | Platform For Stork |
| Category | Play Sets & Playground Equipment |
| Language | English |