Do you have a question about the Shire Pixie and is the answer not in the manual?
Details recommendations for preparing a level and firm base for the playhouse.
Outlines the terms and conditions of the 10-year anti-rot warranty.
Attaching hinges, ring handle, and wooden knob to the door.
Trimming door corners and attaching hinges to the frame.
Rebating the window insert for EN71 safety compliance.
Trying window insert position and attaching hinges to the panel.
Positioning window inserts and screwing them into place.
Fitting casement stays to window inserts and fixing pins.
Assembling the back and side wall panels to the floor.
Adding and fixing remaining wall panels to the structure.
Fixing front and back gable panels to the main structure.
Pushing safety vents into holes in the back gable panel.
Positioning and nailing roof framework to roof panels.
Cutting centre roof framework pieces for the roof peek.
Placing roof panels on the building and aligning them.
Holding and nailing roof panels together and to walls.
Positioning and fixing roof panels by nailing into walls.
Fitting cover strips at each corner using nails.
Attaching veranda posts to veranda rails to create mirror images.
Attaching L brackets to each veranda rail.
Aligning, marking, and trimming veranda posts to the underside of the roof.
Positioning and fixing the rail assembly and L bracket to the roof and wall.
Fitting felt strips over the roof edging and ridge.
Fitting fascia pieces and flat bottom diamonds.
Removing protective film and fitting plastic glazing with beading.
Attaching the roller catch to the door and door frame.
Fixing the walls to the floor using screws.
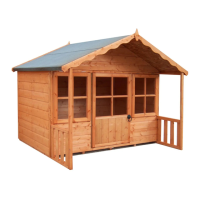
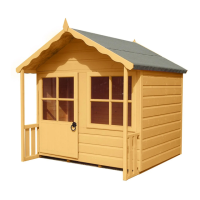
| Brand | Shire |
|---|---|
| Model | Pixie |
| Category | Play Sets & Playground Equipment |
| Language | English |