E N
Nome file:
7540028EN - CUSTOMER MANUAL SF15_200 TOP EN.docx Rev. 1 12/06/2017
11-28
Please remember that water must be conveyed to the product through an appropriate pump (Fig. 10).
Fig. 10
Make sure the product is positioned in a place where noise generated during normal operations does not
create disturbances.
The product must run in a horizontal position. Make sure its position is not altered once it is correctly
placed.
The product must be positioned in a shady and aerated place.
5.6 Connections and start-up.
The product must be installed and operated by individuals with appropriate training.
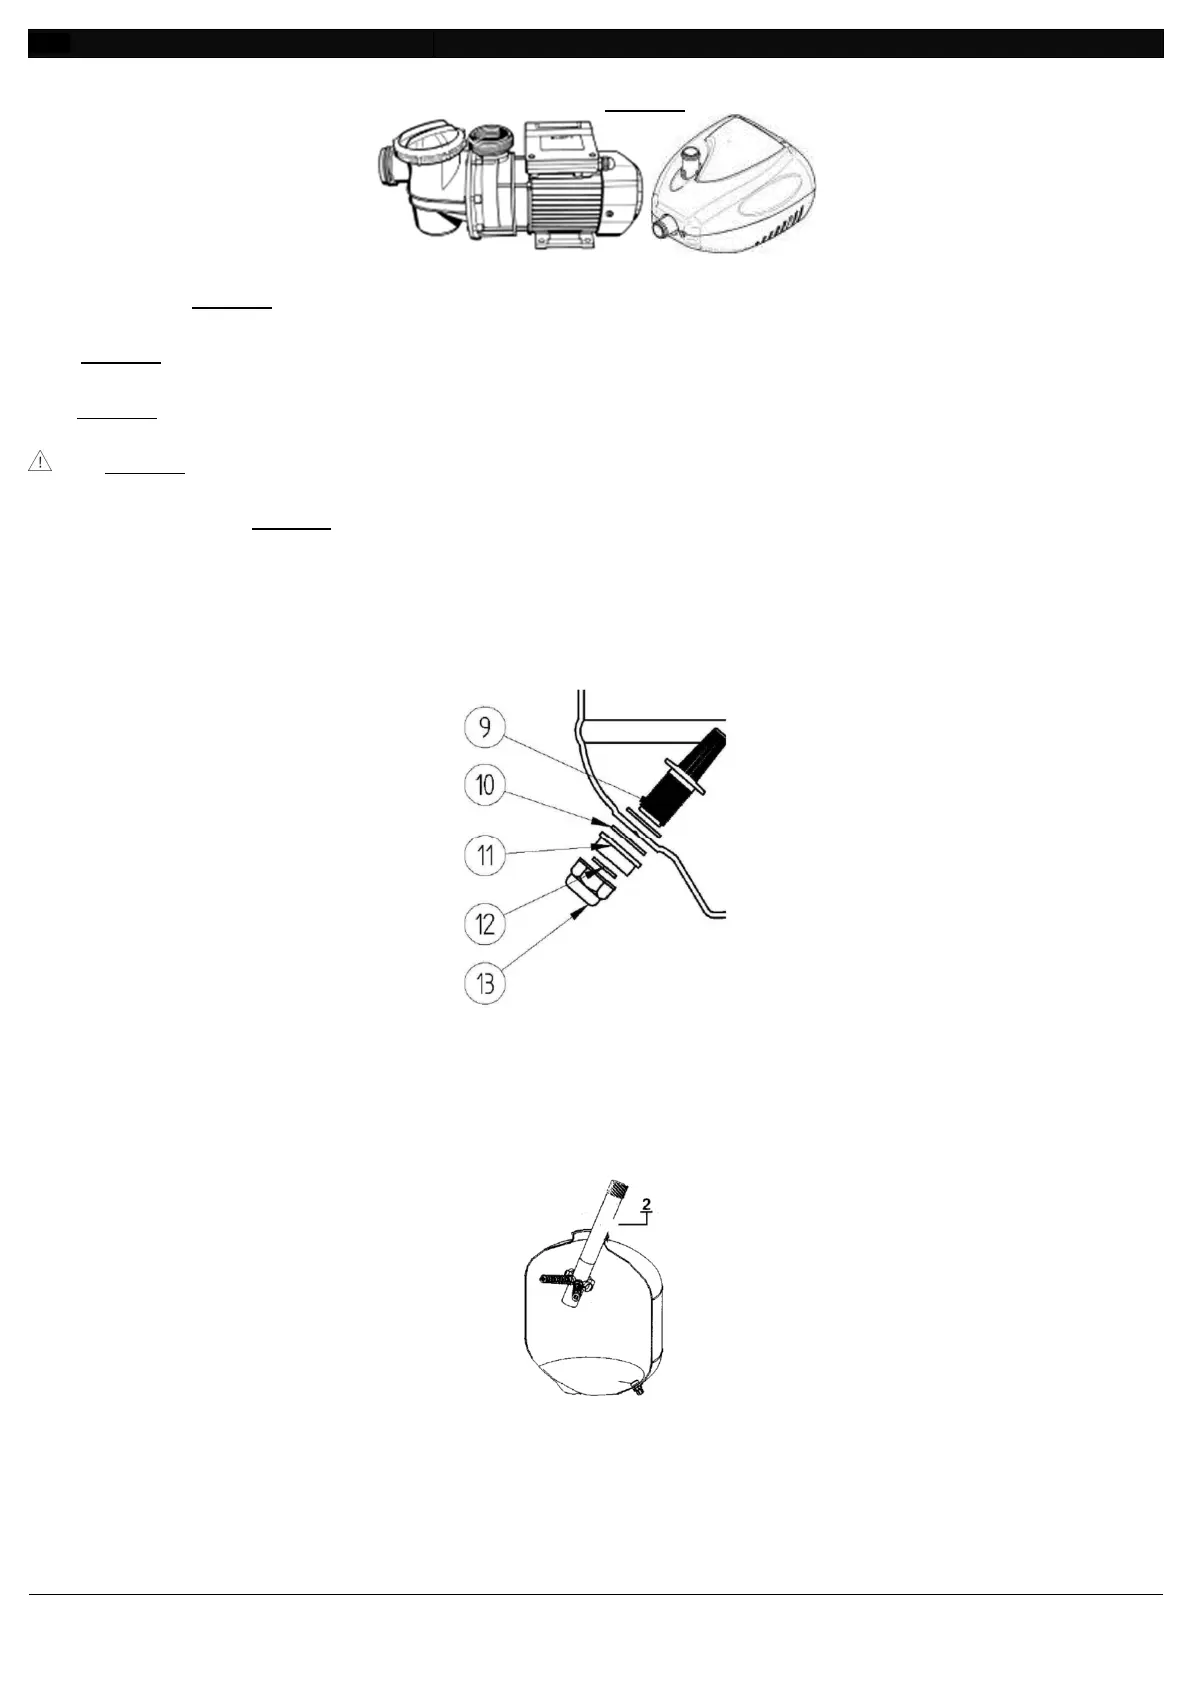
Drain Tap assembling.
5.6.1
Before mounting the product assemble the special water drain tap. (Fig. 11).
The components that form the drain tap are:
9. Tap Body.
10. Tap’s O-Ring couple. One is to be
applied internally and the other one
externally.
11. Closing Ring.
12. Lid’s O-Ring.
13. Lid.
Fig. 11
Filter assembling.
5.6.2
Once the drain tap is mounted on the tank paying attention that all the o-ring are well applied you can
proceed with the Filter assembling.
1. Insert diagonally the tube with the diffuser body inside the filter as shown in the Fig. 12 and
subsequently mount the plugs on the diffuser body.
Fig. 12
2. Place the diffuser complete with the tube underneath the tank. Refill the tank with water until the
first line you can see on the tank (Fig. 13). This procedure give stability to the diffuser.
 Loading...