5 / 27
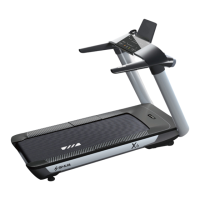
Step 4:
Use Open Spanner to fix #5, #7 into console, and screw it tight.
Notice: When setting #5, #7 into console, please note the position of buckles at both side. Put it gently into plastic
parts of console. And it takes 2 persons to screw it.
03
07
05
17
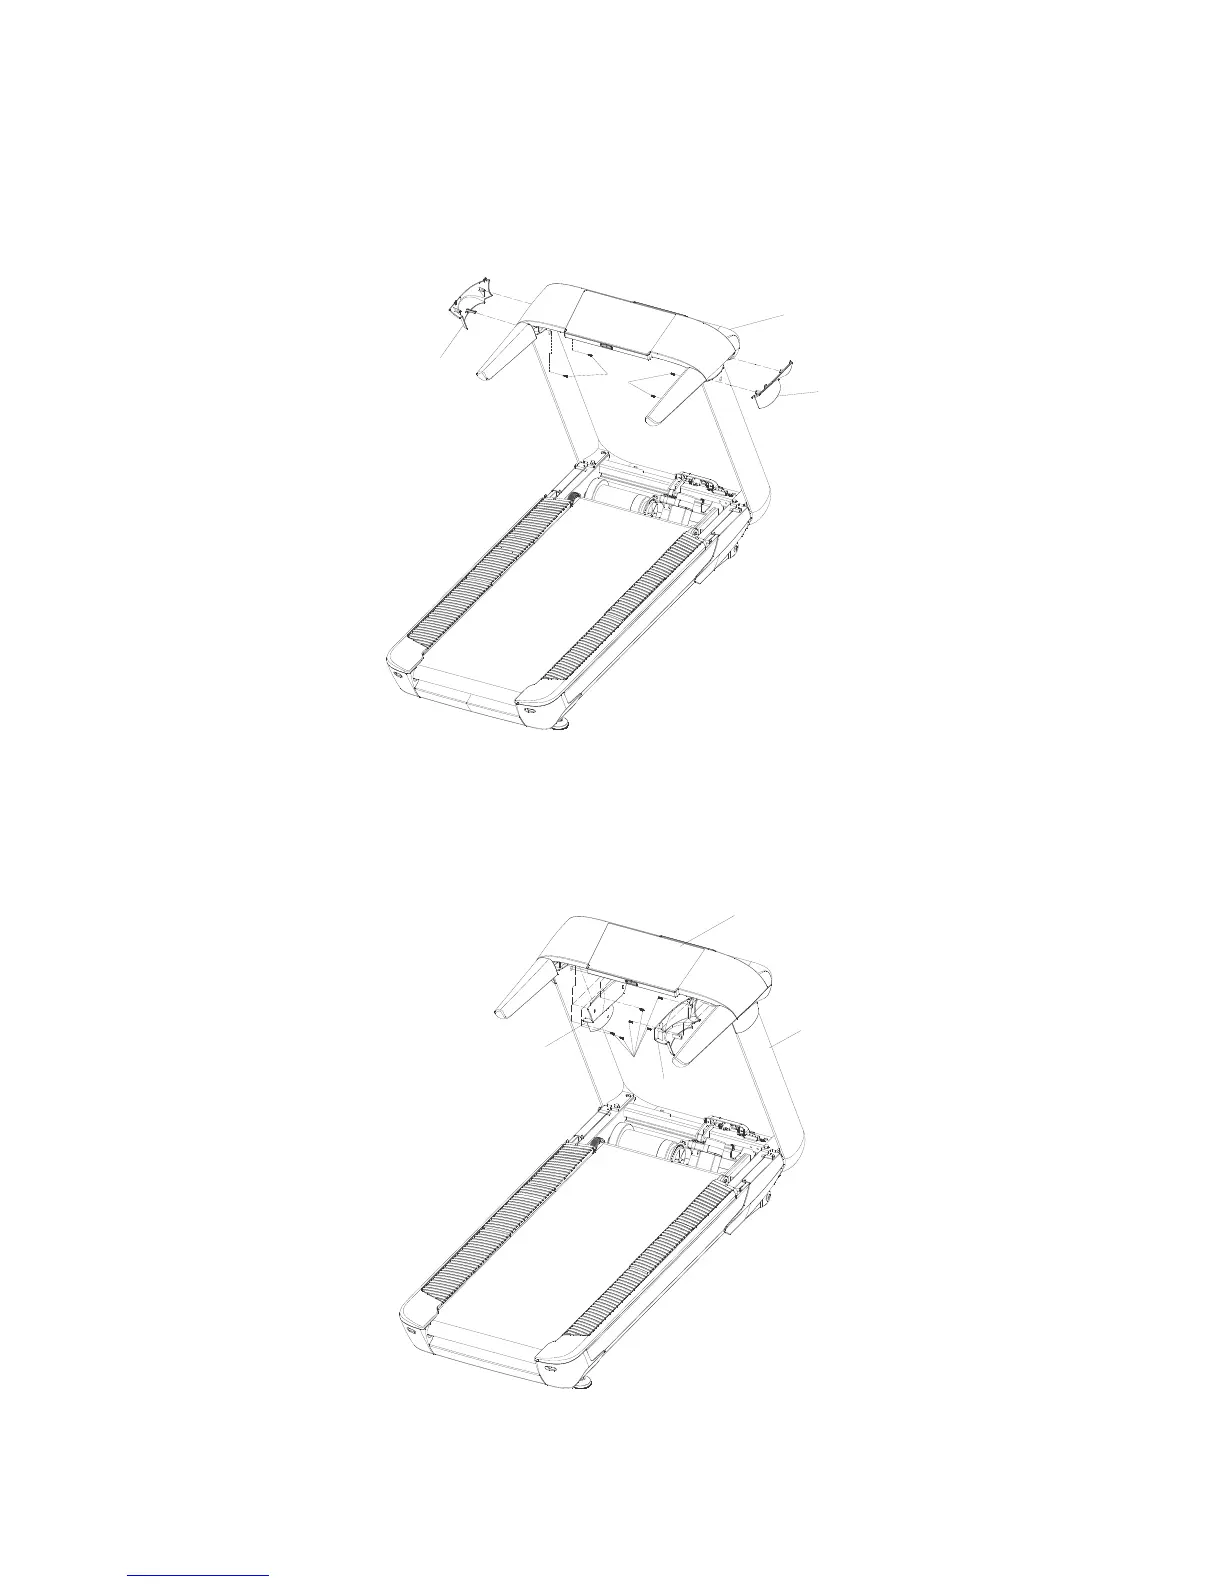
Step 5:
Use PH Screw Driver to fix #6, #8 into console, and connect #5, #7. Finally, screw it tight.
Notice: When setting #6, #8 into #5, #7, please note the front buckle. And do not press the wire, screw it after
buckle settled.
03
02
17
06
08
 Loading...