Shure Incorporated
6/27
1.
2.
Securing the Devices
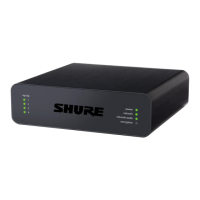
Use the included screws from the mounting hardware kit to secure the Audio Network Interfaces. Audio Network Interfaces can
be mounted to face either direction. Insert the screws from the bottom in the appropriate holes, according to the following dia
grams:
Align the holes as shown for securing a single device in the single-unit mounting tray
Align the holes as shown for securing up to 3 devices in the 19" rack tray.
Rack Ear Configuration
A combination of up to 3 Audio Network Interfaces can be mounted in a single 19-inch rack space. The adjustable rack ears
support mounting in a standard equipment rack or underneath a table.
Standard 19" Rack Mount
Align the ears with the mounting holes pointed forward.
Install the 3 screws that hold the ear to the tray as shown.


 To Next Page