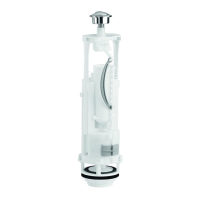
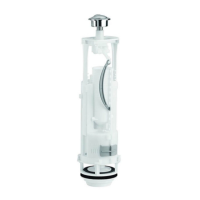
I - PREPARING THE MECHANISM
II - INSTALLATION
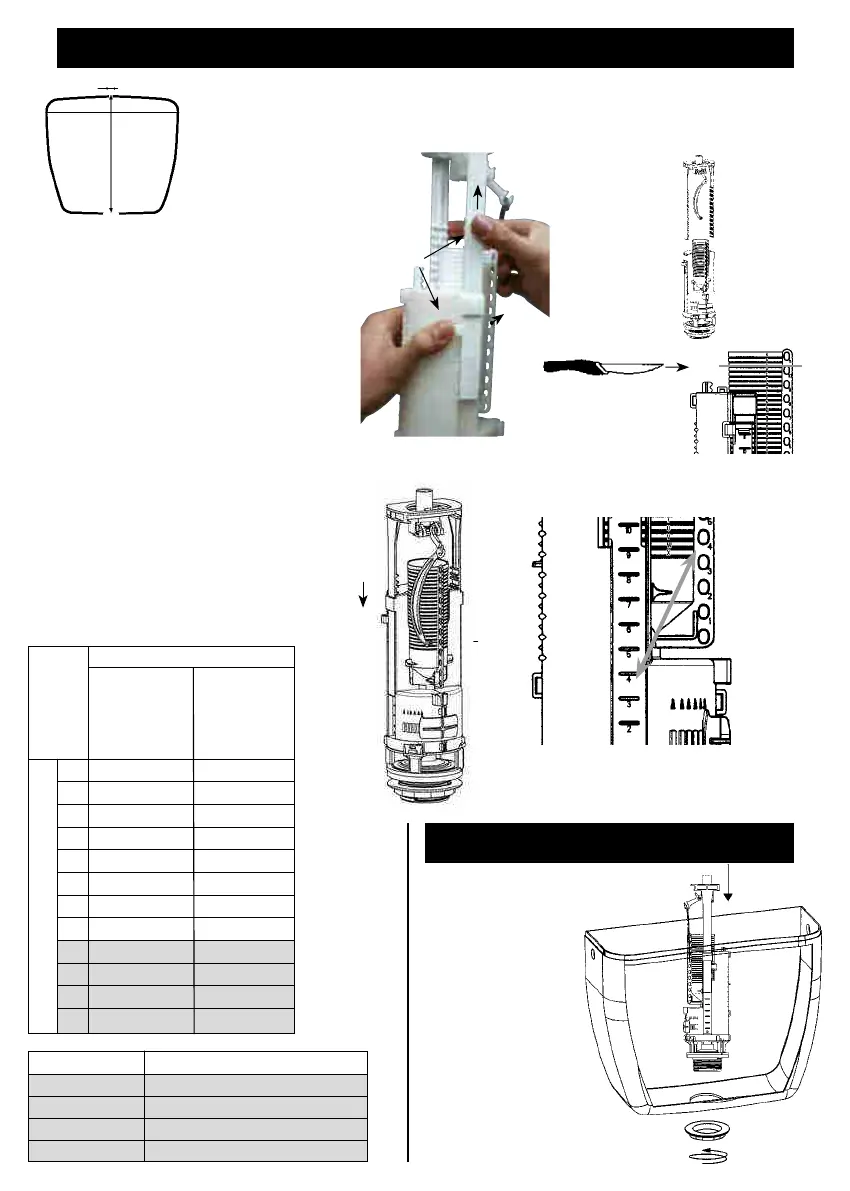
Check the position of the stirrup
If the stirrup (m) is correctly positioned
on the basis of the below table, proceed
to step
➏
. Otherwise, carry out all of the
following steps:
➊
Unclip the lift rod (c)
➋
Remove the stirrup (m) , by pressing on
the two catch clips (k)
➌
Cut the overflow (l) if necessary according
to the table
➍
Reposition the stirrup in its seat and slide
it to the required position (desired setting
notch number visible)
➎
Clip lift rod (c) back into the hole of the
overflow (l) which has the same number as
that of the setting notch
➏
Unscrew the strainer nut (f)
Measure the cistern
-H (from the top of the lid to the inside base of the cistern)
-D (diameter of the hole in the lid)
Height H of cistern
Diameter D Diameter D
of hole in lid of hole
18 to 38 mm in lid
and 38 to
45 to 50 mm 44 mm
11 430 to 417 448 to 435
10 416 to 405 434 to 423
9 404 to 393 422 to 411
8 392 to 381 410 to 399
7 380 to 369 398 to 387
6 368 to 357 386 to 375
5 356 to 345 374 to 363
4 344 to 333 362 to 351
3 332 to 321 350 to 339
2 320 to 309 338 to 327
1 308 to 297 326 to 315
Mini
296 to 282 314 to 300
No. of notch visible on lift rod
H
D
➌
➍
➎
Stirrup notch Cut on overflow tube
3 C mark visible
2 F mark visible
1 I mark visible
Mini L mark visible
Position the mechanism
in the cistern and secure
it in place with the nut (f)
Manually screw the
flush valve nut (f) until
it is in contact with
the ceramic. If
necessary give an
extra quarter turn
(maximum) with the
appropriate spanner.
NB : Excessive
tightening can damage
the mechanism and
would not be covered by
the guarantee.
➊
➋
➊
+
➋
=
Visible stirrup notch
no. 4 = position of lift rod no. 4
 Loading...