Do you have a question about the Siamp OPTIMA 50 and is the answer not in the manual?
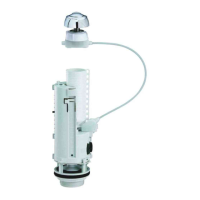
Secure the flush valve mechanism in the cistern using the nut, with a recommended maximum extra turn.
Fix cistern screws, position the latex gasket on the nut, and secure the cistern to the bowl with wing nuts.
Place the button on the lid, screw the nut, clip the cable, and then place the lid back on the cistern.
Separate the mechanism by turning 90°, change the valve gasket, reposition the mechanism, and close the cistern.
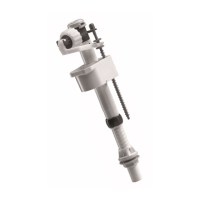
Instructions for positioning, fastening, connecting water supply, and adjusting the float valve for Robeco 06 and Standard 15EL.
Instructions for positioning, fastening, connecting water supply, and adjusting the float valve for Compact 95L.
Instructions for positioning, fastening, connecting water supply, and adjusting the float valve for Compact 99B and Handy 93B.
Maintenance procedure for 95L and 99B float valves, involving membrane and filter components.
| Brand | Siamp |
|---|---|
| Model | OPTIMA 50 |
| Category | Control Unit |
| Language | English |