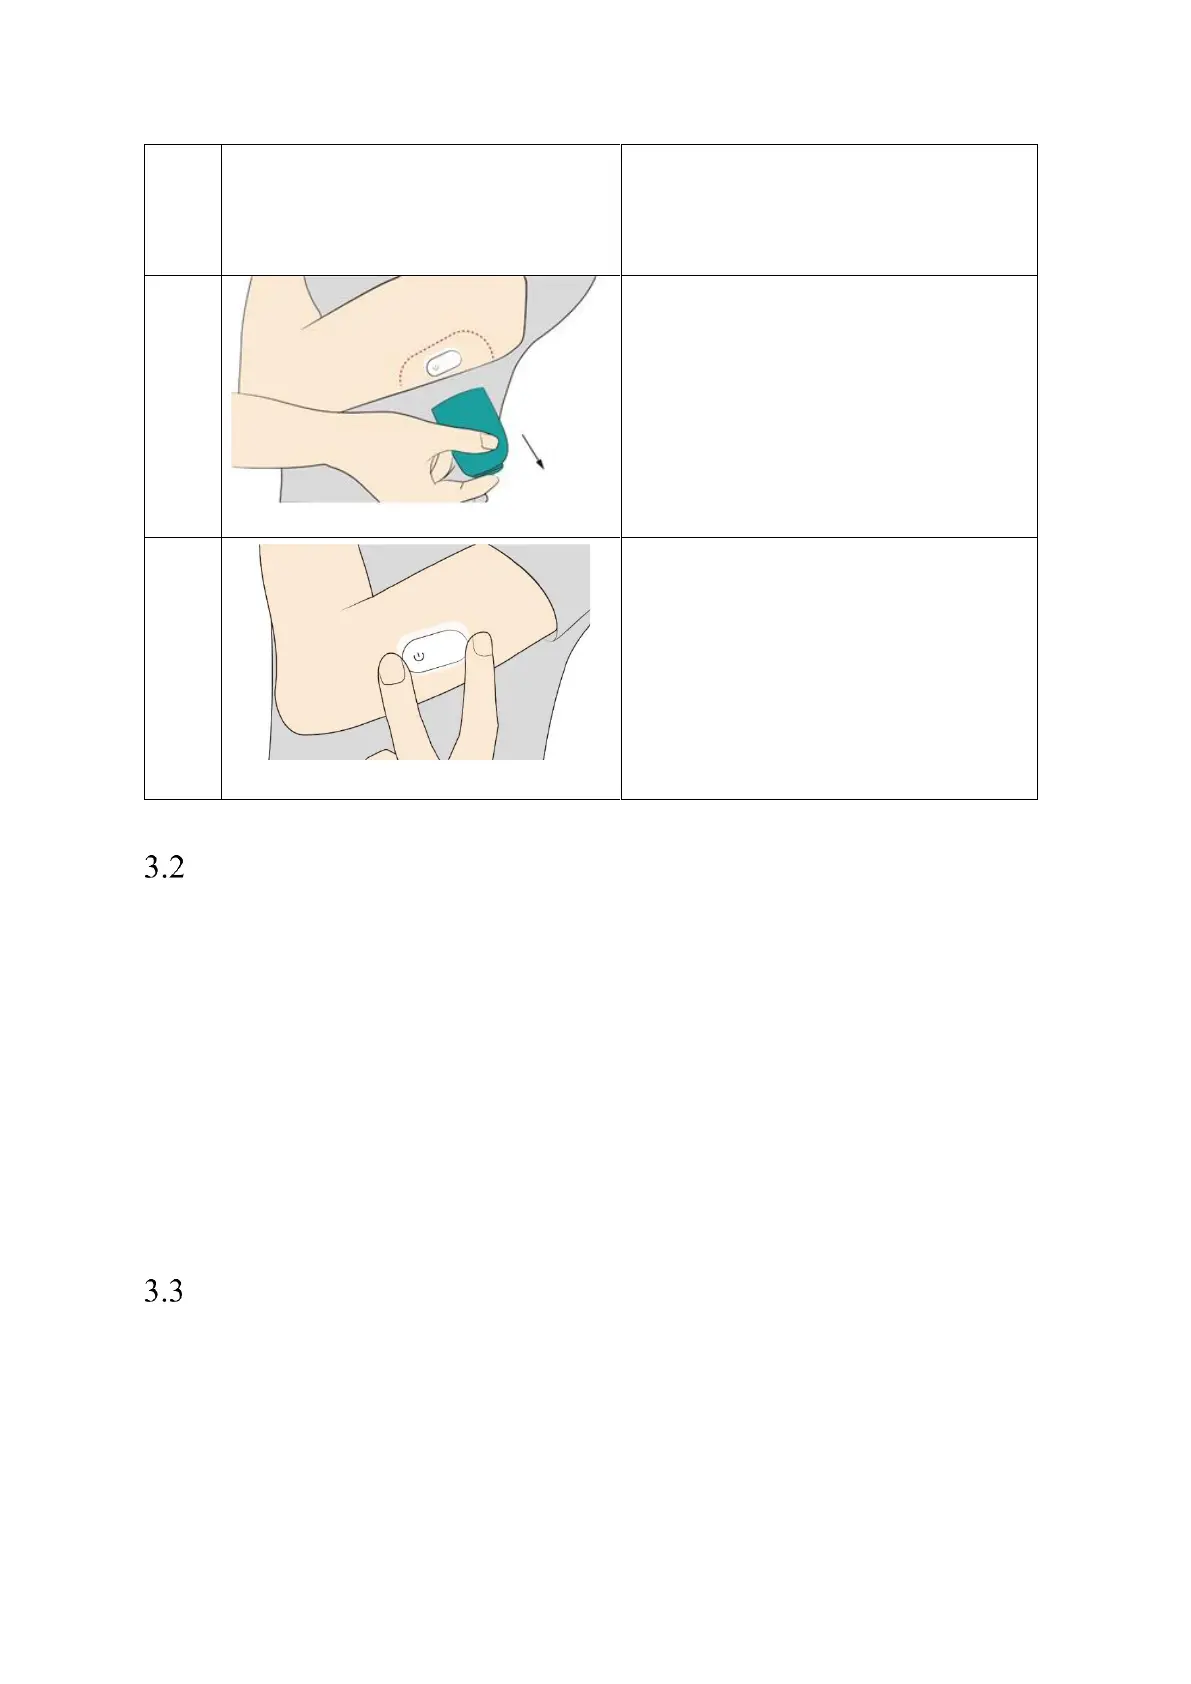
Gently pull the Sensor Applicator away
from your body. The Sensor should now
be attached to your skin.
Note: Applying the Sensor may cause
bruising or bleeding. In case of persistent
bleeding, remove the Sensor and contact
your professional healthcare team.
Make sure the Sensor is secure after
application.
Note: Use your phone to communicate
with the Sensor right after application.
This will help prevent the built-in lithium
battery running out of its power before
the end of 14-day Sensor wear.
Starting Your Sensor
After the application of a new Sensor, start the Sensor by using the App. For more details on
how to start the Sensor, see section 4.4 Pairing Your Sensor.
In the App, scan the QR code on the container box or manually enter the 8-digit code which is
printed under the QR code so that the Sensor is started.
Note:
Once a new Sensor is started, the App will display a countdown until the end of warm-
up period and an alarm that the first glucose readings will be obtained within 60
minutes.
Turn on the Bluetooth on the phone so that the phone/App can communicate with the
Sensor.
Removing Your Sensor
1. Pull up the edge of the adhesive that keeps the Sensor attached to the skin. Slowly peel
away from the skin in one motion. Rubbing alcohol around the adhesive can facilitate
the removal of the Sensor.
Note: Any adhesive residue on the skin can be removed with warm, soapy water or
isopropyl alcohol.
2. Discard the used Sensor following the directions from your healthcare provider. See 8 -


 To Next Page
 Loading...