© Arc Euro Trade Ltd, England 2012
- 2 -
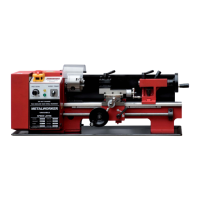
The Sieg C3 Mini Lathe is currently one of the most popular small
lathes available to model engineers today.
The C3 has a swing of 180mm (90mm centre height) and is
350mm between centres. The spindle has a through bore of
20mm and an MT3 taper whilst the camlock tailstock taper is
MT2. The standard 80mm 3 jaw self centring chuck is mounted
directly to the spindle fl ange which will also accommodate an
80mm 4 jaw independent chuck, an ER25 collet chuck or an
ER32 collet chuck directly on it’s ø55mm register. A larger 100mm
chuck may be fi tted using one of our C3 (adaptor) backplates, but
we do not recommend the use of a chuck larger than 100mm.
Power is provided by a 350w brushed DC motor which is
electronically controlled to give a speed range of 100-3000 rpm
with the aid of a 2 speed gearbox. The Sieg C3 is also fi tted
with a spindle speed display and is available in both metric and
imperial options.
This picture story guide is designed to help you dismantle,
reassemble, lubricate and make the proper adjustments to your
lathe.
Before dismantling your C3 mini lathe, you should read through
the entire guide and assess that you have the required equipment
and skills to complete the task. For instance, some operations
require the use of a lathe and you can’t use your C3 if its all in
bits!
Although not expressly stated at each stage in this guide, every
part is thoroughly cleaned in a paraffi n type solvent before
reassembly.
For lubrication, we recommend Molyslip HSB grease (ARC code:
170-100-10300), and a good quality lubricating oil such as Rock
Oil HLP 32 Hydraulic Oil (ARC code: 170-150-00400). We do not
recommend using automotive engine oil or 3-in-1 oil.
Please note that Sieg also manufacture the C2 and C2A mini
lathes which are smaller variations of the C3 and will have some
construction differences. There are also other factories in China
making mini lathes similar to the C3 so these will be different
again.
1. The lathe out of the box and we are ready to start work.
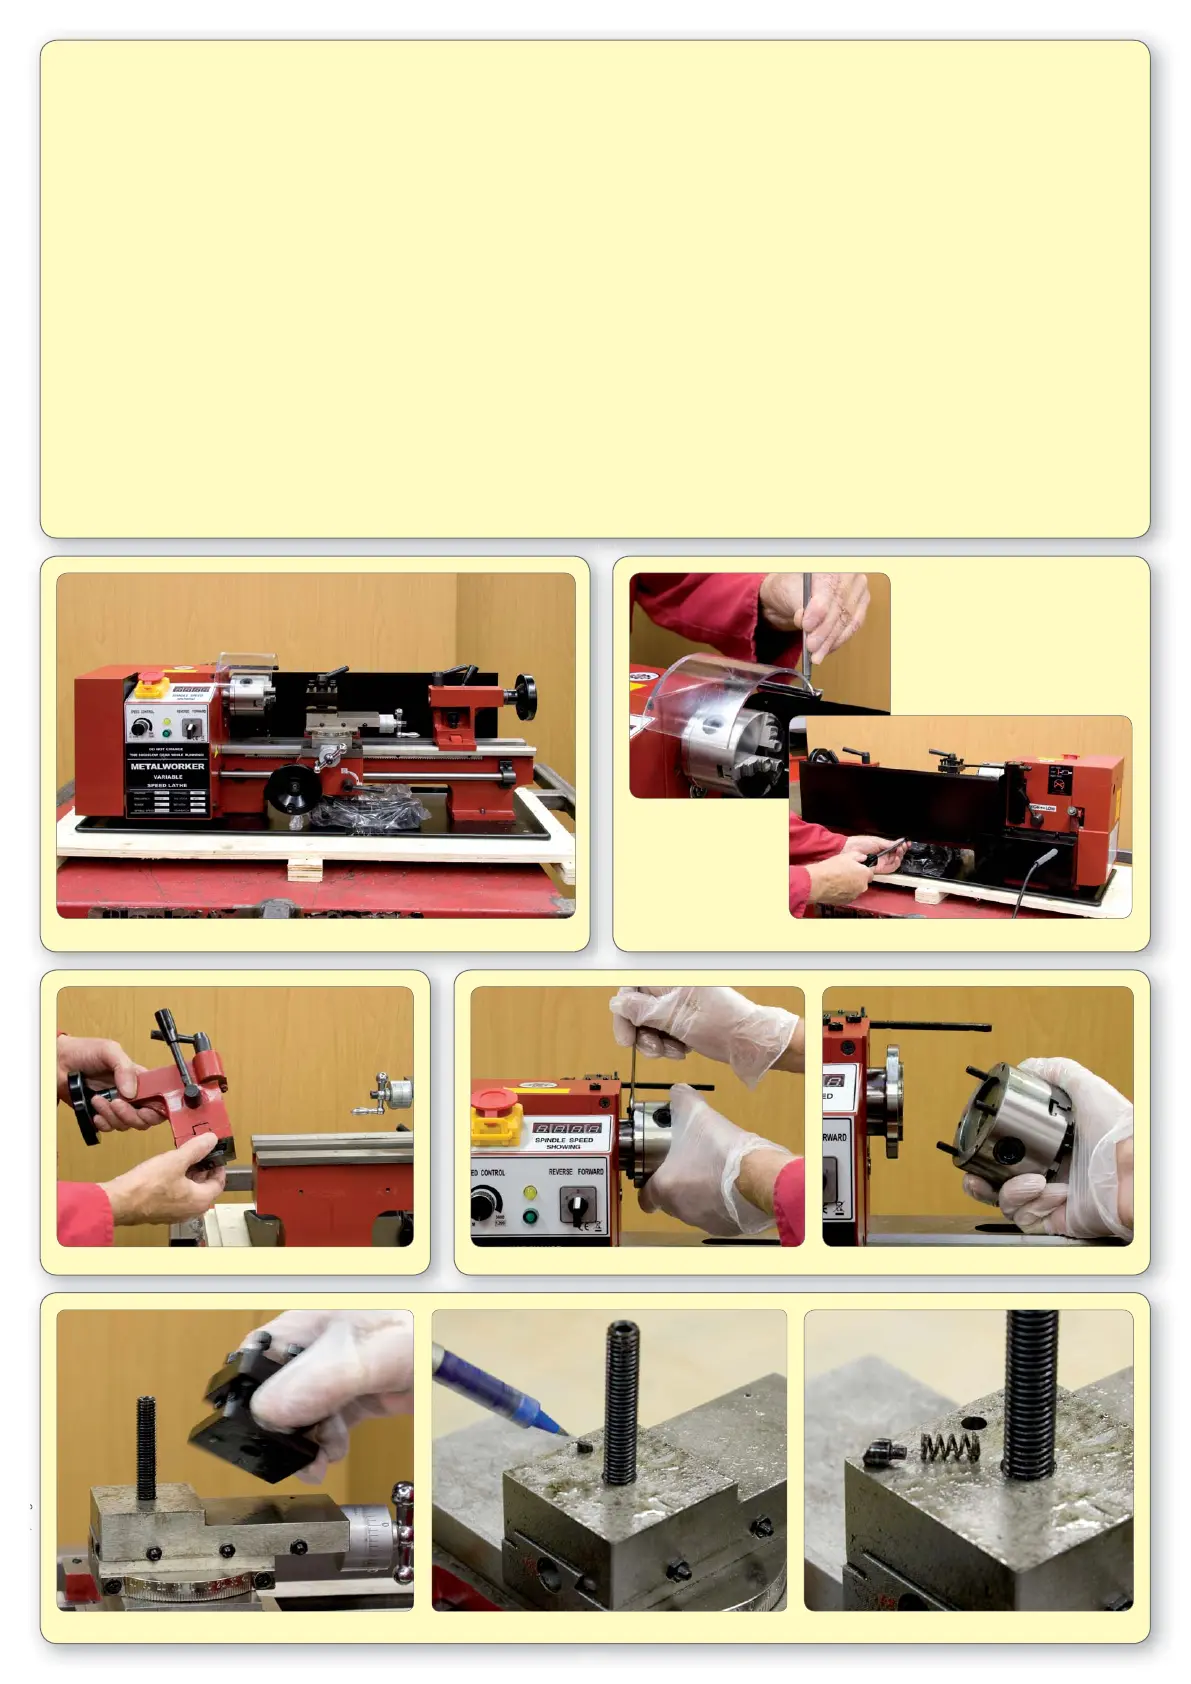
2. Remove the chuck guard and rear splash guard.
3. Remove the tailstock. 4. Remove the chuck.
- 2 -
5. Remove the tool post and remove the indexing plunger and spring and keep in a safe place.
PLEASE READ THIS FIRST
 Loading...