Do you have a question about the Siemens EQ.700 integral and is the answer not in the manual?
WARNING – Risk of suffocation from packaging material. Keep away from children.
Incorrect installation is dangerous. Connect to a properly installed earthed socket.
Repairs only by trained staff. Use genuine spare parts.
Never immerse appliance in water. Avoid spills on plug connections.
Appliance becomes hot. Ensure adequate ventilation. Do not use in cupboards.
Some parts become very hot. Never touch hot appliance parts.
Freshly prepared drinks are very hot. Do not let liquids/steam contact skin.
Improper use endangers the user. Be careful of fingers when closing the door.
Appliance contains magnets affecting electronic implants. Maintain 10 cm distance.
ATTENTION! Risk of damage. Use in frost-free rooms. Wait after transport below 0°C.
Remove foils, clean parts. Use suitable beans; avoid glazed/caramelised.
Use water filter to minimize limescale and impurities. Insert/replace as instructed.
Configure settings for initial start-up after connecting to power. Follow display.
Customize grinding level. WARNING: Risk of injury. ATTENTION: Risk of damage.
Check for faults. Pull out and re-insert mains plug.
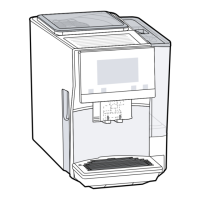
Check bean container, coffee shaft, brewing unit, and beans.
Check milk tube immersion and descale for limescale.
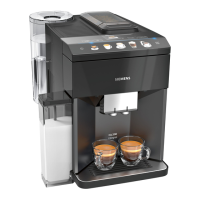
Ensure milk system assembled correctly and milk tube immersed.
Clean milk system in dishwasher.
Check water filter for air or limescale blockages.
Appliance may be too hot. Disconnect from mains, wait 1 hour to cool.
Check bean type (oily beans), tap container, clean container.
Adjust grinding level, check for limescale, or air in water filter.
Check if brewing unit is inserted correctly and securely locked.
Check water tank insertion, carbonated water, float, or water filter.
Brewing unit may be soiled or stiff. Clean the brewing unit.
Check for faults. Pull out and re-insert mains plug.
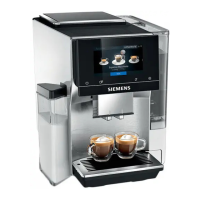
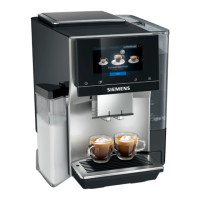
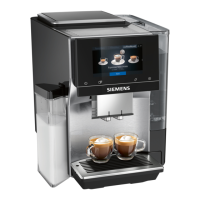
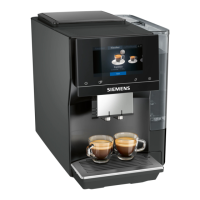
| Milk Frother | Yes |
|---|---|
| Adjustable Coffee Strength | Yes |
| One-Touch Functions | Yes |
| AromaDouble Shot | Yes |
| Milk System | Integrated |
| Display | Yes |
| Grinder | Yes |
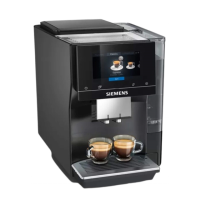
| Color | Black |
| Dimensions | 380 x 315 x 470 mm |