en Familiarising yourself with your appliance
14
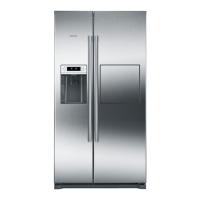
Over-and-under and side-by-side
installation
If you want to install 2 refrigerating
appliances one over the other or side
by side, you must maintain a clear-
ance of at least 150mm between the
appliances. Selected appliances can
be installed without a minimum clear-
ance. Ask your dealer or kitchen
planner about this.
4.3 Installing the appliance
▶ Install the appliance in accordance
with the enclosed installation in-
structions.
4.4 Preparing the appliance
for the first time
1. Remove the informative material.
2. Remove the protective foil and
transit bolts, e.g. remove the ad-
hesive strips and carton.
3. Clean the appliance for the first
time. →Page19
4.5 Connecting the appliance
to the electricity supply
1. Insert the non-heating appliance
plug of the power cable into the
appliance.
2. Insert the mains plug of the appli-
ance's power cable in a socket
nearby.
The connection data of the appli-
ance can be found on the rating
plate. →Fig. 1 /
3. Check the mains plug is inserted
properly.
a The appliance is now ready for
use.
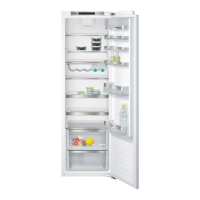
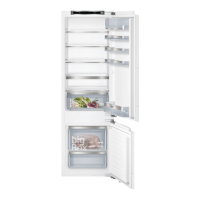
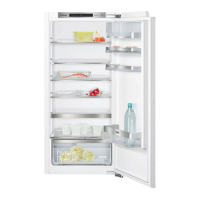
5 Familiarising yourself
with your appliance
5.1 Appliance
You can find an overview of the parts
of your appliance here.
Note:Deviations between your appli-
ance and the diagrams may differ
with regard to their features and size.
→Fig. 1
Control panel →Page14
Bottle shelf →Page15
Storage container
→Page15
Fruit and vegetable container
with humidity control
→Page15
Rating plate →Page24
Butter and cheese compart-
ment →Page16
Door storage compartment
for large bottles →Page16
5.2 Control panel
You can use the control panel to con-
figure all functions of your appliance
and to obtain information about the
operating status.
→Fig. 2
switches Super cooling
on or off.
sets the temperature of the
refrigerator compartment.
lights up when the alarm is
switched on.
Displays the set temperature
for the refrigerator compart-
ment in°C.
 Loading...