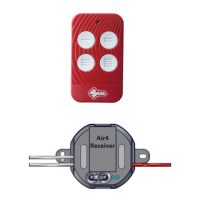
Air 4
Receiver
English
Copyright Silca S.p.A 2019. All right reserved
4
INSTALLATION
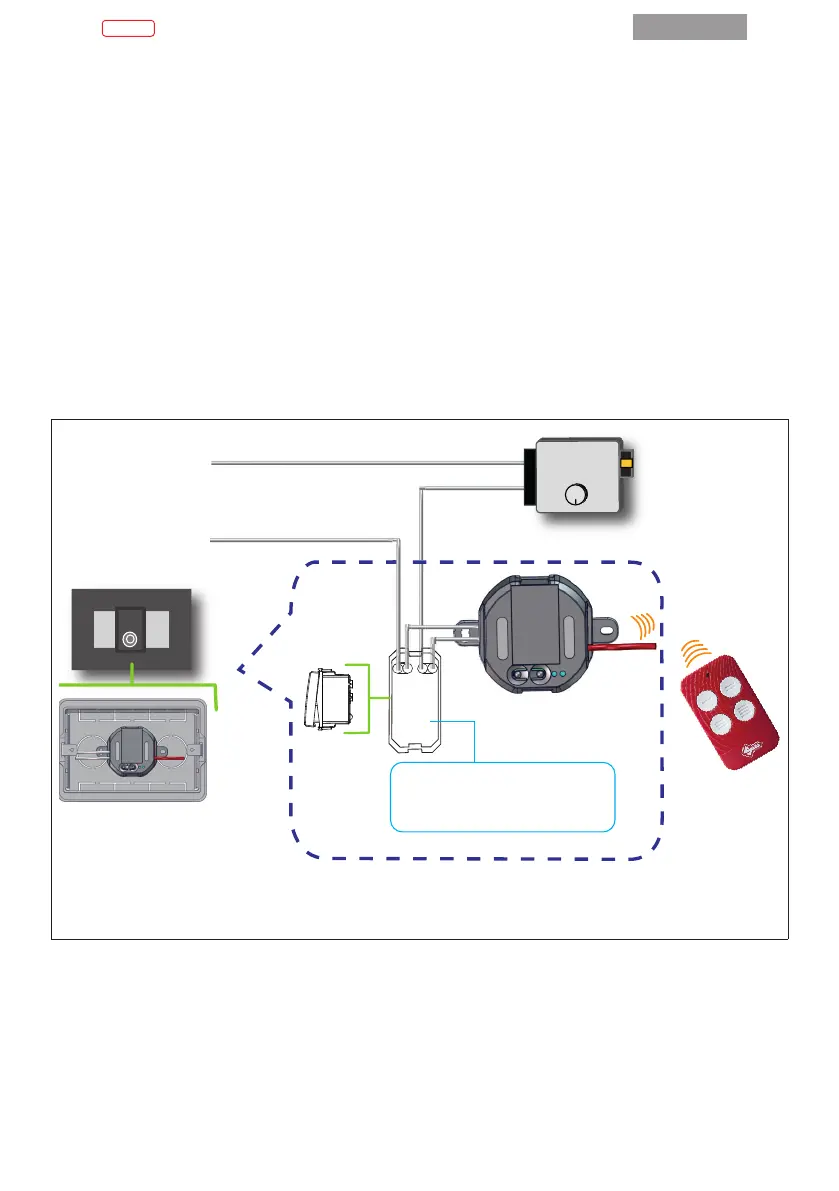
The Air4 receiver is easily installed and uses the remote control provided to open 12V and 15V electric
locks (pedestrian gates, building entrance doors, etc.).
The receiver is sold with a Silca AIR4 V remote control (frequency 433-868 MHz). The code for the
Air4 receiver is already memorised on bu on ‘1’ ( Fig.2) and bu ons 2, 3 and 4 are blank, ready to be
programmed for other automated systems (gates, garages, barriers etc.).
Where to install the Air4 receiver
The receiver can be installed inside the box housing the door-opening switch for the gate or door.
Note: the receiver can also be installed outdoors, near the lock to be opened, in which case it must be
placed in a water ght box.
How to install the Air4 receiver - Switch off the electricity supply
Connect the two wires (white - Fig.1/F) on the receiver to the exis ng door-opening switch (parallel to
the wires already connected to the bu on) ( Fig.2)
12V - 15V
Air4
Receiver
1
2
3
4
IT - Particolare del retro del pulsante
EN - Detail of the back of the door
opener button
FIG.2
N.B. Take care that the receiver antenna wire is not rolled up and/or bent; it must be as straight as
possible to provide the best signal range.
Switch on the power supply. The Silca Air4 Receiver is now ready to work.