Silicon Graphics
®
O2
™
and Silicon Graphics
®
Octane
™
R12000 CPU Upgrade Information
007-3725-002 15
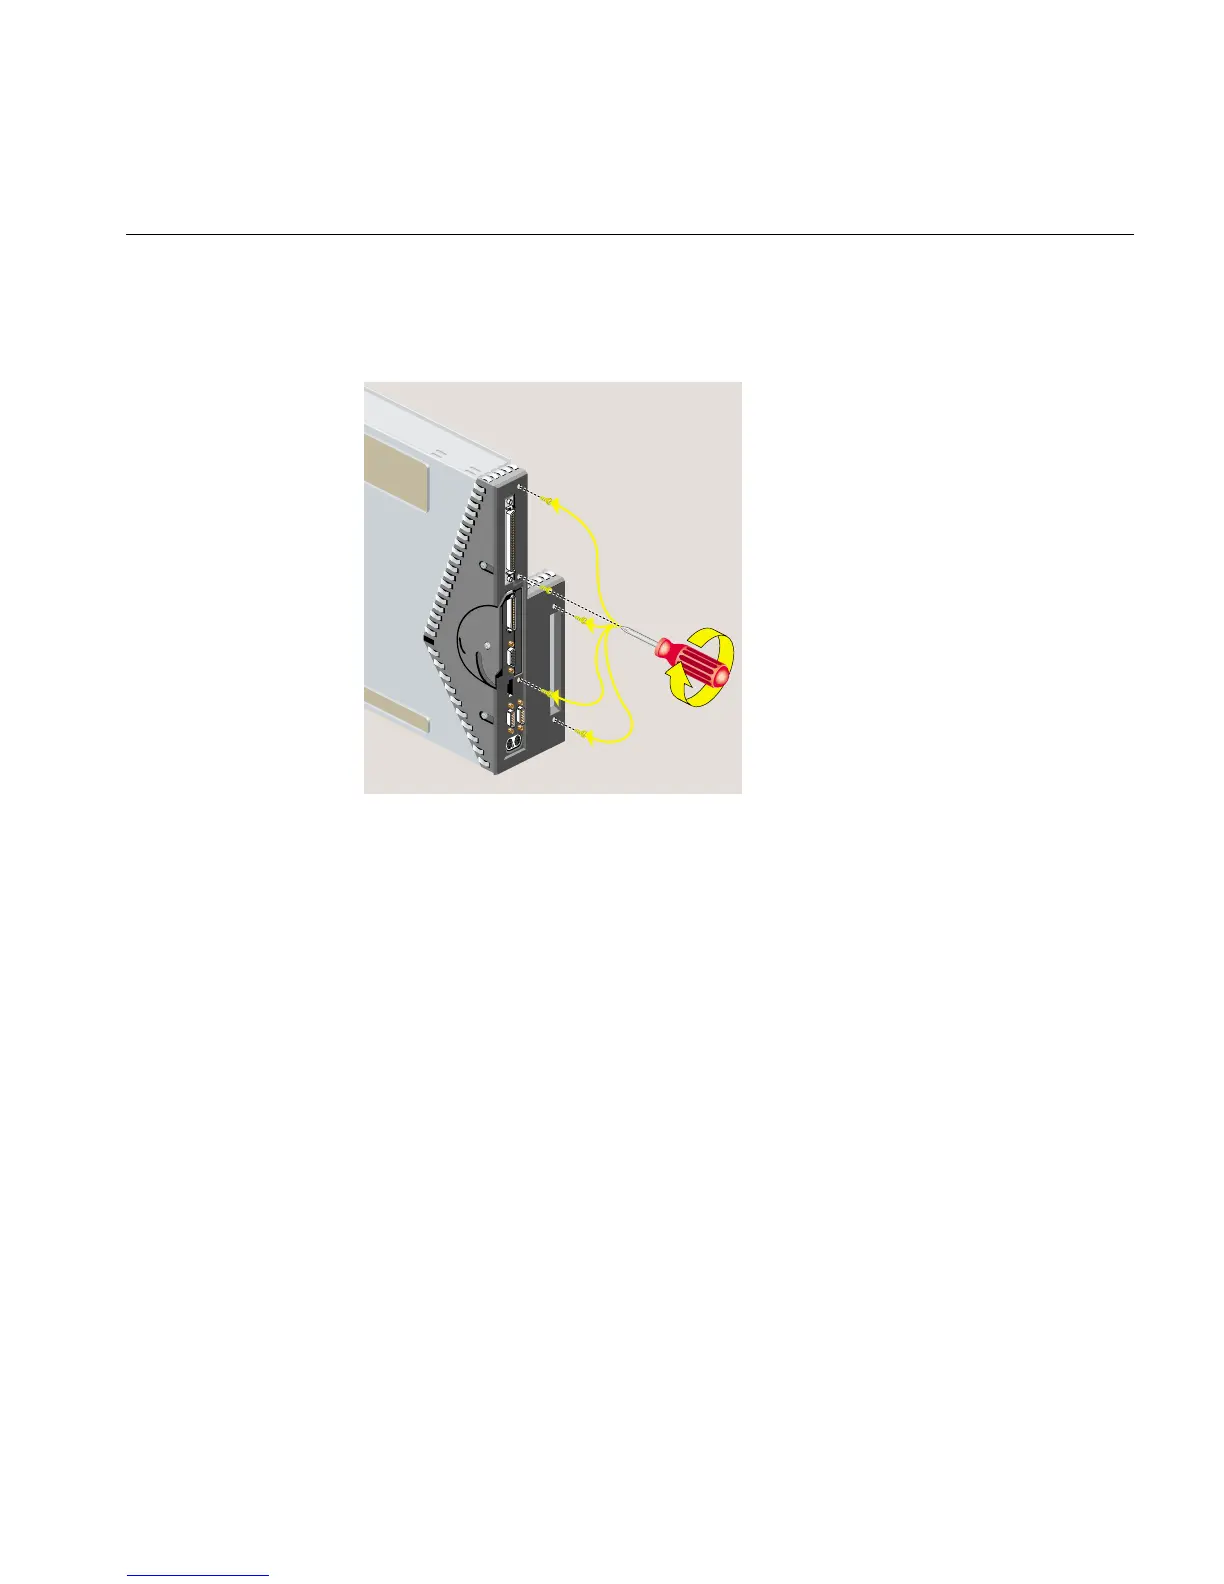
21. Use a Phillips screwdriver to insert and tighten five screws in the locations shown in
Figure 15.
Figure 15 Replacing Five Screws on the Face Plate
22. See the section, “Reinstalling the System Module,” in Chapter 5, “Ordering,
Removing, and Installing Replacement Parts,” in either the O2 Workstation Hardware
Reference Guide or the O2 Workstation Owner’s Guide.
23. Ship the original CPU module to Silicon Graphics in the container that held the
replacement CPU module.