Silicon Graphics
®
O2
™
and Silicon Graphics
®
Octane
™
R12000 CPU Upgrade Information
007-3725-002 3
Installing the R12000A in an O2
To replace an R10000 or R12000 CPU module with an R12000A CPU module, follow these
steps.
To remove the R10000 or the R12000 CPU module, you must first remove the plastic face
plate of the system module and the PCI tray.
1. If you haven’t already done so, turn off the workstation, remove the power cable,
and remove the system module from the chassis.
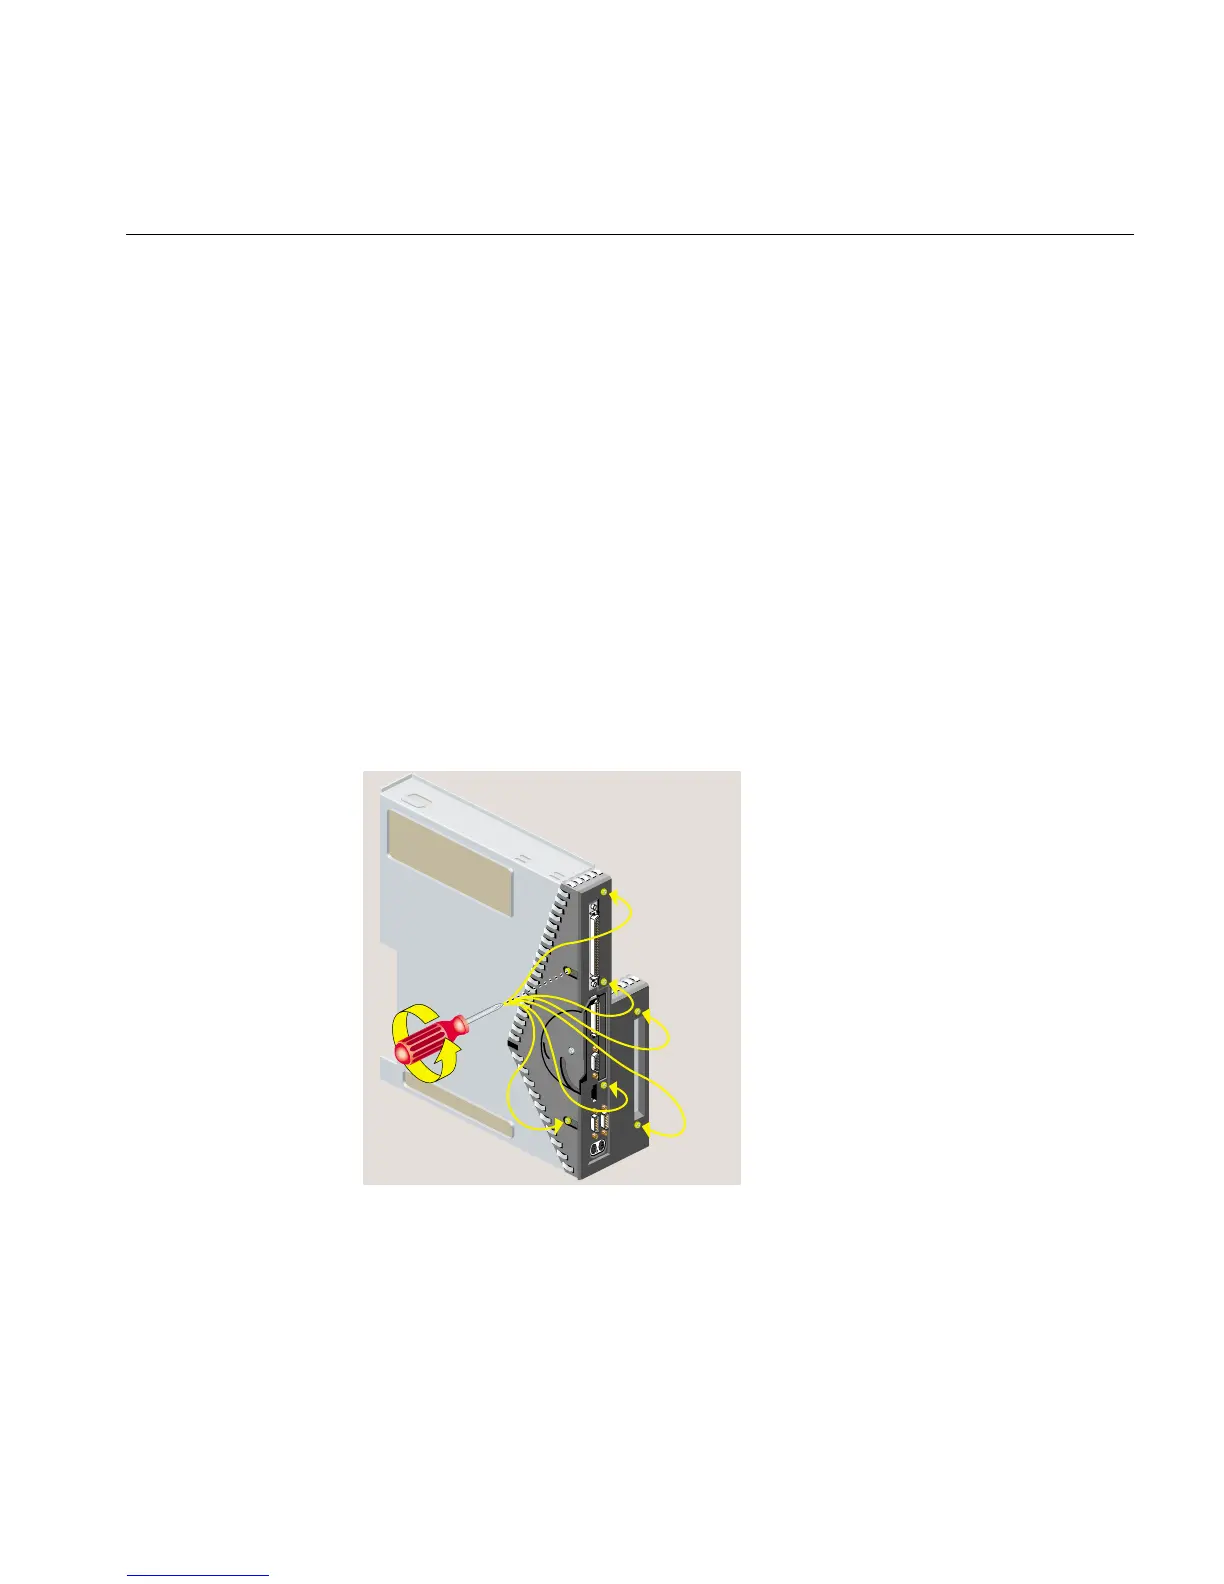
2. Remove the plastic face plate from the system module:
• Use a Phillips screwdriver to remove five screws on the rear and two screws on
the underside, in the locations shown (Figure 1). Keep the two screws from the
underside separate. When reinstalling the faceplate you must use the same
screws.
Caution: On the underside, remove only two screws. Do not remove the third screw
that attaches the lever to the face plate.
Figure 1 Removing Seven Screws From the Face Plate