GB
│
IE
│
NI
│
CY
│
7 ■SSMC 600 B1
Operation
WARNING!
► The motor switches off automatically as soon as the blender 3 is removed
from the motor block 6 or the lid 2 is opened. In such cases it may be
easy to forget that the machine is still switched on. The motor will then start
unexpectedly as soon as the blender attachment 3 is fitted or the lid 2 is
closed again:
Therefore:
– Do not insert the power plug into the wall socket until the blender 3 is
filled and mounted with its lid fitted and closed.
– Before fitting the blender, always check to see that the appliance is
switched off or that the power plug has been removed.
– Switch the appliance off first, pull the plug out and wait until the motor has
come to a standstill before removing the blender 3 or opening the lid 2.
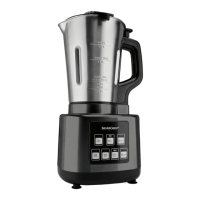
Fitting and filling the blender
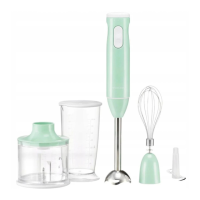
1) Remove the blender 3 from the motor block 6 in a vertical, upward motion.
2) Remove the lid 2 by rotating it anticlockwise towards position
(see Fig 1)
until you can pull it upwards.
3) Fill the blender 3 to at least to the lowest line of the scale 8 and at most to
the MAX mark. For optimum results, we recommend the following maximum
filling quantities:
Food
Max.
filling
quantity
Recom-
mended
level
Recommended
processing time
Liquids 1750 ml 1‒3 60 sec.
Yoghurt-based drinks 1250 ml 2‒5 90 sec.
Milkshakes/
smoothies
1250 ml 2‒5 60‒90 sec.
Pancake mix 1250 ml 3‒5 90 sec.
Baby food 750 ml 5 3 min.
Mayonnaise
2 eggs
250 ml oil
3‒5 90‒120 sec.
Vegetable soup 1500 ml 3‒5 3 min.
Ice cubes 250 ml P 12x
4) Press the lid 2 firmly down onto the blender 3. Close the lid 2 by turning
it clockwise to position
until it audibly engages (see Fig. 2). Ensure that
the pouring spout on the blender 3 is closed. The motor cannot start until
the lid2 is fitted flush.
IB_360503_SSMC600B1_GB_IE_NI_CY.indb 7 04.03.2021 14:05:25