12 GB
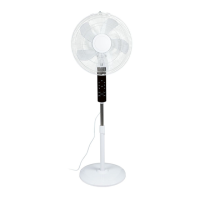
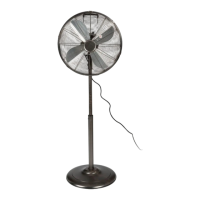
Assembly
Fig. Step
A
NOTE: The following parts are for
transport only. After unpacking, remove
and discard these parts.
Security tube (located on the shaft of the
main unit
16
)
Security plug (located between rear grille
2
and blade
4
)
Unscrew the L-shaped bolt
10
. Remove the
washer
9
from the stand post
12
. Place
the stand post
12
on the round base
11
.
Fasten both parts with the washer
9
and the
L-shaped bolt
10
.
B
Extend the upper pole
14
to its maximum
length (refer to “Height adjustment”). Place
the main unit
16
on the upper pole
14
. Fasten
both parts with the locking knob
15
.
C
Remove the blade lock nut
5
from the shaft
of the main unit
16
, grille lock nut
3
from the
main unit
16
. Remove the security plug from
the rear grille
2
. Place the rear grille
2
on
the main unit
16
. Make sure to align the rear
grille's
2
round holes over the 3 mounting
lugs on the main unit
16
. Secure the grille with
the grille lock nut
3
. Rotation direction: .
D
Place the blade
4
on the shaft of the main
unit
16
. Secure it with the blade lock nut
5
.
Rotation direction:
.
E
NOTE: Make sure the 8 positions of the
grille collar
7
properly click into place at
the edge of the front grille
6
.
Unscrew the locking screw from the hinged
clip
8
. Place the front grille
6
on the rear
grille
2
. The hook of the grille collar
7
needs
to be hooked into the rear grille
2
.
F
Secure both grilles
2
/
6
by closing the
hinged clip
8
. Secure the locking screw onto
the hinged clip
8
.
Height adjustment
Loosen up the adjustment knob
13
in anti-
clockwise direction (see Fig. F).
Adjust the length of the upper pole
14
.
When the height is set, secure the position by
tightening the adjustment knob
13
in clockwise
direction (see Fig. F).
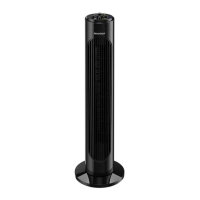
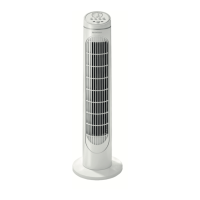
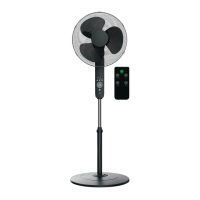
Operation
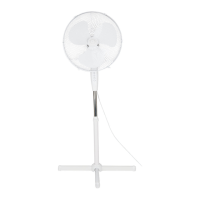
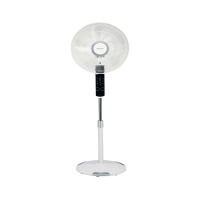
Place the product on a flat, stable ground.
Connect the power plug
to a suitable power
socket.
Turning the product on/off: Press
23
.
Fan speed
Press
21
repeatedly to toggle between the
6 fan speeds:
Display Function
1
Lowest speed
6
Highest speed
Oscillation
When the product is on, press
20
to toggle
between different oscillation modes:
Press
Indicator
Function
1x
17
Horizontal oscillation.
2x
18
Vertical oscillation.
3x
19
Vertical / horizontal
oscillation.
4x Oscillation stops.
NOTES:
You can also adjust the angle of the product
manually by pulling it lightly up / down
(see Fig. G).
Do not adjust the angle when the product is in
operation.
 Loading...