9
USING THE SETUP MENU
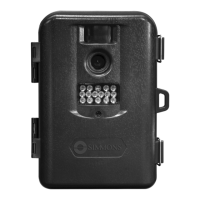
Press the POWER button (on model# 119225C, slide the switch to ON). You’ll
see four dashes, a number and 2 icons (119223C only) then a blank screen.
Before you start using the camera, you’ll need to make a few settings so
the correct date/time is printed on your photos, and so it takes the type
of images you prefer. This is done by using the Setup Menu. Here are the
items you’ll nd in the Setup Menu (in order), and how to use them:
Setting the Date and Time
First, you’ll make a few settings so the date and time that’s imprinted on
your images when the camera is triggered will be accurate. The order
these appear on the Menu screens is dierent for the two models, and
the way you use the control buttons are slightly dierent. Make sure the
camera’s power is on, and then:
If you have model #119233C:
Press the 1. MENU button to enter the Setup Menu.
Set the Year 2. (last 2 digits only) with the UP/DOWN buttons, then
press OK to conrm.
Set the Month with the 3. UP/DOWN buttons, then press OK to
conrm. Set the Day with the UP/DOWN buttons, then press OK to
conrm.
Set the Hour with the 4. UP/DOWN buttons, then press OK to conrm.
Set the Minute with the UP/DOWN buttons, then press OK to
conrm.
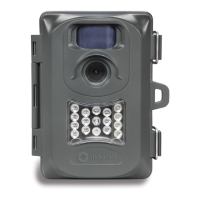
If you have model #119225C:
Press the 1. SETUP button to enter the Setup Menu.
“DATE” will blink. Press 2. OK. Set the Month with the UP/DOWN
buttons, then press OK to conrm. Set the Day with the UP/DOWN
buttons, then press OK to conrm.
Set the Year 3. (last 2 digits only) with the UP/DOWN buttons, then
press OK to conrm.
“TIME” will blink. Press 4. OK. Set the Hour (24 hr. format) with the UP/
DOWN buttons, then press OK to conrm. Set the Minute with the
UP/DOWN buttons, then press OK to conrm.