Installing a 4007-9812 Module into a 4007ES Panel
The 4007-9812 Dual RS-232 Interface Module is pre-installed on a bracket and it must be mounted in the top left corner (Block E) of the 4007ES
box. To complete the module installation:
Note: The Dual RS-232 Interface Module cannot be installed if a 25 V Regulator Module, a Dual Class A Isolator module or four 8-Point Zone/Relay
Cards are required.
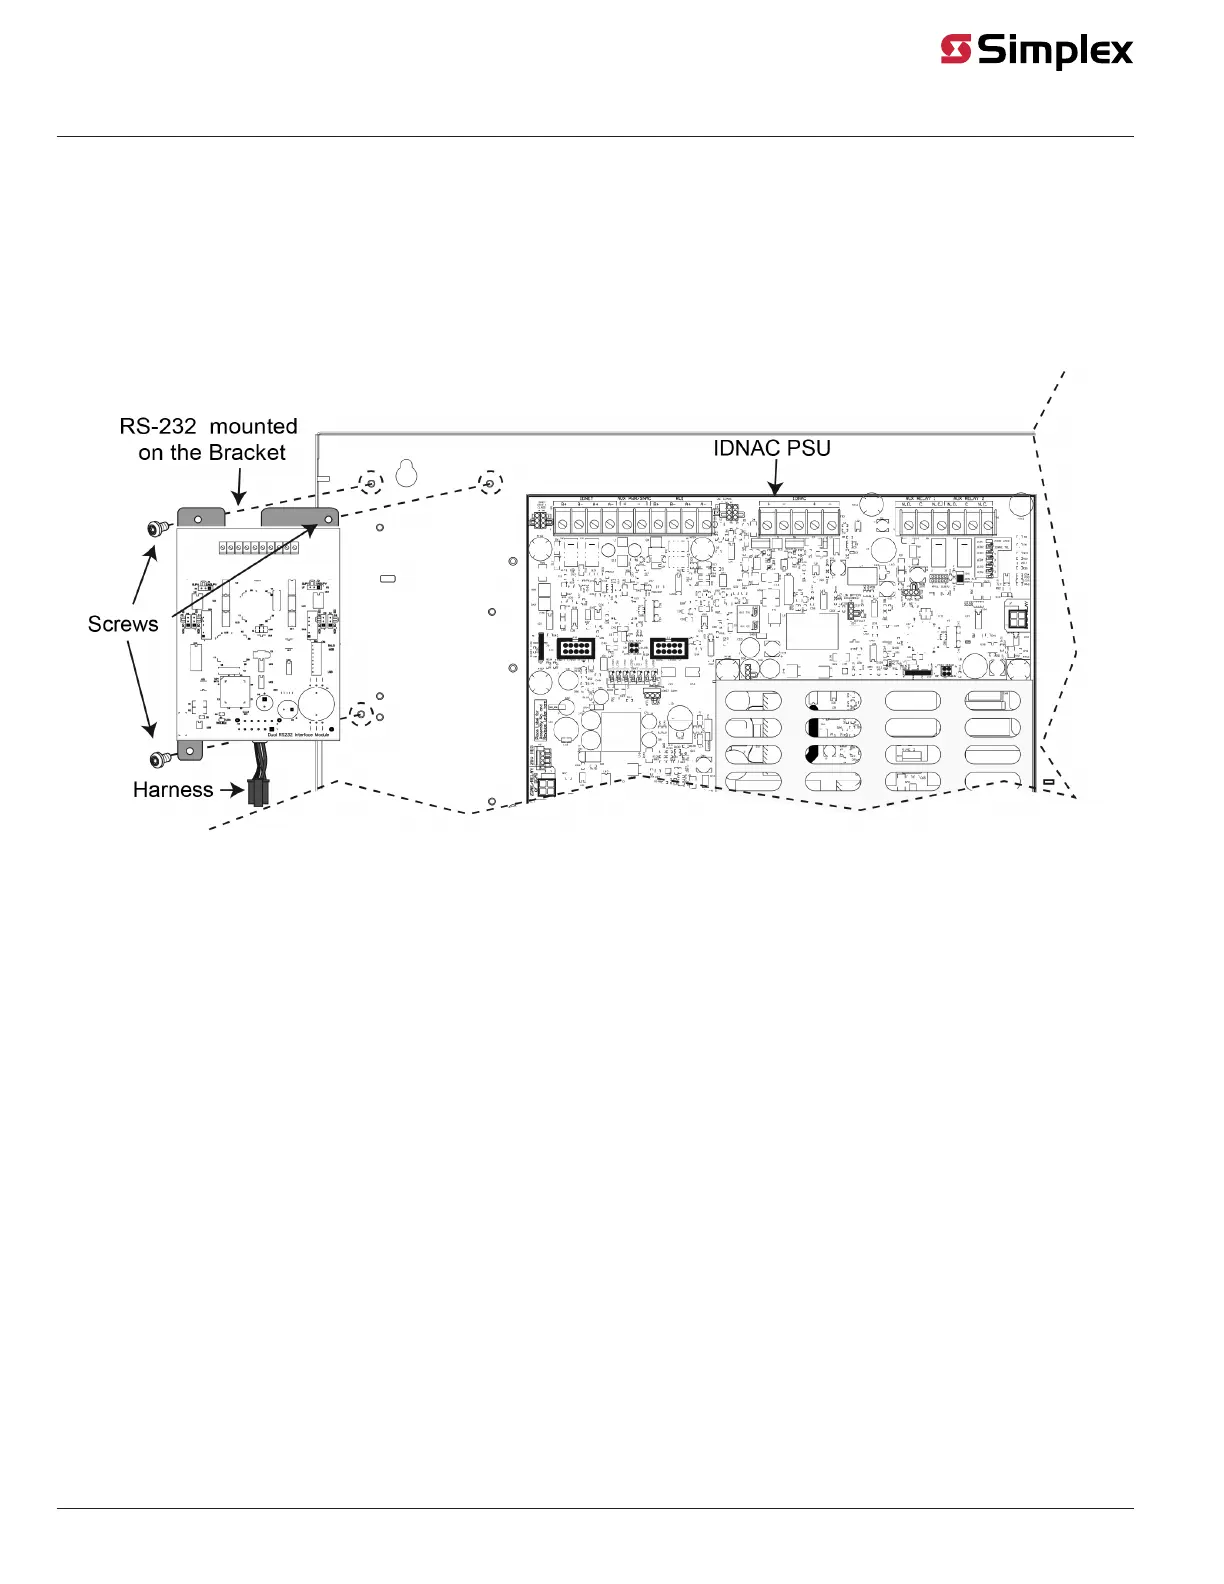
1. Connect one end of the provided harness (734-308) to connector P7 on the back of the RS-232 card.
2. Use the provided hardware to secure the RS-232 bracket to the 4007ES box.
3. Connect the free end of the harness 734-308 to connector J15 (“Zone/Relay or DCAI”) on the PSU. If a Zone/Relay card is installed below the
RS-232 card, connect the free end into P10 of the Zone/Relay card (P9 of the Zone/Relay card should then connect to J15 on the PSU).
Figure 6: Installing the Dual RS-232 Module in a 4007ES Panel
page 7 579-910 Rev G
Dual RS-232 Interface Module 4007-9812, 4100-6046, 4010-9918 Installation Instructions