Mounting location
The GS10 can be mounted on any flat surface (min. 90 mm (3 1/2”
wide). The pole mount adapter lets you mount the antenna on a
pole or swivel mount that uses standard marine 1” - 14 threads. To
determine the mounting location, be sure that a clear, unobstructed
view of the sky is available, as GPS signals travel “line-of-sight” at
very high frequencies and therefore almost anything blocking the
antenna’s view can stop the unit from finding a satellite.
Caution: Do not mount the GS10 antenna in the direct path of a
radar antenna’s beam. Radar radiates high-energy signals that can
interfere with GPS signal reception.
Surface mount
Once you’ve determined the mounting location, use the quick re-
lease mount adapter as template to drill 2 holes (2.5 mm (7/64”)
drill bit) for the 2 long mounting screws. Use the 2 screws to secure
the adapter to the surface with “THIS SIDE UP” facing upwards.
If you wish to route the cable through the mounting surface, drill
a 10 mm (3/8”) hole for the cable’s connector. There is a notch in
the antenna housing that allows the cable to pass through, instead
of routing it through the mounting surface. Pass the O-ring over
the cable and press it into the groove on the bottom of the an-
tenna housing. If you are using the housing notch to route the cable
outside, you may need to cut a notch in the O-ring for a proper fit.
Apply a little silicone grease to the O-ring when ready to attach the
antenna to the quick release mount adapter.
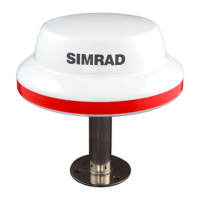
GS10 Antenna
Lock adapter Lock adapter
Curved keyhole Curved keyhole
GS10 Quick release mount
Fix the 2 lock adapters with the 2 short screws to the bottom of the
antenna. Guide the lock adapters into the curved keyhole openings
marked “UNLOCK” in the surface mount adapter and turn the antenna
clockwise 90° till it clicks into a locked position. Route the cable to
where it connects to the network and plug it in.
2
 Loading...