1
31
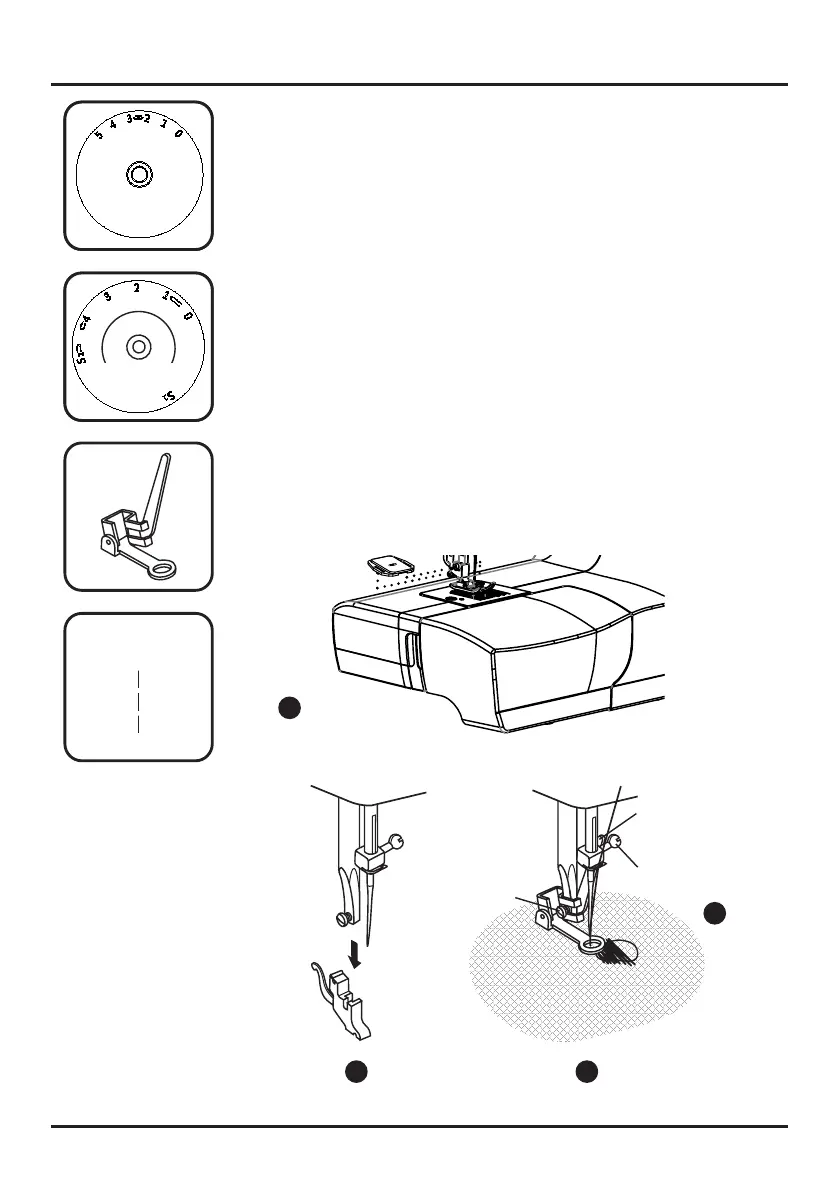
Remove the presser foot clamp. (2)
First sew round the edge of the hole (to secure the threads). (4)
First row: Always work from left to right. Turn work by 1/4 and
oversew.
results.
A
B
C
2
3
4
A
1~4
3~52.5
0
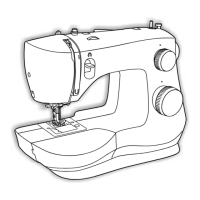
Set the machine as illustrated. Install the darning plate.(1)
* The darning/embroidery foot is an optional accessory not supplied
with your machine.
Attach the darning/embroidery foot to the pressor foot bar. The
lever (A) should be behind the needle clamp screw (B). Press the
darning/embroidery foot on firmly from behind with your index finger
and tighten the screw (C). (3)
An embroidery hoop is recommended for easier sewing and better
Free motion darning (optional)