Do you have a question about the Singer 460 CLASS and is the answer not in the manual?
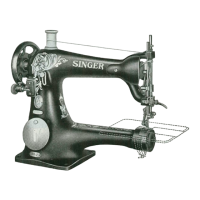
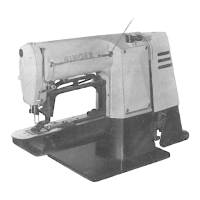
Details for the one-needle overedging machine for light, medium, heavy fabrics.
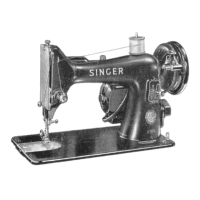
One-needle machine for light, medium, heavy fabrics with three-thread tight stitch.
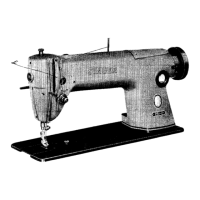
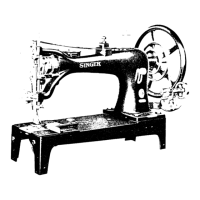
One-needle machine for medium-heavy cotton, knit goods, sports jackets, laundry bags.
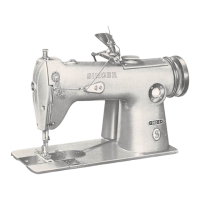
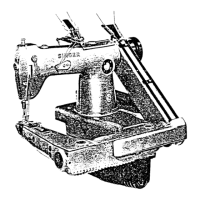
Two-needle machine for trimming, overedging bathing suits, house dresses, knitwear.
Information on available accessories and tools for machine operation, including stitch formation diagrams.
Important safety warning regarding lubrication before starting the machine.
Guidelines for selecting and ordering needles and thread for optimal sewing machine performance.
Step-by-step instructions for correctly inserting and tightening the needle in the sewing machine clamp.
Instructions for selecting and threading the appropriate unwinder based on stitch type.
Detailed instructions for threading the machine for two-thread stitch types 502 and 503.
Instructions for threading the machine for three-thread tight needle stitch, type 504.
Instructions for threading the machine for four-thread dual stitch, type 507.
Key notes and considerations for threading all machines, including needle thread and looper thread procedures.
Guidance on threading loopers for right and left positions, ensuring correct thread path.
Instructions for setting needle and looper thread tensions for correct stitch formation.
Guidance on adjusting presser foot pressure to ensure proper material feeding.
Explanation of drop feed and differential feed mechanisms and their components.
How feed eccentrics determine stitch length and the chart for furnished eccentrics.
Procedures for correctly installing feed eccentrics, ensuring proper keyway alignment and tightness.
Using gauges to check and set the correct height of front and rear feed dogs.
Steps to adjust feed dog height using specific screws for front and rear dogs.
How to tilt the feed dogs forward or backward for specific stitching effects.
Using gauges or measurements to check the needle clamp's left-to-right positioning.
Procedures for adjusting the needle clamp's height and securing it properly.
Initial steps including needle setting and removing guards before adjusting the left looper.
Adjusting the left looper's position relative to the needle for correct stitch formation.
Using gauges to check the right looper or spreader's position relative to the needle.
Steps for adjusting the height of the right looper or spreader and securing it.
Observing the right looper's movement relative to the needle for correct front-to-rear positioning.
Adjusting the right looper's side-to-side position relative to the needle.
Fine-tuning the front-to-rear position of the right looper or spreader.
Adjusting the looper thread eyelet for optimal thread flow and positioning.
Adjusting the right looper thread take-up to ensure proper thread tension and pull-off.
Setting the looper thread stripper to its correct midpoint position for efficient operation.
Adjusting the stationary knife height so its cutting edge is level with the throat plate.
How stationary knife position affects bight width and how to set it.
Aligning the movable knife with the stationary knife for proper trimming action.
Explanation of the intermittent gathering feed mechanism and its controls.
Description of the automatic device for shortening stitch length during operation.
Instructions for sharpening the movable knife using a grinder machine.
Tips for optimal machine performance, including oiling, cleaning, and tension settings.
| Brand | Singer |
|---|---|
| Model | 460 CLASS |
| Category | Sewing Machine |
| Language | English |