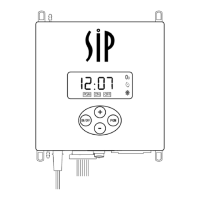
1/12/2011 8 SIP 2000 instructions revised B
Installation of SIP 2000 and SIP 2000B
Installing the SIP 2000 and SIP 2000B (this is the model that comes with a mounting bracket) is relatively straightforward.
However, there are some key things to be aware of when performing this task.
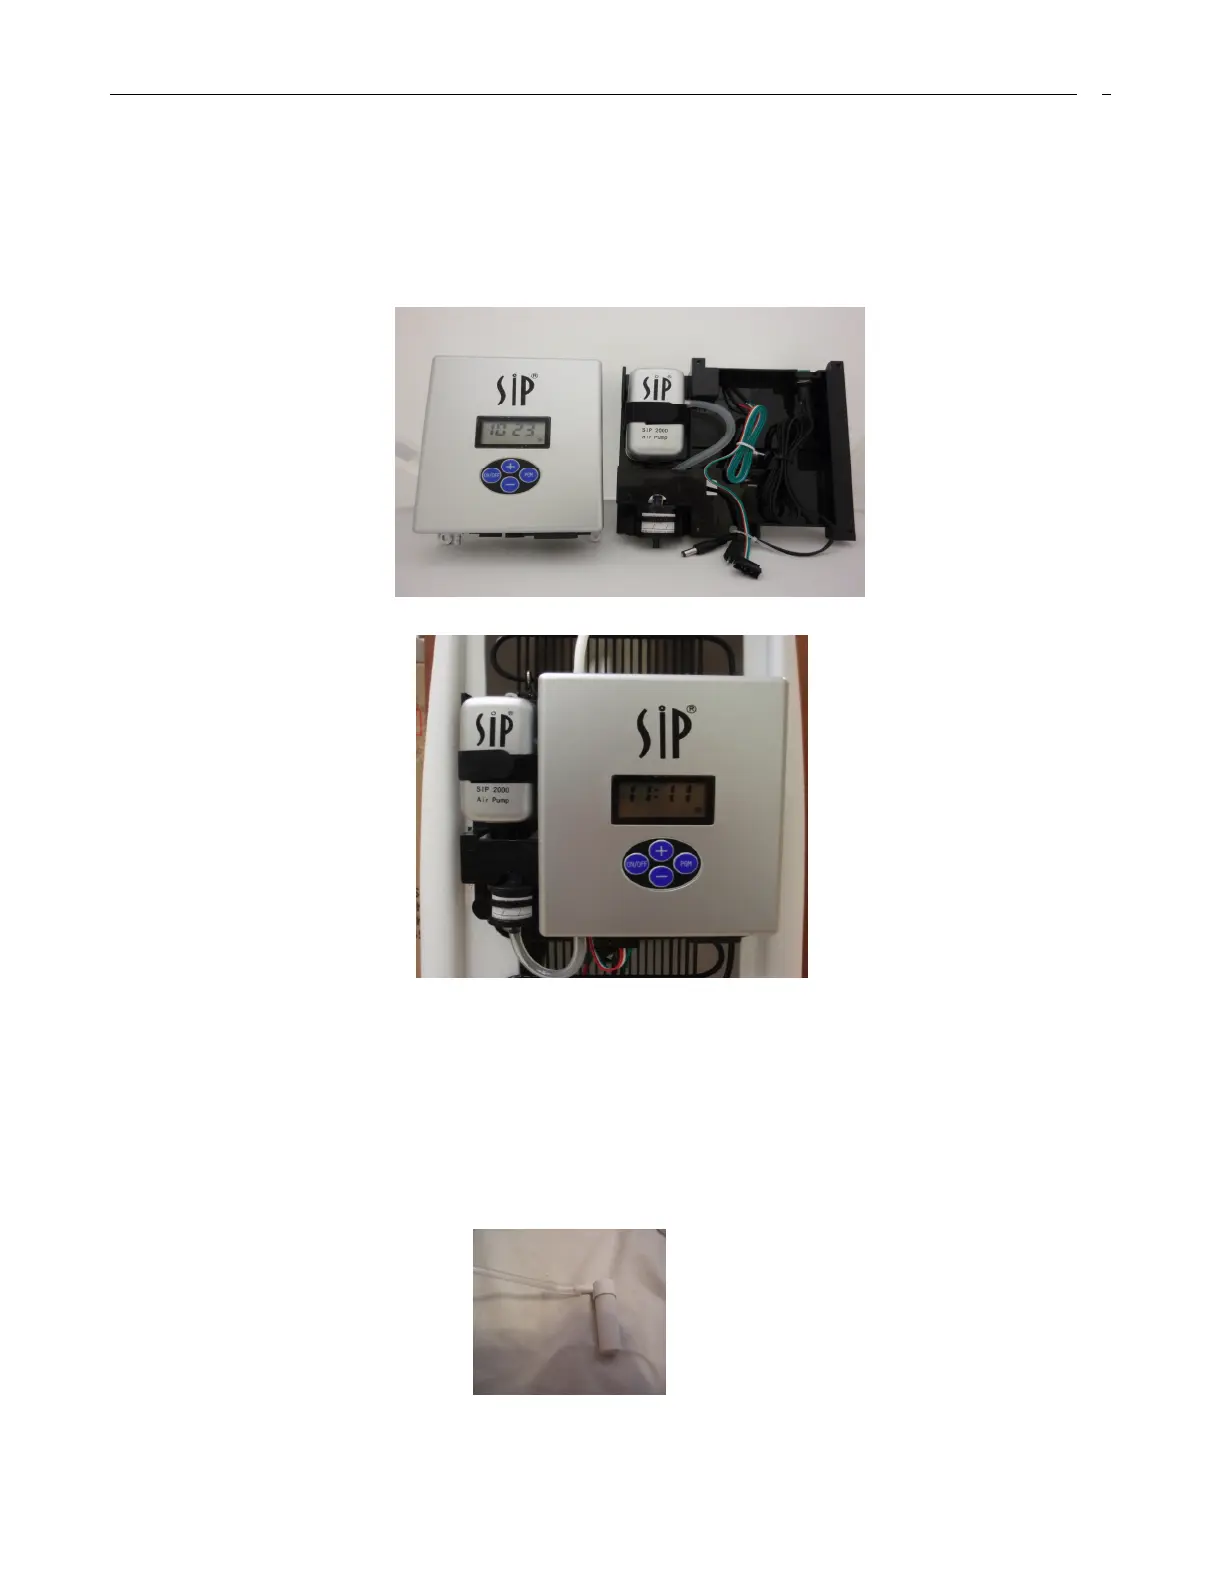
For the SIP 2000B only:
• Your unit will be delivered to you with all the ancillary parts pre assembled onto a bracket to make the installation
process installation process quicker.
• You must connect all the parts to the SIP 2000 box as outlined in page 1. You must them attach the SIP 2000 box
to the bracket using the screws provided, install onto the cooler and follow the installation instructions below.
For SIP 2000 and SIP 2000B:
• The SIP system can be fitted anywhere on the interior of the exterior of the cooler itself. The “s” hooks are
provided to quickly and simply hang the SIP units on the back of the cooler’s condenser. Should you prefer to fit
SIP into the interior of the cooler then we would advise however that care is taken to ensure that the all of the
SIP parts are kept away from the cooler’s hot tank.
• The first step in correctly fitting the SIP is to attach the SIP 2000 to the air pump with the silicone tubing provided.
You will need to cut the silicone tubing to fit (6-8 inches should be enough) remembering that you need to leave
enough tubing to attach to the down rod to fit into the reservoir.
• The next step is to attach the down rod to the diffuser assembly.
• Following this we need to fasten the down rod into the cooler reservoir. In some cooler models the down rod is
already attached to the cooler and in other models the hole to accept the down rod has been pre-cut (see
diagram on next page). If you do not have any of these models you will need to pierce the hole yourself. The
 Loading...