20
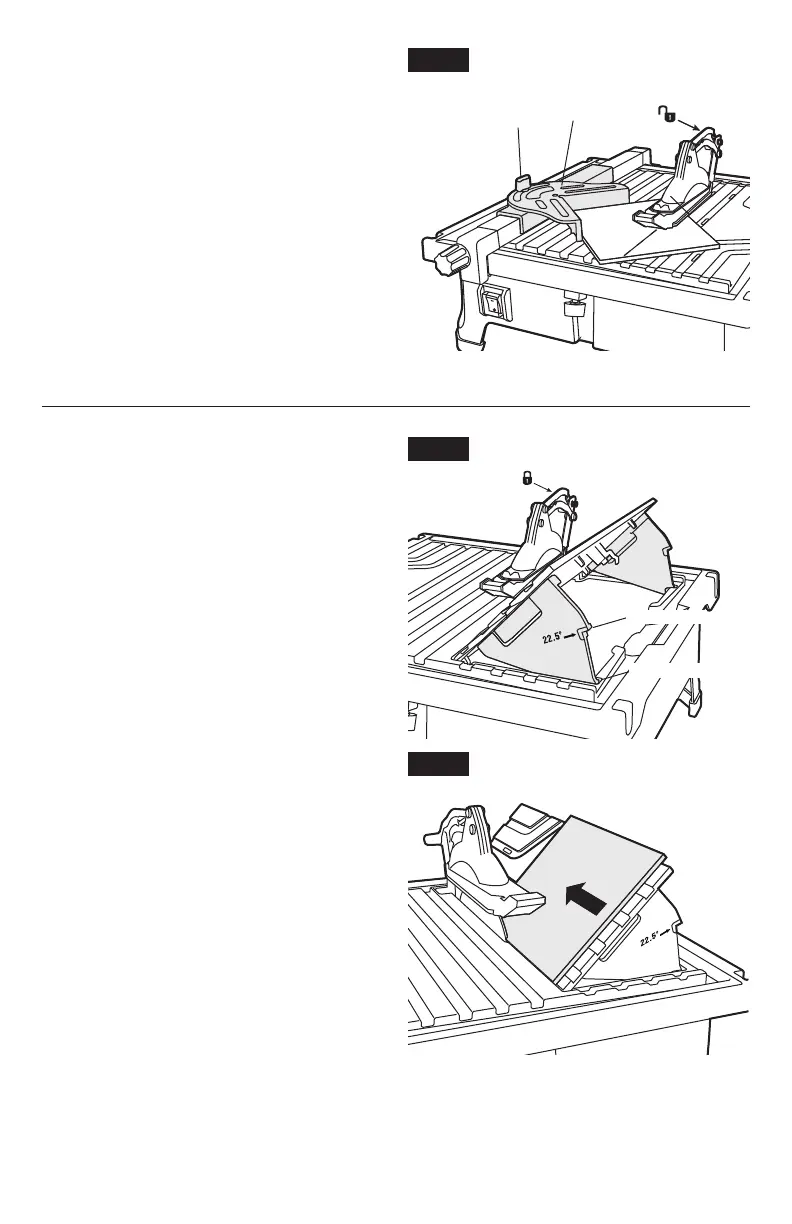
Fig. 14
22.5
o
Angle
Fig. 15
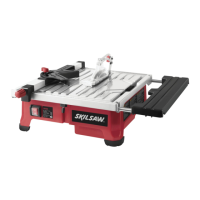
Fig. 13
Miter
Locking
Knob
Miter
Guide
Making a Miter Cut
1. Adjust the parallel rip fence to the desired
distance from the tile blade, using the scale
rules on the table surface for reference.
Tighten the fence-locking knob to rmly lock
the parallel rip fence on the table. (Fig. 11)
2. Use the miter guide supplied in conjunction
with the parallel rip fence.
3. Select the desired angle and tighten the
locking knob to secure the miter guide
(Fig. 13).
4. Place the tile against the miter guide.
(Fig. 13).
5. Hold the tile rmly against the miter guide
and feed it slowly toward the rotating tile blade.
Making a Bevel Cut
1. Cut tile to size (follow instructions on page
19; making a Flat Cut).
2. Adjust the top guard to the UP position and
tighten guard locking knob.
3. Open bevel table and pull down the two table
legs from under the table (Fig. 14).
4. Set both legs in correct position (22.5 or 45
degree angle).
5. Make sure the bevel table is secure before
cutting.
6. Hold the workpiece rmly against bevel table
and feed the tile into the tile saw blade with a
steady even pressure (Fig. 15).
After Use
•
Verify the ON/OFF switch is in the OFF
position.
•
Unplug the tile saw from the power source.
•
Clean the tile saw after each use.
•
Empty and clean water reservoir.
•
Wipe off all exterior surfaces and tile saw
blade.
45
o
Angle