Do you have a question about the SKLZ SOCCER TRAINER PRO and is the answer not in the manual?
Consult physician before use, check for wear, avoid pinching, and do not climb on equipment.
Ensure clear area during use, keep others clear, and avoid product alterations.
Keep away from heat/fire, avoid extreme temperatures, and store indoors after use.
Connect right/left posts with net to the crossbar, then extend the frame.
Insert right/left legs into the base bar until locked into place.
Connect the legs of the base frame to the upper frame.
Secure bungees to hooks and rotate tension knob to tighten the net.
Release net tension, push frame inwards, disconnect legs, and collapse.
Release net tension, push frame inwards, disconnect legs, and collapse.
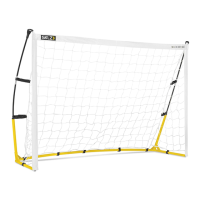
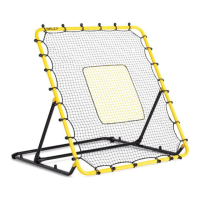
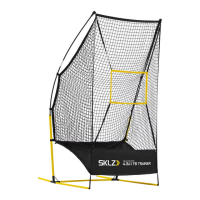
The SKLZ Soccer Trainer Pro is a portable and adjustable soccer training device designed to help users improve their skills. It features a net that provides ball return, allowing for solo practice of various shot types and angles.
The Soccer Trainer Pro is primarily used for practicing soccer skills such as shooting, passing, and receiving. Its key function is to return a kicked ball, enabling continuous training without the need for a partner to retrieve the ball. The device is adjustable, allowing users to customize the ball return angle to simulate ground balls, driven balls, or lofted returns, catering to different training needs. It is designed for use on flat surfaces and requires adult assembly.
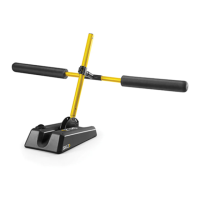
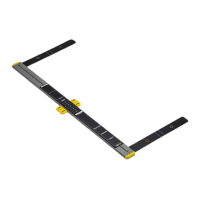
The device consists of several main components:
The Soccer Trainer Pro is under tension when assembled, and care must be taken during disassembly to release this tension safely to prevent injury. The crossbar logo must face down with net hooks facing up for proper function, and these hooks should face the base of the frame for bungee attachment.
| Brand | SKLZ |
|---|---|
| Model | SOCCER TRAINER PRO |
| Category | Sports & Outdoors |
| Language | English |