24
PART V : LOCATING OBJECTS
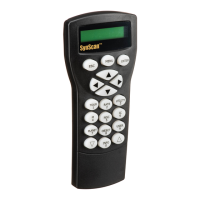
Recalling Objects:
1. Press the “USER” shortcut key. The screen will display “User Object / Recall Object”. Press
the ENTER key.
2. Use the scroll keys to browse through a pre-dened objects list which is indexed from 1 to
25, and then press ENTER. If the selected object has not been dened before, the SynScan
hand control will stay at this step for the choosing of another object; otherwise, it will pro-
ceed to the next step.
3. The screen will display the coordinates of the selected object. Press the ENTER key again
to proceed.
4. The screen will now display “View Object?”
3. Use the left and right direction keys to move the cursor and the numeric keys to edit the
coordinates. The scroll keys can be used to change the sign of the declination coordinates
or the altitude coordinates. Press the ENTER key after editing.
4. The screen will display “Save?”.
5. The screen will now display “View Object?”.
• Press ENTER to have the mount start slewing towards the selected object. If the object
is a celestial object, the mount will start tracking the object automatically after it nishes
slewing.
• Press ESC to exit.
• Press the ESC key to proceed to the next step without saving the coordinates.
• Press the ENTER key again to start saving the coordinates. Users should use the scroll
keys to select a storage space index number between 1 and 25 and press the ENTER
key to save the new coordinates.
• Press ENTER to slew the mount towards the coordinates entered.
• Press ESC to exit without moving the mount.
• If the “R.A./Dec.” coordinates is chosen: The screen will display the coordinates to
which the telescope is pointing to at the moment.
• If the “Axis” coordinates is chosen: The screen will display the coordinates of the
mount’s two axes. The rst number is the coordinates of the R.A. axis or azimuth axis,
while the second number is the coordinates of the Dec. axis or altitude axis.