ASSEMBLY
ASSEMBLY (PUTTING THE ENCLOSURE TOGETHER)
IMPORTANT ASSEMBLY INFORMATION
• Need phillips screw driver and 2 adjustable wrenches.
• Assembly requires two adults. Keep children away from the trampoline enclosure until it is completely put together.
• Use gloves to protect your hands from pinch points while putting the enclosure together.
• Make sure that the trampoline is properly put together, with the frame pad correctly laid out, before you put together the tram-
poline enclosure.
• The assembly steps refer to parts by their descriptions and key numbers (see the PARTS LIST on page 13 and make sure that
all listed parts are included. If a part is missing, refer to ORDERING REPLACEMENT PARTS at the bottom of page 13.)
TRAMPOLINE PLACEMENT
1. Place the trampoline and enclosure on a level surface before you use it.
2. Adequate overhead clearance is essential. A minimum of 24 feet (7.3 meters) from the ground is recommended. Provide clear-
ance for wires, tree limbs, and other possible hazards. Lateral (sideways) clearance is also essential. Place the trampoline and
enclosure away from walls, structures, fences, and other play areas. Maintain a clear space on all sides of the trampoline and
enclosure.
3.
Use the trampoline and enclosure in an area with lots of light. If the trampoline and enclosure are indoors or in
shady areas you may need to use artificial (electrical) lighting in the area.
4. Secure the trampoline and enclosure against unauthorized and unsupervised use.
5. Remove any objects from under the trampoline and enclosure.
6. This trampoline enclosure is only to be used as an enclosure for a square trampoline.
1. Make sure that you understand the information in the
box at the top of this page.
2.
Slide an enclosure foam with the short blue vinyl
sleeve (8) onto the top curved tube (6).
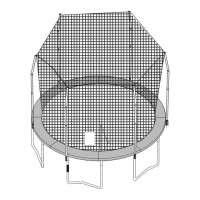
Lay two L-corner tubes(5), the top curved tube(6) and
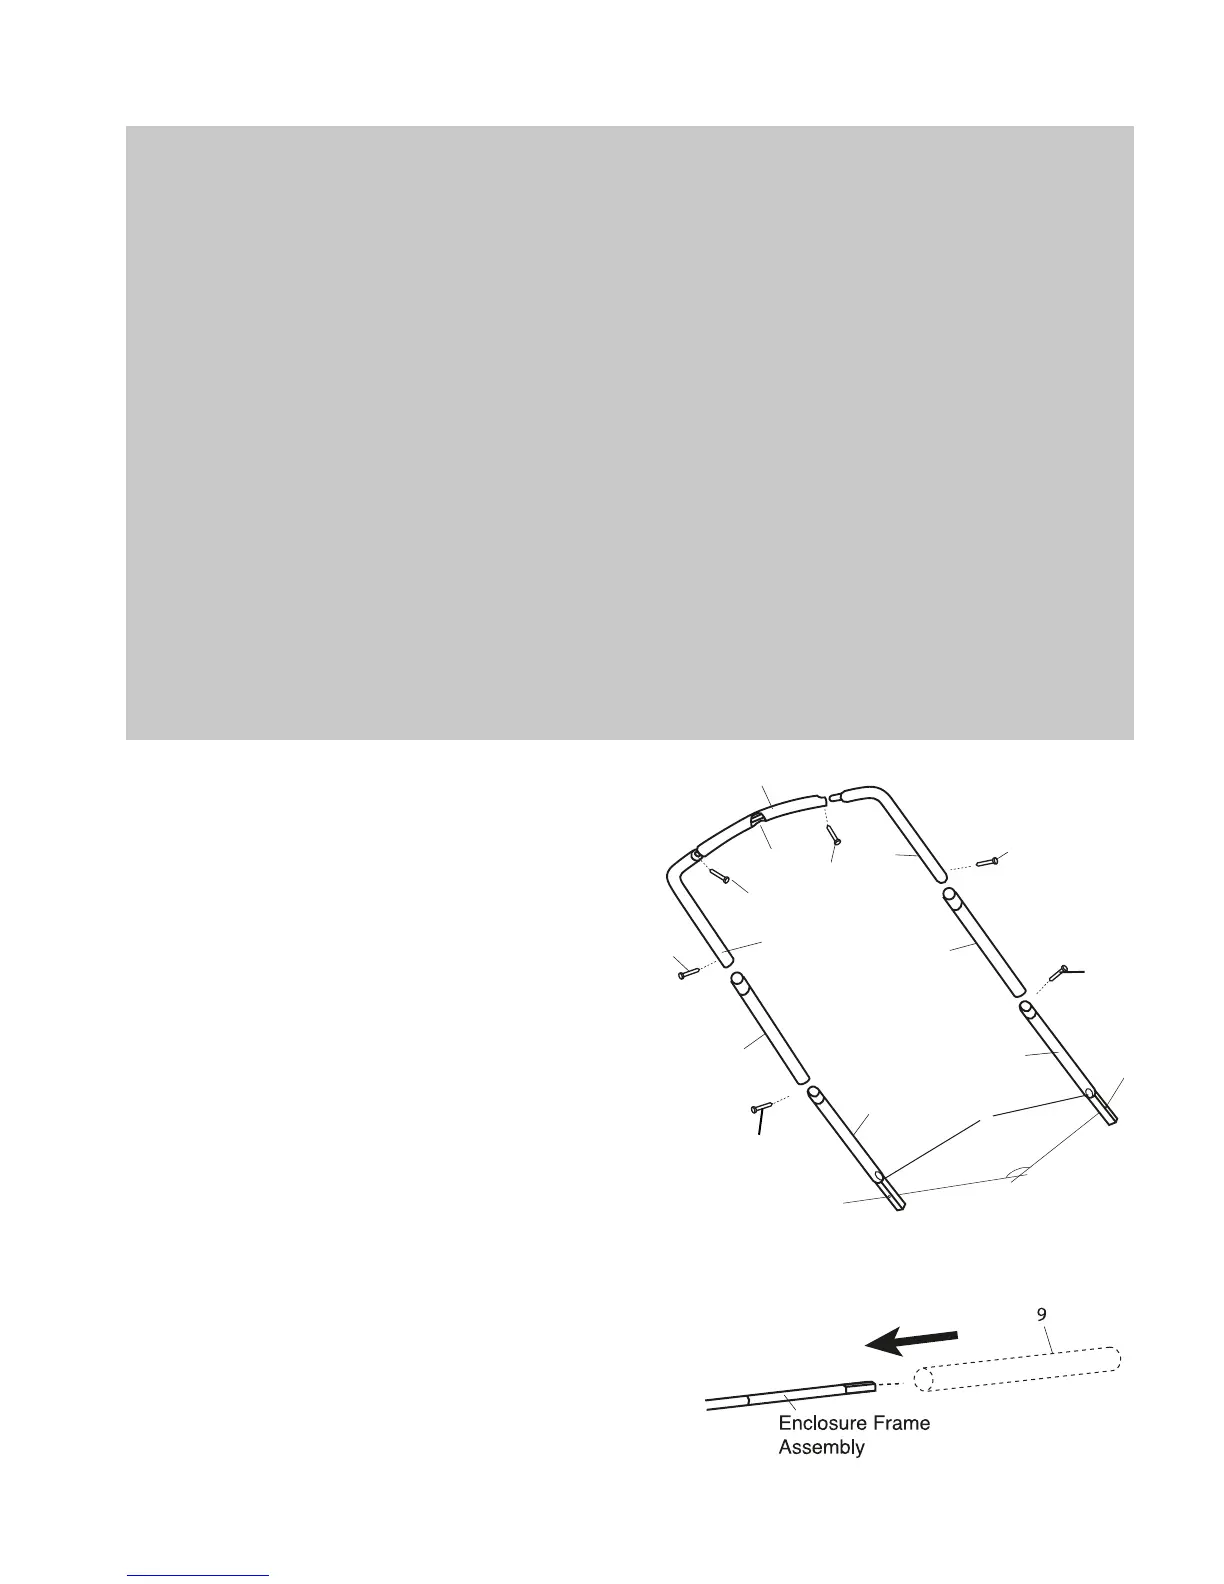
Position one of the long vinyl sleeves (9) onto a foam tube.
Slide it up the straight tube and around the corner until it is
against the top foam tube. Repeat this to the another side.
Repeat steps 1-2 for remaining three upright sections.
8
two middle tubes(7) on the ground as shown. Attach
together using#8 screws(3) one by one, don’t tighten yet.
straight tubes are faced inside as shown.
Slide three foams onto one side of the assembly.
should be shown as the picture after finishing assembly.
of the tube.
 Loading...