11
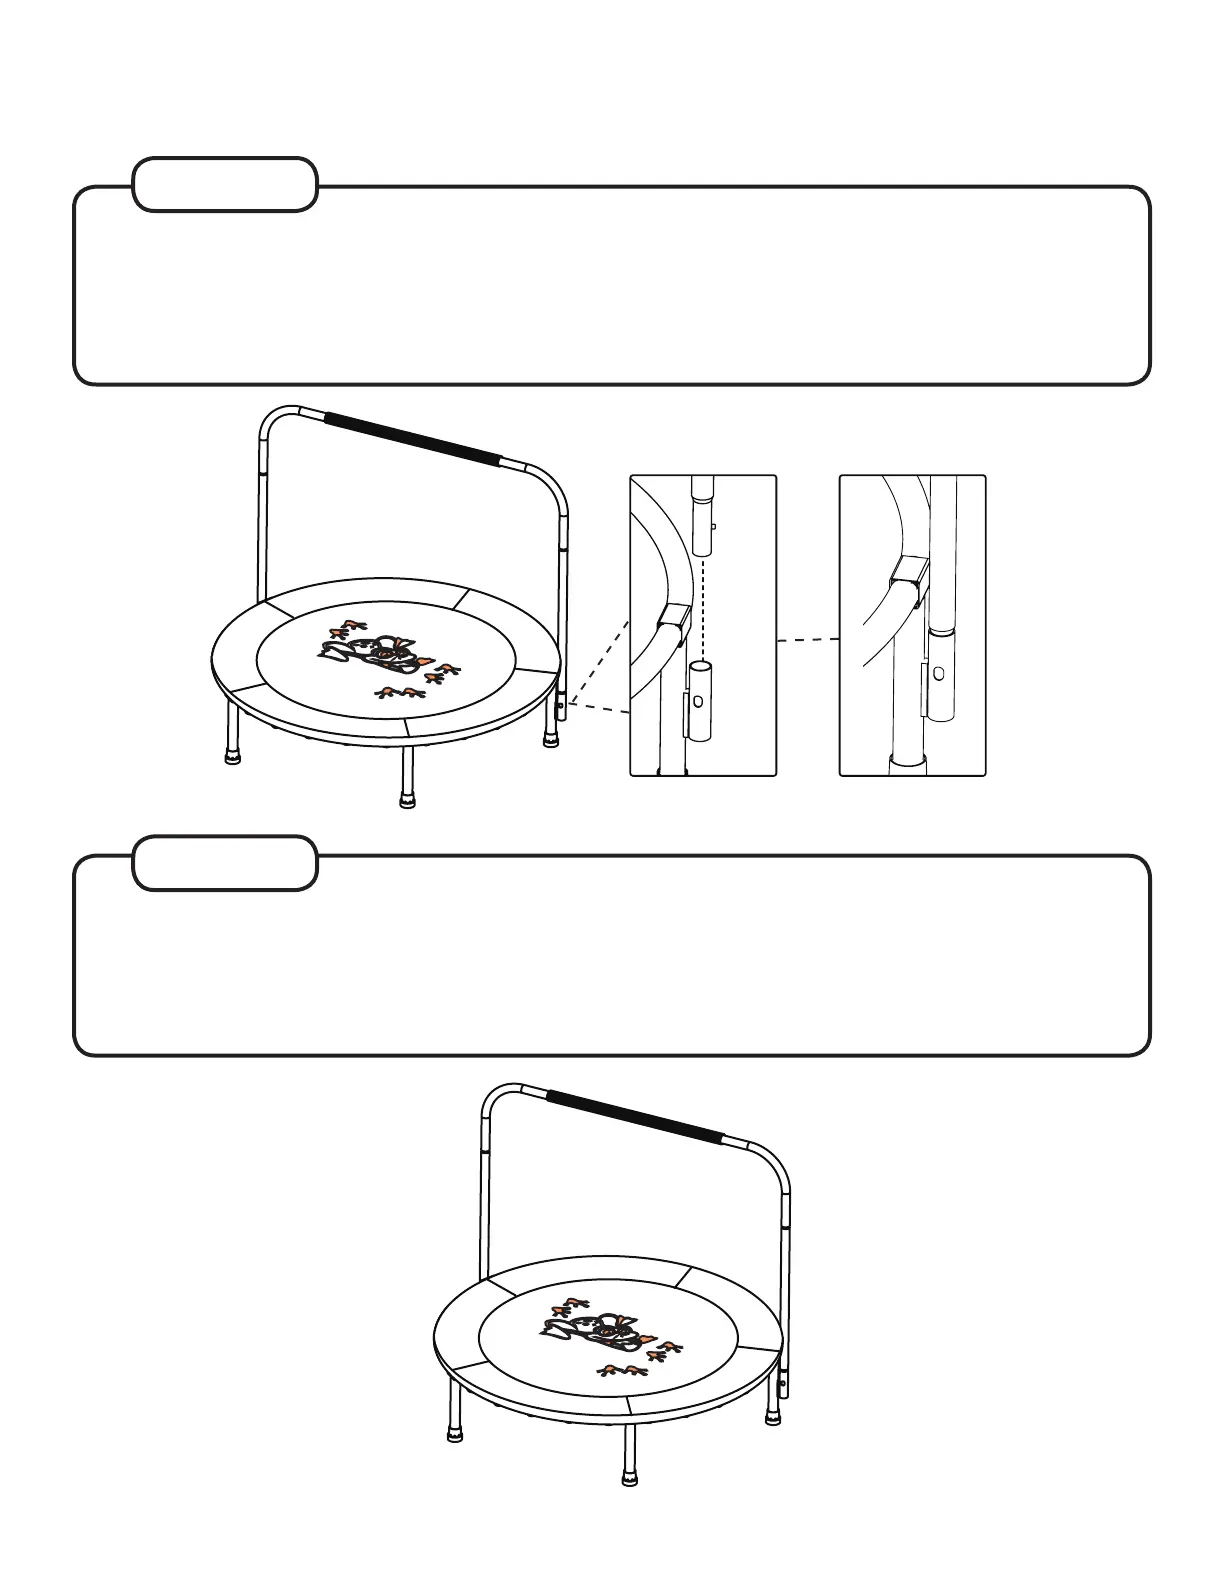
STEP 11
LAST STEP YOU’RE IN THE FINAL HOME STRETCH.
Insert the handlebars into welding legs until the spring clip pop out. Then, tighten all of the screws.
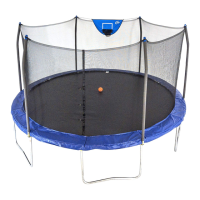
STEP 12
Congratulations on completing your new trampoline! (See... we knew you could do it!) So here comes the
real question... are you satisfied with this completed product? If you are, go ahead and write a review on the
retailer’s site you bought it from. We’d really appreciate it... and if we could, we’d give you a gold star. Are you
completely frustrated and have some choice words for us? Contact us directly! We’re not trying to ruin your
life, we promise. And we’ll do everything we can to make it right again. See contact info on page 2-3.