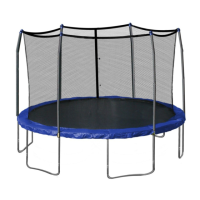
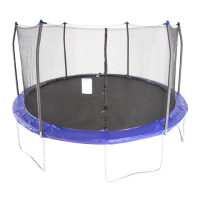
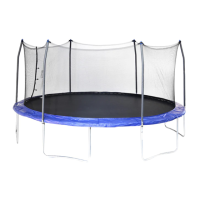
14
4.
Note: This step requires two persons. During this
step, you will connect the four assembled leg sections
leg
section
leg section
leg section
leg section
and four middle tubes(2) together
2
2
2
2
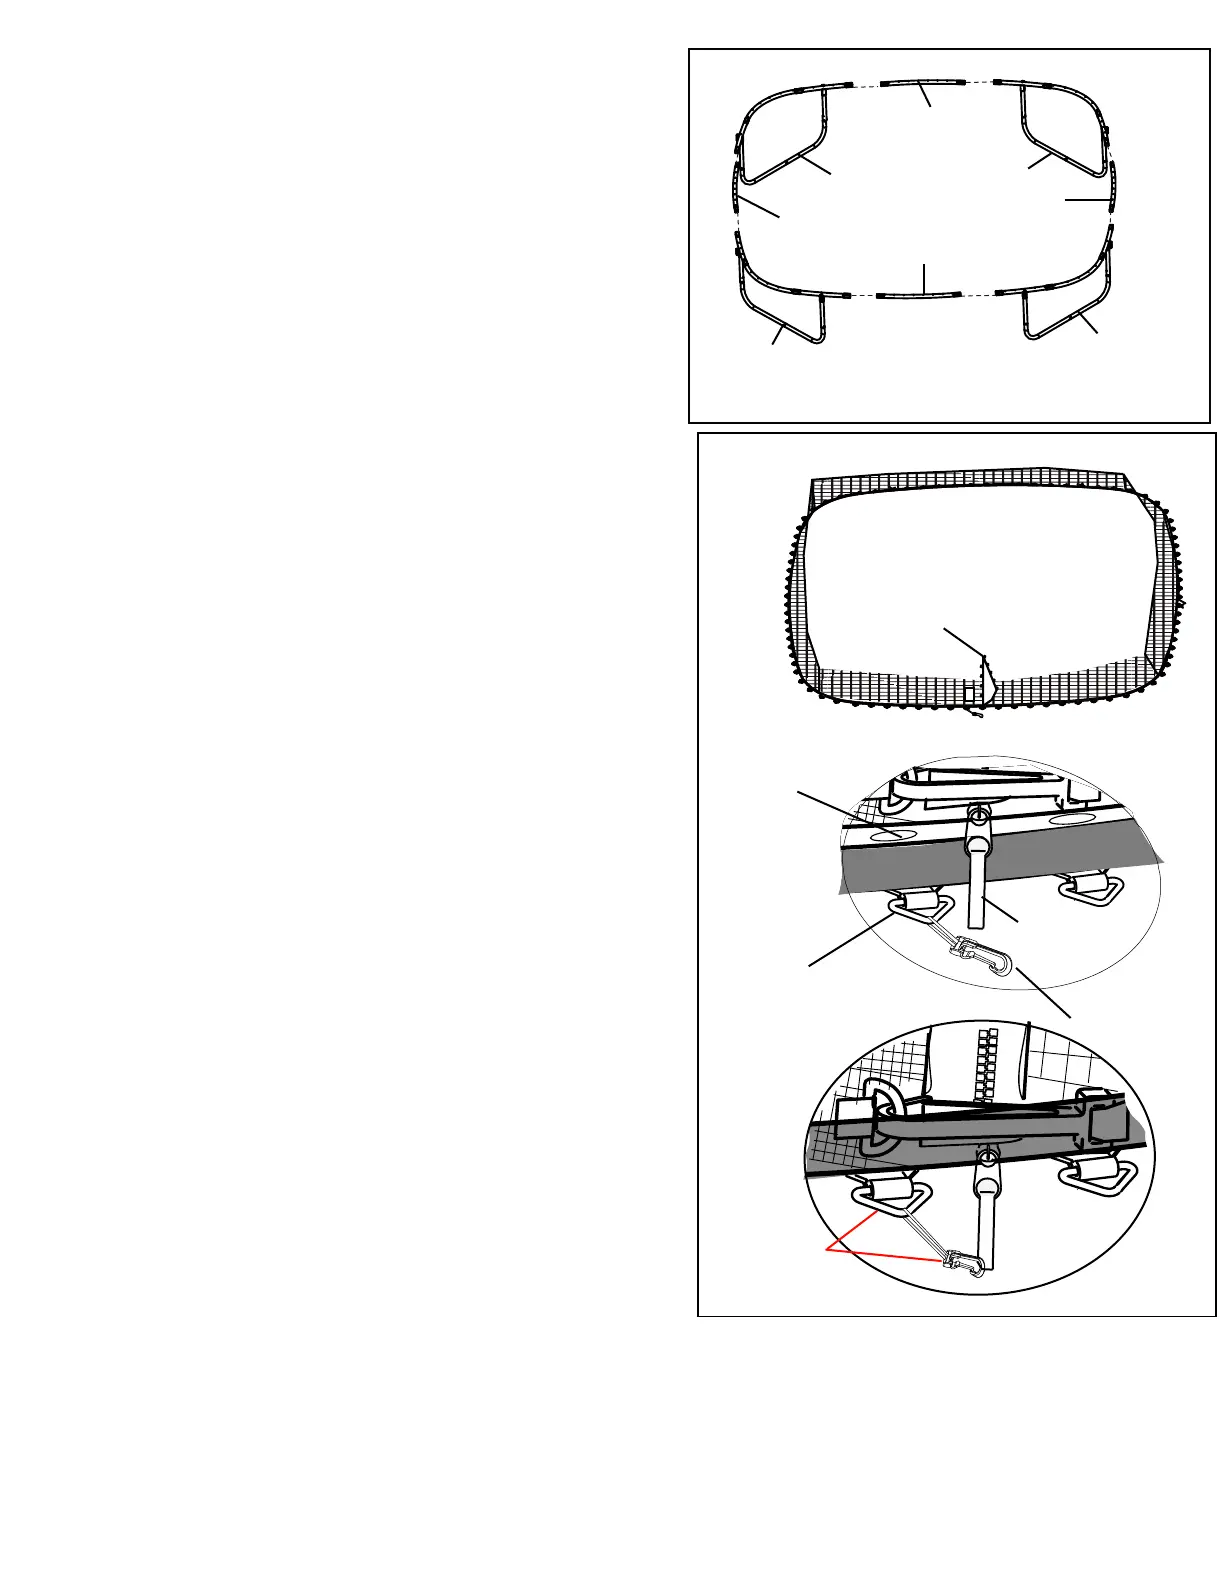
Stand two leg sections, a middle tube(2)and hold them
in the positions as shown, then attach them together, repeat this
step untill four middle tubes (2) and four leg section are connected
when this step is completed, the frame will be fully assembled and
freestanding as shown.
Note: There are 96 V-rings around the edge of the Mat (12)
and 96 holes around the top of the frame. In Step 6
you will attach the Mat (12) to the frame, using 96 Springs (10).
Caution: It is wise to wear leather gloves while attach-
ing the Springs. Be careful whe
re you place
y
our
hands as the Springs and frame joints can pinch.
6, For proper placement of jump mat, locate the first V-ring located
directly left of the enclosure opening, and apply the first spring as follows:
Attach the spring with the smaller hook end onto the V-ring located directly
left of the enclosure opening, once you have done so hook the spring tool onto
the opposite end and pull the spring towards the frame (as pictured in the inset drawing),
then push the spring into the spring hole located on the main frame top tube.
Once this has been done, remove the spring tool and move 24 spring holes and V-rings
in the clockwise direction and apply another spring. After you have now attached the
second spring, count an additional 24 spring holes and V-rings in the clockwise direction
and apply the third spring and continue the same pattern until you have exactly 4
springs attached to the main frame.
Flip two of the leg sections over so that the spring holes are
now facing the sky instead of the ground.
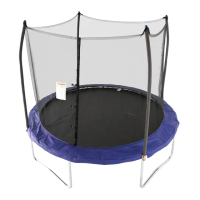
5, Lay the Jump mat on the ground Put the Enclosure Net on the Jump
Mat, make sure the first net hole on the left of enclosure door and
the V- ring with the zipper pull clip on the mat are aligned, insert the V-ring
with the zipper pull clip into the first net hole to the left of the enclosure
door (please refer to drawing in page10).
Continue this process in a clockwise direction around the jumping mat
to attach other V-rings to the “buttonhole” incisions on the bottom edge
of the net one by one.
Make certain that each of the V-rings on the trampoline mat is
threaded through the corresponding “buttonhole’ in the
Enclosure Net.
*NOTE* Before beginning to attach the springs, make sure the
enclosure door is centered between the two legs . Follow instructions for
attaching springs below by beginning with the first spring attaching
the jumping mat V-ring directly to the left of the enclosure door to the
the frame spring hole directly to the left of the enclsoure door
zipper clip
pothook
the first net hole
the first V- ring
Left of
Enclosure Door
5
4
enclosure door
Notice: tighten all the Nuts