3
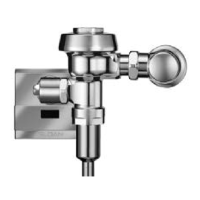
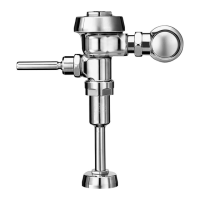
VALVE COMPONENT PARTS
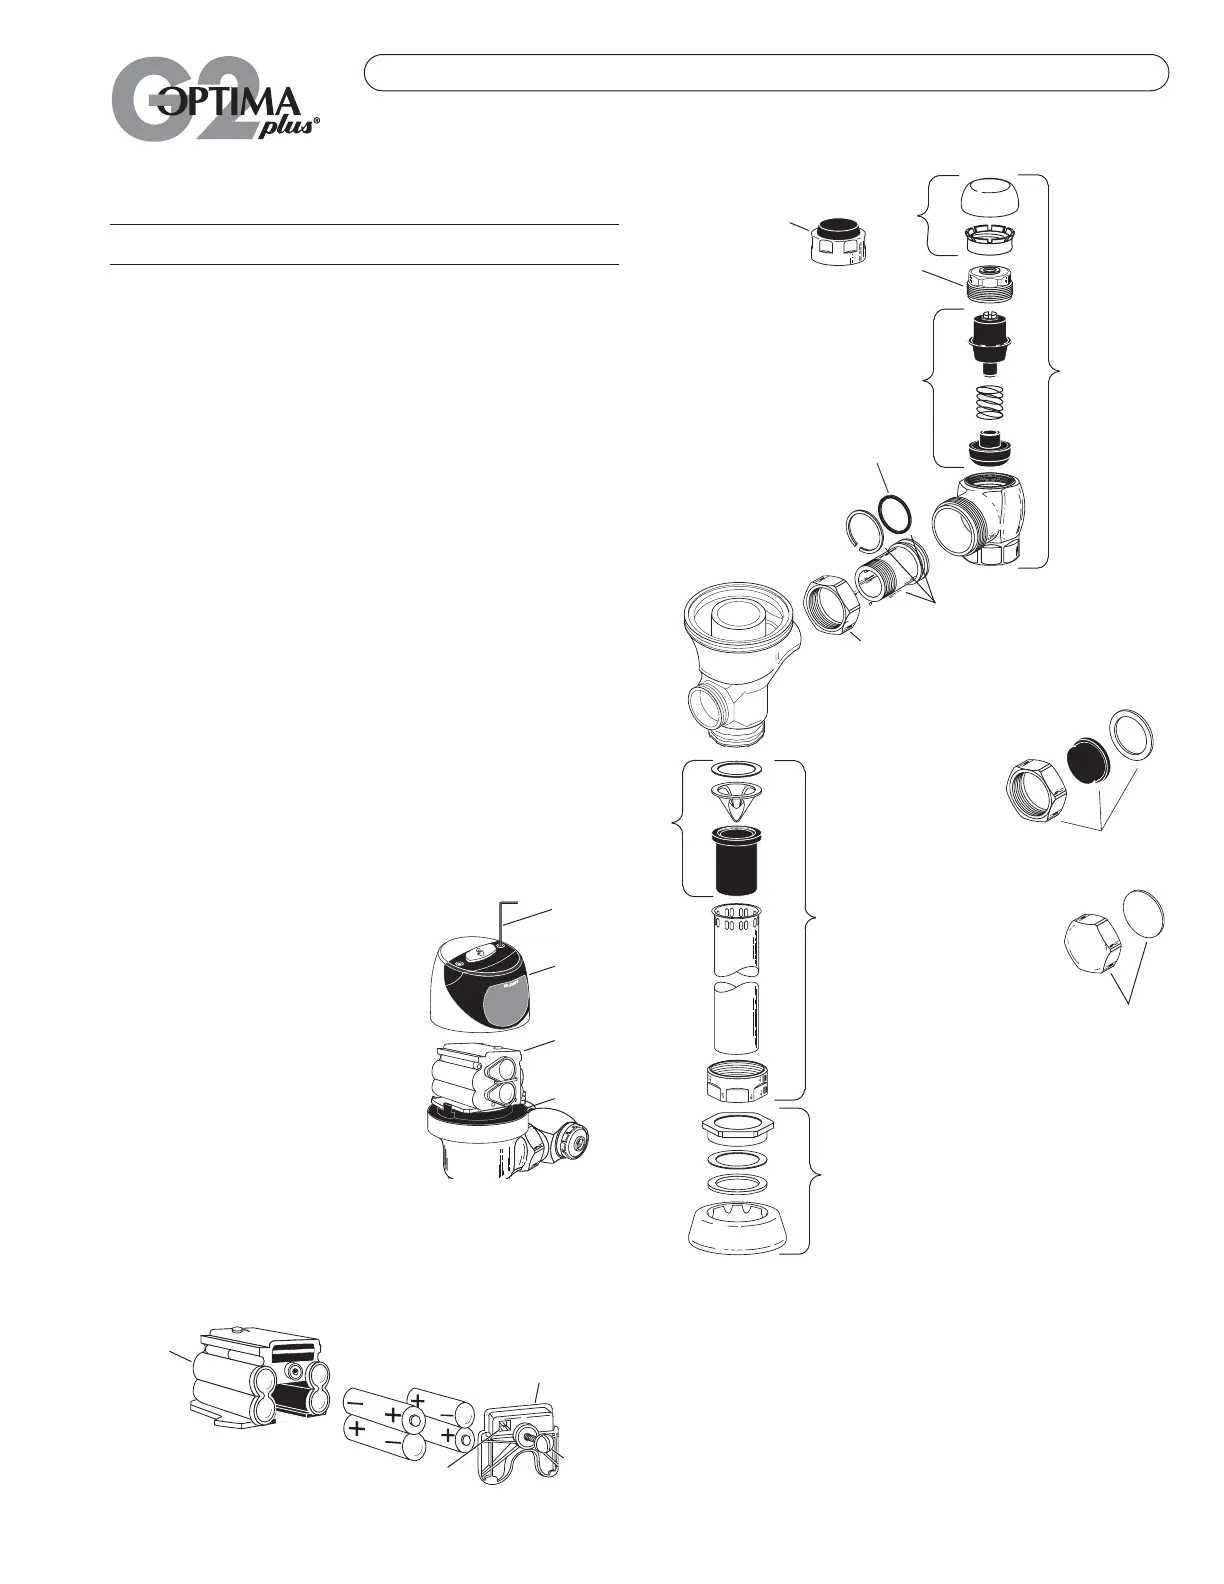
Item Code Part
No. No. No. Description
14. 3323182 V-651-A Vacuum Breaker Repair Kit
15. 0393046 V-600-AA ¾'' x 9'' CP Vacuum Breaker
0393006 V-600-AA 1¼'' x 9'' CP Vacuum Breaker
0393007 V-600-AA 1½'' x 9'' CP Vacuum Breaker
16. 0306125 F-5-AW ¾'' CP Spud Coupling
0306140 F-5-AU 1¼'' CP Spud Coupling
0306146 F-5-AT 1½'' CP Spud Coupling
17. 0308676 H-550 CP Stop Coupling
18. 0308801 H-551-A CP Adjustable Tailpiece 2-1/16'' long
19. 5308696 H-553 O-ring — 24 per package
20. 3308386 H-700-A 1'' Screwdriver Bak-Chek
®
Stop CP — complete
3308384 H-700-A ¾'' Screwdriver Bak-Chek
®
Stop CP — complete
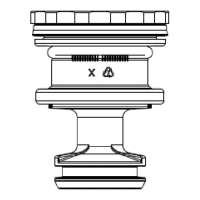
21. 3308853 H-541-A Control Stop Repair Kit †
3308856 H-543-A Control Stop Repair Kit ‡
22. 0308612 H-622 CP Bonnet †
0308843 H-577 CP Bonnet ‡
23. 3308791 H-1010-A Vandal Resistant Control Stop Cap Assembly †
3308790 H-1009-A Vandal Resistant Control Stop Cap Assembly ‡
24. 3325816 EBV-1019-A ¾'' Decorative Stop Cap
3308866 H-574 1'' Decorative Stop Cap
25. 3325815 EBV-1018-A Handle Cap — Decorative
26. 3325814 EBV-1017-A Handle Cap — Metal
† For use w/H-700-A 1'' & ¾'' and H-600-A 1'' Screwdriver Bak-Chek
®
Control Stops.
‡ For use w/H-600-A ¾'' Screwdriver Bak-Chek
®
Control Stops.
24
23
22
20
21
19
18
17
15
14
16
25
26
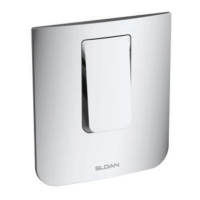
SENSOR OPERATED FLUSHOMETERS
Battery Replacement
When G2 OPTIMA Plus has approximately 4,000 flushes left, the same Red
Light that appears at start-up will flash four (4) times quickly whenever an
object is detected. When this occurs, we recommend changing the
batteries as follows:
When required, replace Batteries with four
(4) Alkaline Type AA Batteries.
Note: Water does not have to be turned off
to replace Batteries.
Loosen the two (2) Screws on top of unit.
Remove the complete Cover Assembly. Lift
the Sensor Module from its Plate. Unplug the
Electrical Connector from Battery
Compartment Cover. Loosen the Retaining
Screw on Battery Compartment Cover and
remove Battery Compartment Cover. Install
four (4) Alkaline Type AA Batteries exactly as
illustrated at right.
Install Battery Compartment Cover and secure with Retaining Screw. Make
certain that Battery Compartment Cover is fully compressed against
Gasket to provide a seal; Do Not overtighten. Plug the Electrical Connector
into the Battery Compartment Cover. Reinstall the Sensor Module onto the
Plate. Reinstall the complete Cover Assembly onto the Plate. Tighten the
two (2) Screws on top of the unit.
7/64” HEX
WRENCH
BATTERY
COMPARTMENT
COVER
ELECTRICAL CONNECTOR RECEPTACLE
SENSOR
MODULE
RETAINING
SCREW
COVER
ASSEMBLY
SENSOR
MODULE
PLATE
Care and Cleaning Instructions
DO NOT use abrasive or chemical cleaners to clean the G2 OPTIMA Plus,
they may dull the luster and attack the Plastic Cover and the chrome finish
of the Flushometer. Use ONLY soap and water, then wipe dry with clean
cloth or towel. While cleaning the bathroom tile, the OPTIMA Plus should
be protected from any splattering of cleaner. Acids and cleaning fluids can
discolor or remove chrome plating.
 Loading...