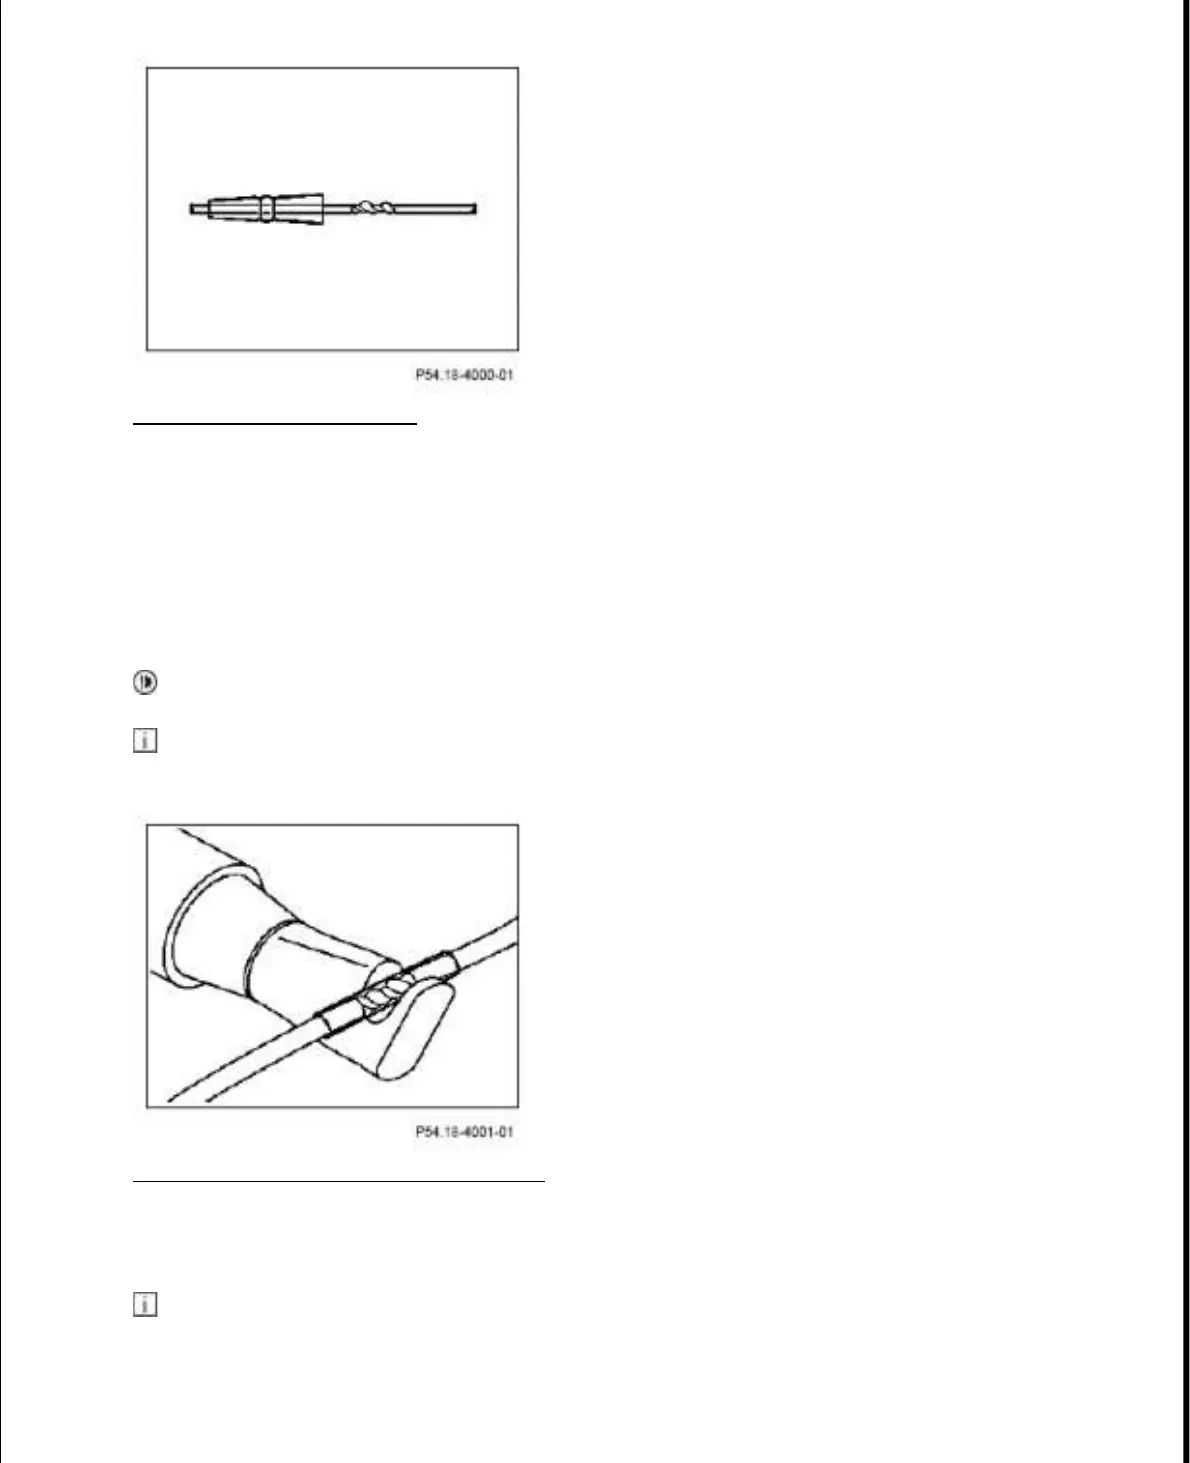
Fig. 28: Twisting Line Ends
Courtesy of MERCEDES-BENZ OF NORTH AMERICA.
8. Heat up axial solder connector with a preheated hot air blower (with electronic temperature control) to
400°C.
Hot air blower
gotis://E 15/54 12. 0
Use welding bead catcher in the vehicle interior in order to avoid damage due to liquid solder.
Until the soldering ring has dissolved and the covering has positioned itself properly around the
lines.
Fig. 29: Heating Axial Solder Connector
Courtesy of MERCEDES-BENZ OF NORTH AMERICA.
9. Check soldered point.
It must not be possible to see the soldering ring of the axial soldered connector any more. The
2010 Smart Fortwo Passion
2009 ACCESSORIES & BODY, CAB Electrical System, Equipment & Instructions - Fortwo (Cabrio)
15 октября 2019 г. 19:12:10 Page 31 © 2011 Mitchell Repair Information Company, LLC.

 Loading...