Do you have a question about the Smoby 721002 and is the answer not in the manual?
Visual identification of all major product components denoted by alphabetical labels.
List of hardware components with specifications, including screws and bolts.
Instructions for assembling the wheels onto the main body using specified parts.
Procedure for connecting the base and pedal mechanism with hardware.
Details on assembling wheel housings and attaching wheel components.
Guidance for constructing the handlebar steering and support structure.
Instructions for connecting the front part of the scooter body.
Procedure for attaching the assembled handlebar system to the main body.
Attaching handlebar grips and securing the steering column.
Instructions for fitting the horn or bell onto the handlebar.
Connecting the seat and completing the main scooter structure.
Important safety warnings and advice for product usage.
Information for consumer support, spare parts, and warranty claims.
| Recommended age (min) | 3 years |
|---|---|
| Recommended age (max) | 6 years |
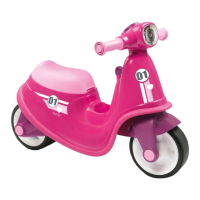
| Number of wheels | 3 |
| Maximum load weight | 50 kg |
| Colour | Blue |
| Type | Scooter |