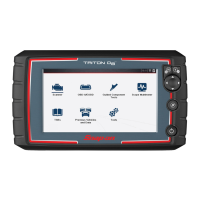
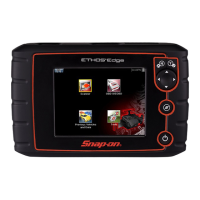
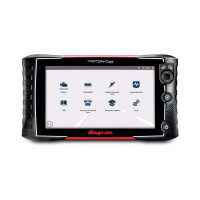
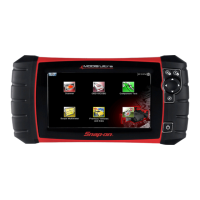
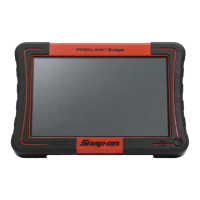
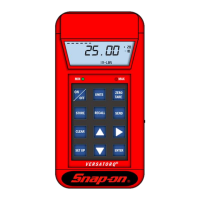
The Introduction to Intelligent Diagnostics slide show helps you get familiar with
WKHEDVLFPHQXVDQGFRGHVSHFL¿FIHDWXUHV
Scanner Basics
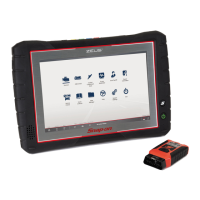
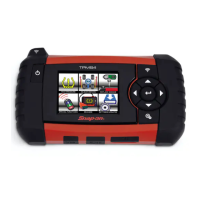
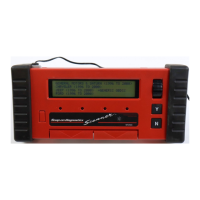
Scanner
,QWHOOLJHQW'LDJQRVWLFV4XLFNO\¿QGFRGHVSHFL¿FGLDJQRVWLFLQIRUPDWLRQ
Code Scan - Scan multiple systems in a single touch
'DWD*UDSKLQJ - View multiple PID graphs at once for data comparison analysis
7HVWV5HVHWV - Perform functional component tests, and adaptive relearns
'HPRQVWUDWLRQ
Scanner makes vehicle communication easy, by providing full
scanning functionality including these features and more!
The built-in demonstration program includes a slide show Introduction to
Intelligent Diagnostics, and allows you to interactively explore Scanner functions
without actually connecting to a vehicle. The interactive demonstration allows you
WRQDYLJDWHWKURXJK6FDQQHURSHUDWLRQVLQFOXGLQJYHKLFOHLGHQWL¿FDWLRQV\VWHP
selection, Code Scan, PID graphs, Intelligent Diagnostics and more!
1. Select Scanner, from the Home screen.
2. Select 'HPRQVWUDWLRQ, from the vehicle make menu.
3. Select &KHYUROHW> 2016 >7DKRH:''HPR>7DKRH9/.
4. Select OKWRFRQ¿UPWKHYHKLFOHWKHQVHOHFW&RQWLQXH(demo mode
FRQ¿UPDWLRQPHVVDJH
5. Select (QJLQH > &RGHV0HQX > 'LVSOD\&RGHV > '7&'LVSOD\, to display
the code results list.
From the code results list there are two demonstration options:
a - Continue interactive demo, see
,QWHOOLJHQW'LDJQRVWLFV'HPRQVWUDWLRQ.
E - View slide show, see ,QWURGXFWLRQWR,QWHOOLJHQW'LDJQRVWLFV.
Introduction to Intelligent Diagnostics
Select to start the demo, and use the )RUZDUG! and %DFN icons to
view the slides.
Select “X” to exit and return to the codes results list screen.
1. Turn the vehicle ignition switch on.
2. Connect the Data Cable to the vehicle and diagnostic tool.
3.&RQ¿UPWKHYHKLFOHDVSURPSWHGE\,QVWDQW,'RUVHOHFWScanner from the
Home screen to identify the vehicle.
4. Select a system (e.g. Code Scan, Engine, Transmission, Body, etc.).
5. Select a function/test (e.g. Codes Menu, Data Display, Functional Tests, etc.).
 Loading...

