A C
G
J
F
B D
H
I
E
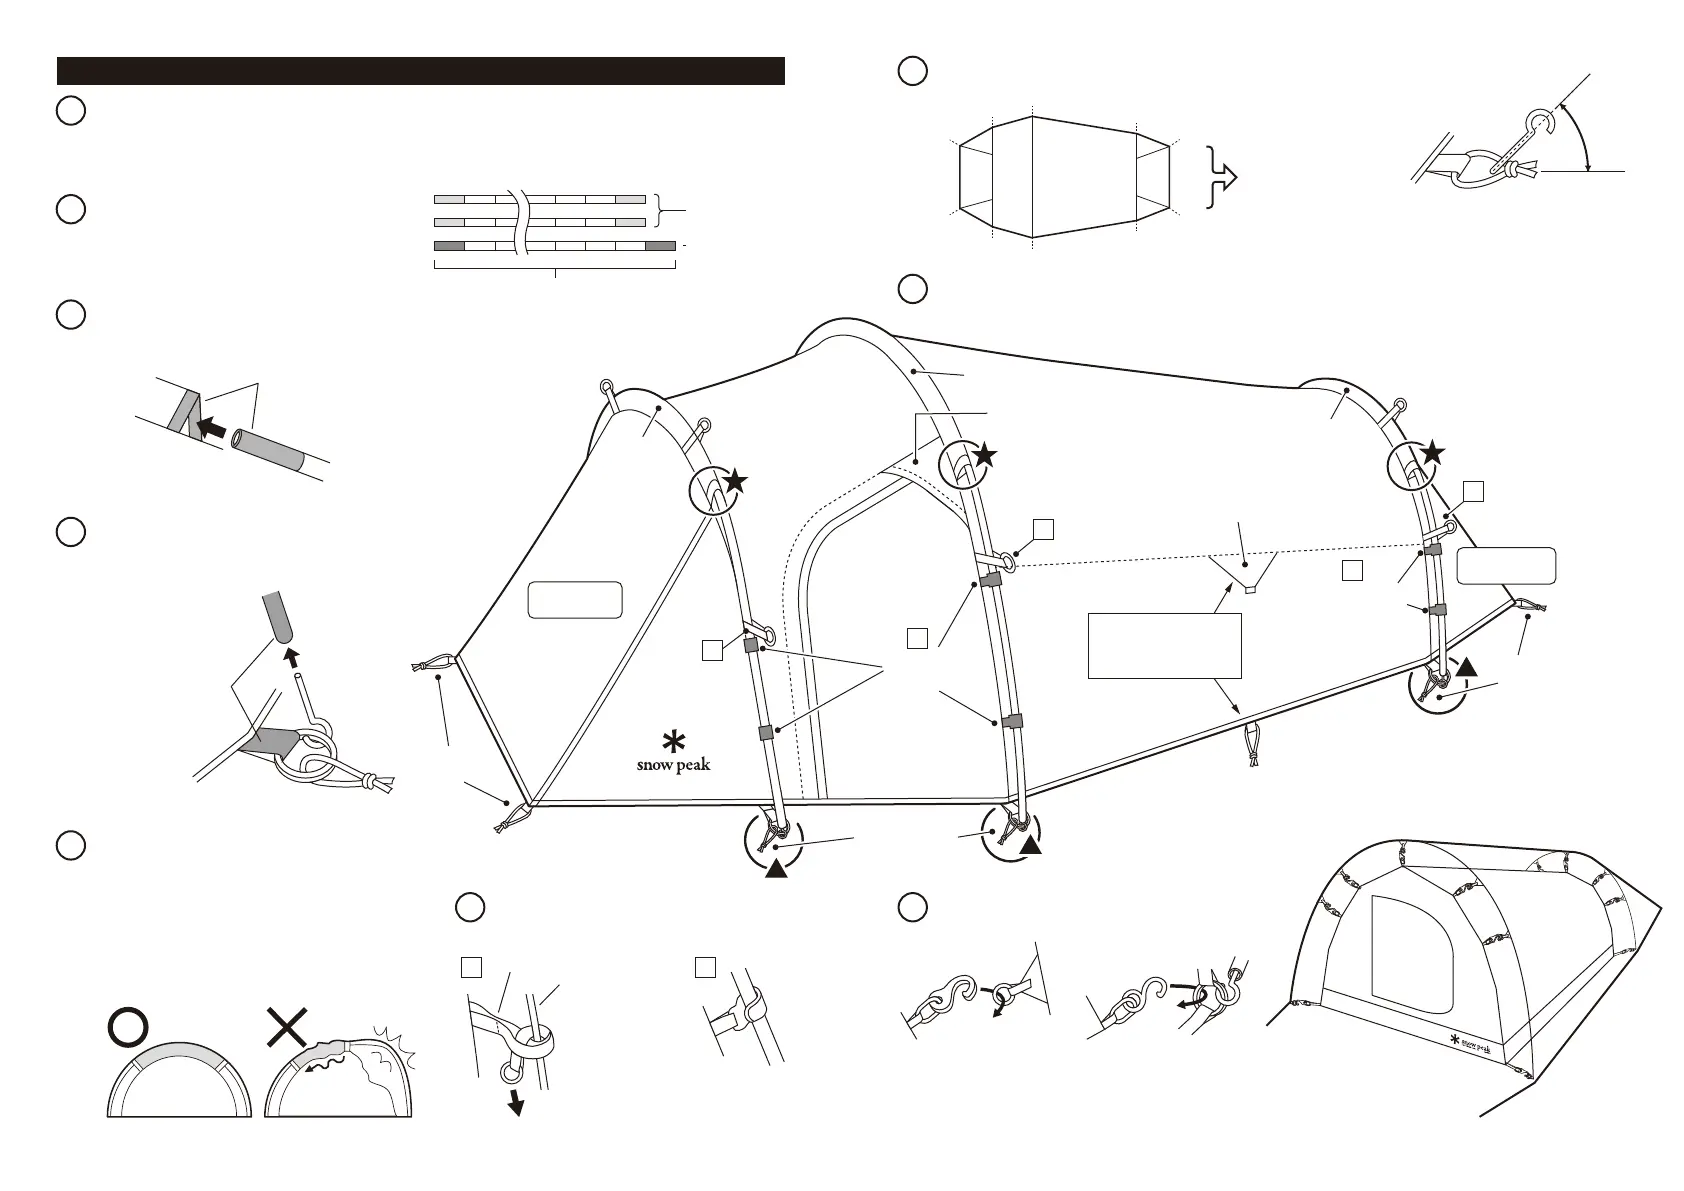
3 4
Pole Short (yellow end)
Pole Long (red end)
Reinforcing Cloth
Sleeve
Sleeve
Sleeve
Ventilation
Plastic
Hook
Side Door Panel
Corner Loop
Corner Loop
Corner Loop
Plastic Hook
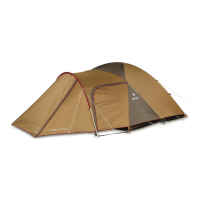
Match the yellow Pole with
the yellow Sleeve and the red
Pole with the red Sleeve.
Match the yellow Pole with
the yellow Corner Tape, and
the red Pole with the red
Corner Tape, and insert.
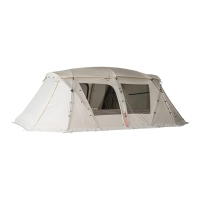
The side with logo at the
bottom should face the
vestibule.
Connect the wall section to
the plastic ring.
Hook the bottom section
to the corner ring.
1
2
Check the position marked with ★ and insert
the Pole into the Sleeve. Make sure to match
the end colors of the Sleeve and the Pole .
Make sure there is no
slack when pegging C
and D down.
Peg down these
parts if necessary.
Drive the peg into the groundat 45°.
3
Check the position marked with ▲ and insert
the pin into the end of the Pole, at the corner
of the Fly. Match the colors of the Pole end
and corner tape.
4
Attach the rope according to the P5 and also peg down the rope.
8
6
Insert the pin on the opposite side.
*Slowly insert the pin into the end of pole
while adjusting the sleeve so it is positioned
in the center. If the pin is inserted with too
much force from one side, the other side
may curve widely and damage the Pole. Be
sure to communicate with your set-up
partner during this procedure.
5
Wrap [I] tape around the pole .
Hook [II] to the pole .
7
Secure to each corner loop, following the order shown below.
9
Hang the inner tent inside the fly sheet.
Wrap the tape
around the pole,
thread between
the tapes next to
the seam, and pull.
Ⅰ
Ⅰ
Ⅰ
Ⅰ
Ⅱ
Ⅱ
Ⅱ
Vestibule
Rear Room
45°
Sewn seam
Pole
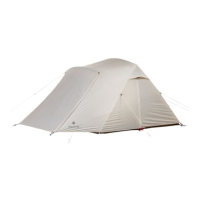
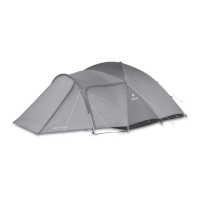
Spread the Fly (beige color) on a flat area.
*Typically, the Vestibule should face downwind. If the Vestibule faces windward, not only will wind
and rain blow into the main entrance, but sudden and strong gusts may causedamagetothe
tentwhenopeningthedoor.
Extend Pole (long) x 1 and Pole (short) x 2
and connect them firmly.
*Make sure to connect them without leaving
gaps at the joints.
Connect them without
leaving gaps at the joints.
Set-up Procedure Make sure that two or more people take part in the set-up.