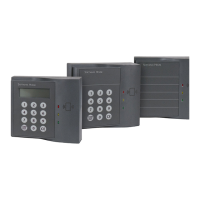
Setting up the Reader
6
4.
Install the gasket so that no gaps or wrinkles are present.
The mount plate contains eight mounting holes. You do not need to use all
eight holes; usually any four of the eight holes are adequate. The mounting
holes are 0.156” and provide clearance for 6-32 flat head countersunk bolts or
screws.
ULC 60839-11-1 certified reader models RM1, RM2, and RM2L are grade 1
and indoor use only.
Wiring the Inputs, Outputs, and Reader Bus
Figure 3. P1 and P5 Wiring Requirements
Setting up the Reader
To setup the reader:
1. Set the Reader Address Switch, SW1 (a 16-position rotary switch, see
Figure 3 on page 6), to a number from one to eight. Each Reader along the
bus must have a unique address.
NOTE
SW3-7 and SW3-8 refer to the Beeper.
P3 BEEP refers to the Beeper on the read head, if it exists. There is no Beeper on the reader
read heads. Some third-party readers that are connected to a standalone readers have
beepers.