CAUTION: A MARINE (BOAT) BATTERY MUST BE REMOVED AND CHARGED ON
SHORE. TO CHARGE IT ON BOARD REQUIRES EQUIPMENT SPECIALLY DESIGNED
FOR MARINE USE.
CAUTION: A SPARK NEAR BATTERY MAY CAUSE BATTERY EXPLOSION. TO
REDUCE RISK OF A SPARK NEAR BATTERY:
1. Check polarity of battery posts. POSITIVE (POS, P, +) battery post usually has a
larger diameter than NEGATIVE (NEG, N, –) post.
2. Attach at least a 24” long, #6 gauge (AWG) insulated battery cable to NEGATIVE
(Neg, N, –) battery post.
3. Connect POSITIVE (RED) charger clip to POSITIVE (POS, P, +) post of battery.
4. Position yourself and the free end of the cable (installed in step #2) as FAR away
from the battery as possible. FACING AWAY FROM THE BATTERY, connect the
NEGATIVE (Black) charger clip to the free end of the cable.
5. When charging is complete,
disconnect charger, always in
reverse sequence of connecting
procedure and break first
connection while as far away
from battery as practical.
+
_
Cable
from
Charger
Cable from
Charger
Positive
Booster
Cable
Negative
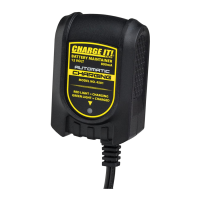
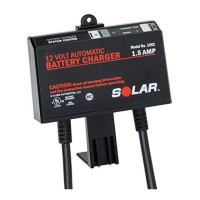
1. The battery maintainer comes with the output options: Clamp set, ring terminal set and
12V adapter. Choose the option that best meets your specific needs and connect it to the
output lead.
2. Make a proper battery connection based on the output option chosen (see section F or
G as applicable).
3. Plug maintainer into an AC receptacle. If a red LED lights solid, the charger has begun
charging. If a green LED lights solid, the battery is at full charge and will be maintained.
If a blinking red LED lights, this indicates a reverse polarity condition has been detected.
Disconnect from AC power supply immediately and check all battery connections until the
cause is found and corrected.
4. Assuming you achieved a solid red LED upon AC connection, the charger will execute its
multi-step charging process and will automatically bring the battery to full charge, which
is indicated by a solid green LED.
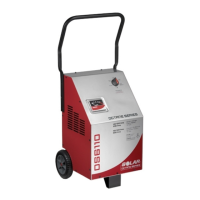
CHARGING A BATTERY OUTSIDE OF THE VEHICLE
G
OPERATING INSTRUCTIONS
H