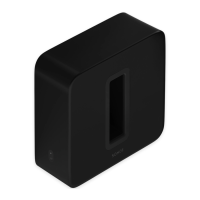
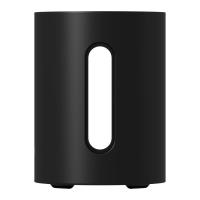
Sonos SUB
3
Adding the SUB to your Sonos System
You can easily add the Sonos SUB to an existing Sonos system.
• You can pair the SUB with any amplified Sonos player, including a PLAYBAR, CONNECT:AMP, PLAY:1, PLAY:3, PLAY:5, or
ZP100. You cannot associate it with an un-amplified Sonos player such as the CONNECT or ZP80.
• The SUB is compatible with Sonos software versions 3.8 and later. Be sure to check for software updates before
adding the SUB to your Sonos system.
1. Carefully unpack the package contents.
Caution: Subwoofers are heavy. Exercise caution when unpacking your Sonos SUB. Use the
acoustic slot as a handle to lift the SUB out of the box. (You should always bend your knees
when lifting heavy objects to avoid undue stress on your back.)
Acoustic slot The top of the acoustic slot doubles as a handle so you can lift it.
SUB placement: Make sure at least one side of the slot is free from obstruction. If you
pl
ace it vertically against a wall, do not block the front opening. If you place the SUB
horizontally on the floor, don’t put anything on top of it.
SUB status indicator LED indicates the SUB status.
• For a complete list of status indicators, please go to http://faq.sonos.com/led.
Ethernet port Use an Ethernet cable to connect the SUB to your home network.
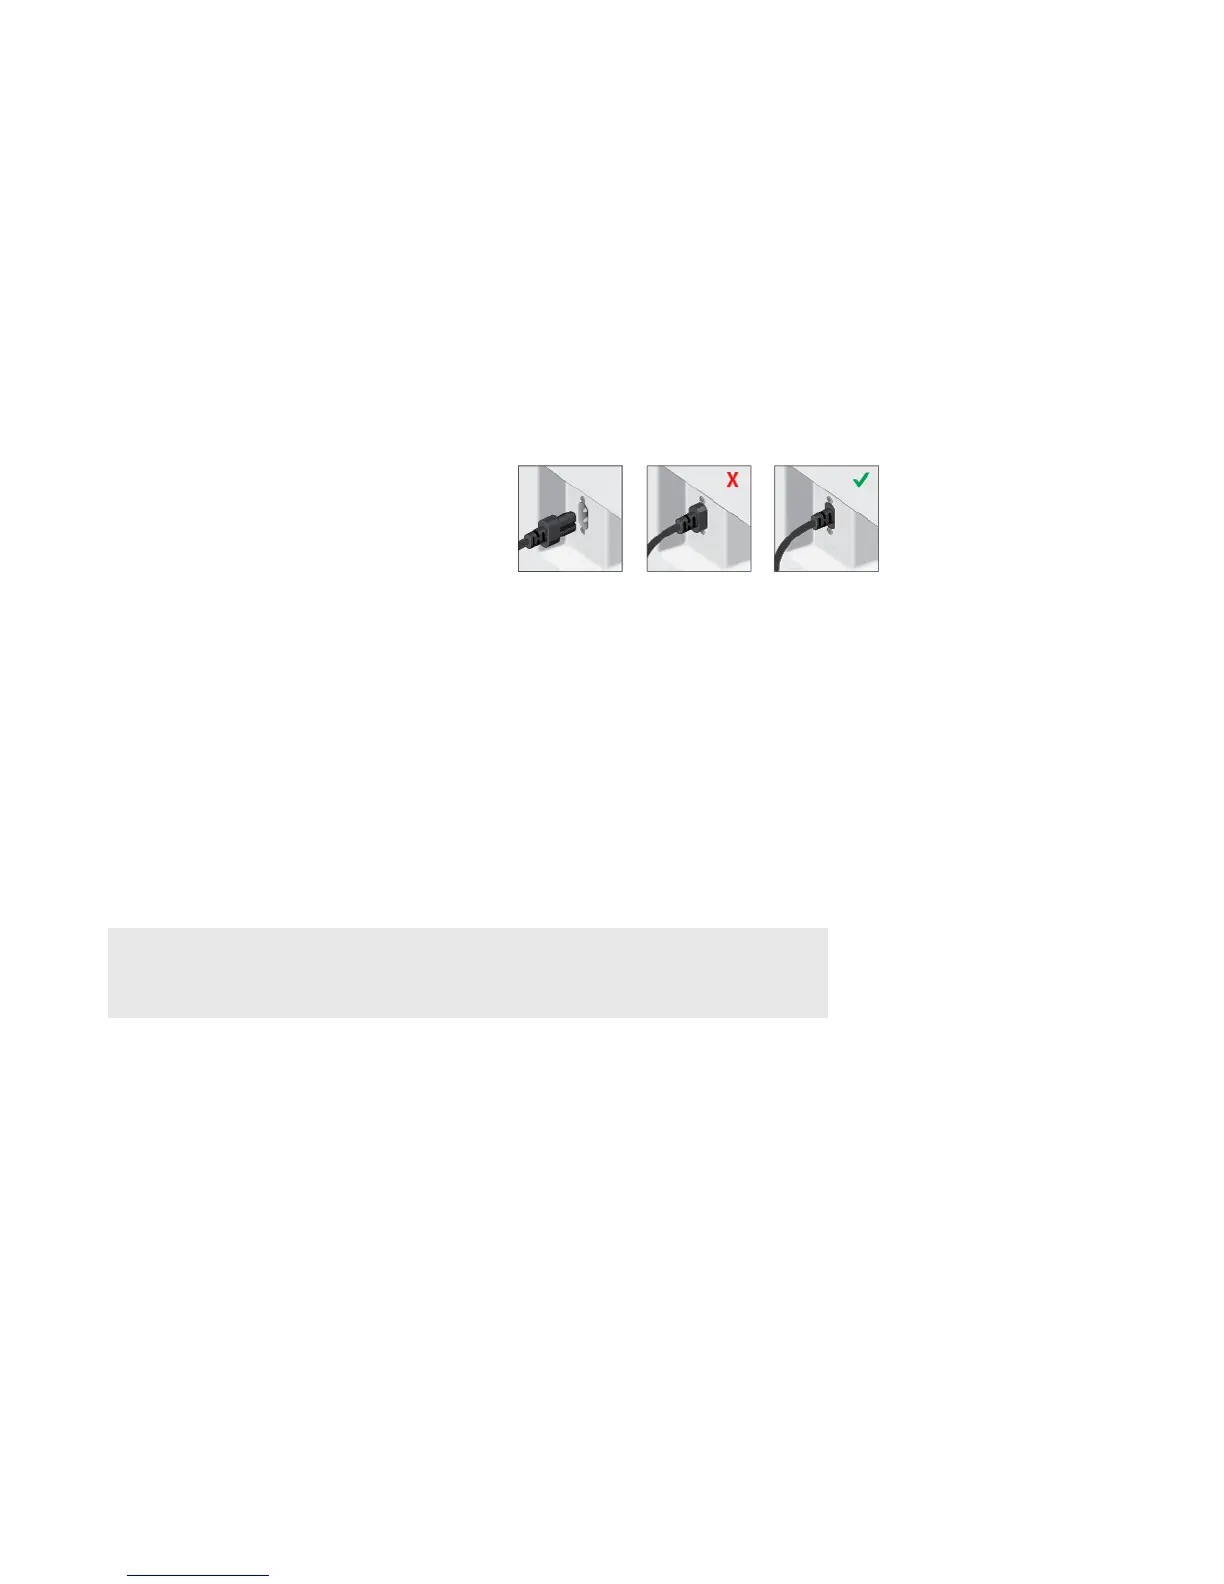
AC power (mains) input Use only the supplied power cord to connect t
o a power outlet (using a third party
power cord will void your warranty). Be sure to use the proper power adapter for your
country. Push the power cord firmly into the SUB until it is flush with the surface.