Do you have a question about the Sony Alpha 7C and is the answer not in the manual?
Insert the battery pack and memory card into the camera.
Connect the camera with the battery pack inserted to the AC adaptor.
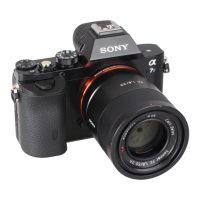
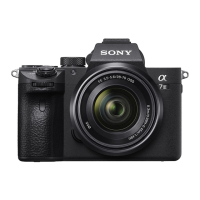
Align mounting indexes and attach the lens to the camera body.
Set the desired language, geographic location, date, and time.
Select shooting mode, focus, and press shutter or MOVIE button.
Press Playback button and use control wheel to select images.
Install and update Imaging Edge Mobile app on your smartphone.
Use QR Code via MENU to connect camera and smartphone.
Selected images are transferred from camera to smartphone.
Import images using a USB cable or by inserting the memory card.
Utilize software for remote shooting, RAW adjustment, and development.
Avoid exposing lens to sunlight, protect from moisture, and be aware of magnets.
Be aware of pixel variations and potential eyestrain when using viewfinder.
Camera body may warm up; take precautions against low-temperature burns.
Be cautious of network access, use 2.4 GHz band outdoors, and enable Airplane Mode.
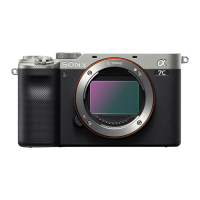
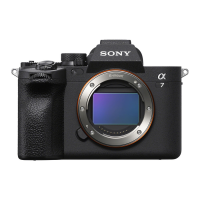
The Sony α7C (ILCE-7C) is an interchangeable lens digital camera designed for both still image and movie capture, offering a compact form factor with advanced capabilities. This startup guide provides essential information for initial setup, basic operation, and maintenance.
The α7C functions primarily as a high-performance digital camera, capable of capturing still images and recording movies. It utilizes an E-mount lens system, allowing users to interchange lenses to suit various shooting scenarios. The camera features a 35mm full-frame CMOS image sensor, enabling high-resolution imaging.
For still image capture, users can select their desired shooting mode via a mode dial and focus by pressing the shutter button halfway down before fully pressing it to take a picture. Movie recording is initiated and stopped by pressing a dedicated MOVIE button, which can be done from any shooting mode by default.
The camera includes an electronic viewfinder and a touch-panel TFT monitor for framing shots and reviewing content. The monitor also facilitates navigation through menus and settings. For reviewing captured media, a playback button switches the camera to playback mode, where images can be selected and navigated using the control wheel. Movies can be played back by pressing the center button on the control wheel.
Connectivity features include Wi-Fi, enabling the transfer of images to a smartphone via the Imaging Edge Mobile app. This process involves installing the app, connecting the camera and smartphone using a QR code, and then transferring selected images. The camera also supports editing movies on a smartphone using the Movie Edit add-on. For managing and editing images on a computer, the camera can be connected via a USB cable, or its memory card can be inserted directly into a computer. Sony's Imaging Edge Desktop software suite allows for remote shooting, RAW image adjustment, and development.
The α7C is designed for user-friendly operation, starting with its initial setup.
Proper care and maintenance are crucial for the longevity and optimal performance of the α7C.
By following these guidelines, users can ensure a safe, efficient, and enjoyable experience with their Sony α7C camera.
| Camera Type | Mirrorless |
|---|---|
| Effective Megapixels | 24.2 MP |
| ISO Sensitivity | 100-51200 (expandable to 50-204800) |
| Image Stabilization | 5-axis in-body image stabilization |
| Weather Sealing | Yes |
| Image Processor | BIONZ X |
| Battery | NP-FZ100 |
| Sensor Type | Full-frame CMOS |
| Autofocus Points | 693 phase-detection points |
| Continuous Shooting Speed | 10 fps |
| Video Resolution | 4K (3840 x 2160) at 30p/24p |
| Viewfinder Type | Electronic (EVF), 2.36M dots |
| Screen Type | 3.0-inch type TFT LCD |
| Battery Life | Approx. 740 shots (CIPA) |
| Weight | 509 g (with battery and memory card) |
| Dimensions | 124.0 x 71.1 x 59.7 mm |
| Memory Card Slot | SD/SDHC/SDXC (UHS-II compatible) |
| Connectivity | Wi-Fi, Bluetooth, USB Type-C |