Do you have a question about the Sony CDX-GT56UI Operating Instructions (CDX-GT56UI) and is the answer not in the manual?
A general warning is presented on this page concerning unit operation.
Warning regarding the car's ignition and the absence of an ACC position.
Steps for canceling the DEMO mode and setting the clock.
Instructions for detaching and attaching the unit's front panel for security.
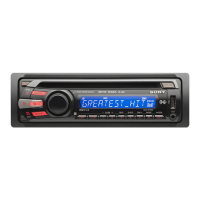
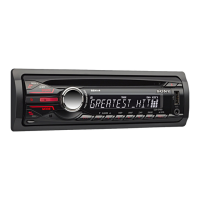
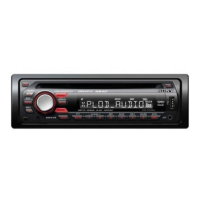
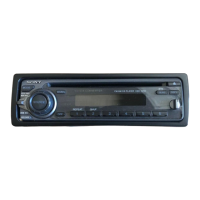
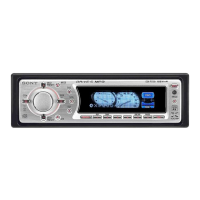
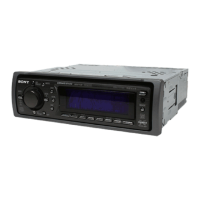
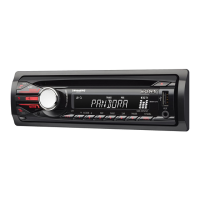
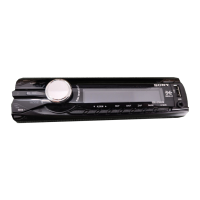
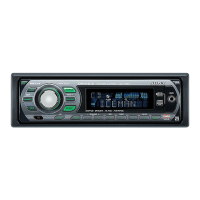
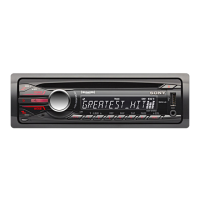
Identifies and explains the buttons and connectors on the main unit.
Details the functions of each button on the RM-X211 remote commander.
Guide to automatically and manually storing and receiving radio stations.
Steps for automatic tuning and information on Radio Data System (RDS) features.
How to search for stations based on program type using the PTY function.
Instructions for inserting, playing, and changing display items for CDs.
Steps for connecting a USB device and playing music files.
Key information on USB device compatibility, file limits, and potential playback issues.
Procedures for connecting an iPod and playing its music.
How to navigate through iPod content by skipping tracks and albums.
Enabling and using passenger control mode for iPod operation.
Selecting playback modes like repeat and shuffle for tracks.
Using the Quick-BrowZer feature to search tracks by category.
Utilizing Jump mode to quickly locate items within search categories.
Finding desired tracks by listening to short playback passages using ZAPPIN.
Performing an alphabetical search for tracks when an iPod is connected.
Modifying sound balance, fader, subwoofer level, and AUX volume.
Utilizing the Advanced Sound Engine and selecting preset equalizer curves.
Creating personalized equalizer settings by adjusting frequency bands.
Adjusting sound output timing based on listening position for optimal sound staging.
Fine-tuning listening position and setting subwoofer placement.
Enhancing sound quality with DM+ and using rear speakers as a subwoofer.
Configuring clock, CT function, and beep sound settings.
Configuring caution alarm, auto off, dimmer, and AUX source display.
Adjusting audio output, filters, loudness, and automatic level optimizer.
Setting parental locks, passcode, and Best Tuning Memory (BTM).
Connecting external audio devices via AUX and adjusting input levels.
Connecting and selecting channels for the SiriusXM Connect tuner.
Managing parental controls and accessing the SiriusXM Radio ID.
Precautions for operating the unit, handling heat, and managing moisture condensation.
Guidelines for disc care, playback limitations, and compatibility.
Information on discs that cannot be played and specific notes for CD-R/RW media.
Explains the playback order for MP3, WMA, and AAC files.
Step-by-step instructions for replacing the lithium battery in the remote commander.
Guide to cleaning the connectors between the unit and the front panel.
Technical specifications for the tuner, CD player, USB player, and power amplifier.
General specifications including dimensions, mounting, mass, and supplied accessories.
Solutions for power, sound, and radio reception issues.
Steps for resolving preset tuning, automatic tuning, and signal strength problems.
Addressing problems with RDS, CD loading, and MP3/WMA/AAC file playback.
Solutions for USB playback problems, including hub support and complicated file structures.
Explanations for error messages related to USB device connection, support, and overload.
Interpretation of messages indicating SiriusXM channel lock, unavailability, or subscription status.
Troubleshooting steps for SiriusXM tuner, antenna connection, and passcode input failures.
Addressing NOSIGNAL errors and understanding subscription update notifications.
Information on accessing the support website and contacting customer service for further assistance.
| Tuner | FM/AM |
|---|---|
| CD Playback | Yes |
| MP3 Playback | Yes |
| WMA Playback | Yes |
| AAC Playback | Yes |
| USB Input | Yes |
| AUX Input | Yes |
| Bluetooth | No |
| Display | LCD |
| Remote Control | Yes |
| Power Output | 52 W |
| RMS Power Output | 17W x 4 |
| Equalizer | 3-Band |
| Preset Stations | 18 FM |
| Steering Wheel Control | Yes (Optional Adapter Required) |