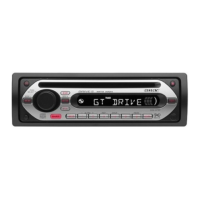
CDX-V6800
12 3
182 mm
53 mm
Dashboard
12
Face the hook inwards.
Claws
Orient the release key
correctly.
Fire wall
A TOYOTA
to dashboard/centre console
Bracket
Bracket
B NISSAN
to dashboard/centre console
Bracket
Bracket
Existing parts supplied with your car
AB
max. size
5 × 8 mm
max. size
5 × 8 mm
max. size
5 × 8 mm
max. size
5 × 8 mm
Existing parts supplied with your car
1
2
Mounting the unit in a Japanese
car
You may not be able to install this unit in some makes of
Japanese cars. In such a case, consult your Sony dealer.
Note
To prevent malfunction, install only with the supplied screws .
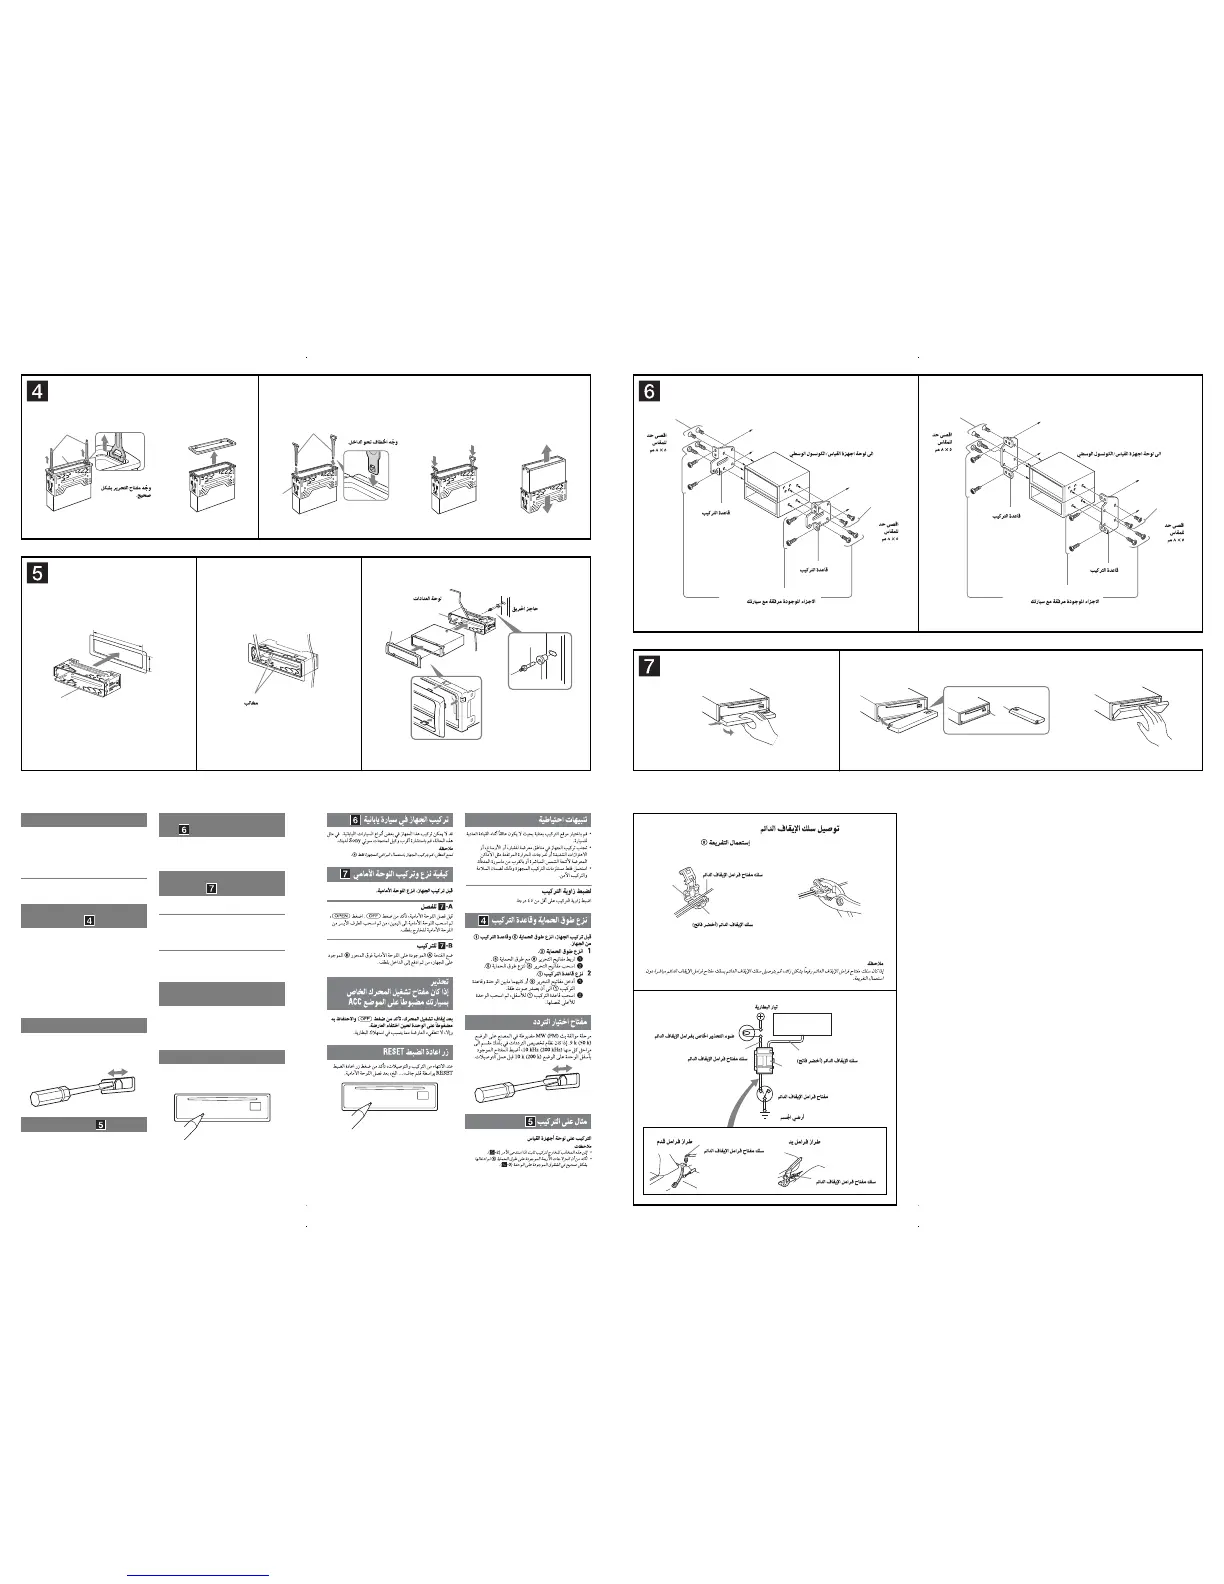
How to detach and attach the
front panel
Before installing the unit, detach the front panel.
-A To detach
Before detaching the front panel, be sure to press .
Press , then slide the front panel to the right, and
gently pull out the left end of the front panel.
-B To attach
Place the hole of the front panel onto the spindle
on the unit, then lightly push the left side in.
Warning if your car’s ignition
has no ACC position
After turning the ignition off, be sure to press
and hold on the unit until the display
disappears.
Otherwise, the display does not turn off and this causes
battery drain.
RESET button
When the installation and connections are completed, be
sure to press the RESET button with a ballpoint pen, etc.,
after detaching the front panel.
Precautions
• Choose the installation location carefully so that the
unit will not interfere with normal driving operations.
• Avoid installing the unit in areas subject to dust, dirt,
excessive vibration, or high temperatures, such as in
direct sunlight or near heater ducts.
• Use only the supplied mounting hardware for a safe
and secure installation.
Mounting angle adjustment
Adjust the mounting angle to less than 45°.
Removing the protection collar
and the bracket
Before installing the unit, remove the protection
collar and the bracket from the unit.
1 Remove the protection collar .
Engage the release keys together with the
protection collar .
Pull out the release keys to remove the
protection collar .
2 Remove the bracket .
Insert both release keys together between
the unit and the bracket until they click.
Pull down the bracket , then pull up the unit
to separate.
Frequency select switch
The MW (FM) tuning interval is factory-set to the 9 k
(50 k) position. If the frequency allocation system of
your country is based on 10 kHz (200 kHz) interval, set
the switch on the bottom of the unit to the 10 k (200 k)
position before making connections.
Mounting example
Installation in the dashboard
Notes
• Bend these claws outward for a tight fi t, if necessary (-
2
).
• Make sure that the 4 catches on the protection collar are
properly engaged in the slots of the unit (-
3
).
Connecting the parking cord /
Using the tap 8 /
c
8
Parking brake switch cord
Parking cord (light green)
Note
If the parking brake switch cord is too thin, connect the parking cord to the parking brake switch cord
directly without using the tap.
Battery power
Parking brake warning light
Parking brake switch cord
Parking cord (light green)
8
Parking brake switch
Body earth
Parking brake switch cord
Parking brake switch cord
Foot brake type Hand brake type
A
B
 Loading...