masterpage:Left
specdef v20060111
filename[G:\FM\Sony\0607\DAV-X10_CEL\Source\3210565321DAVX10\gb08usi.fm]
model name [DAV-X10]
[3-210-565-32(1)]
38
GB
Using the HDMI CONTROL Function for ‘BRAVIA’ Theatre Sync
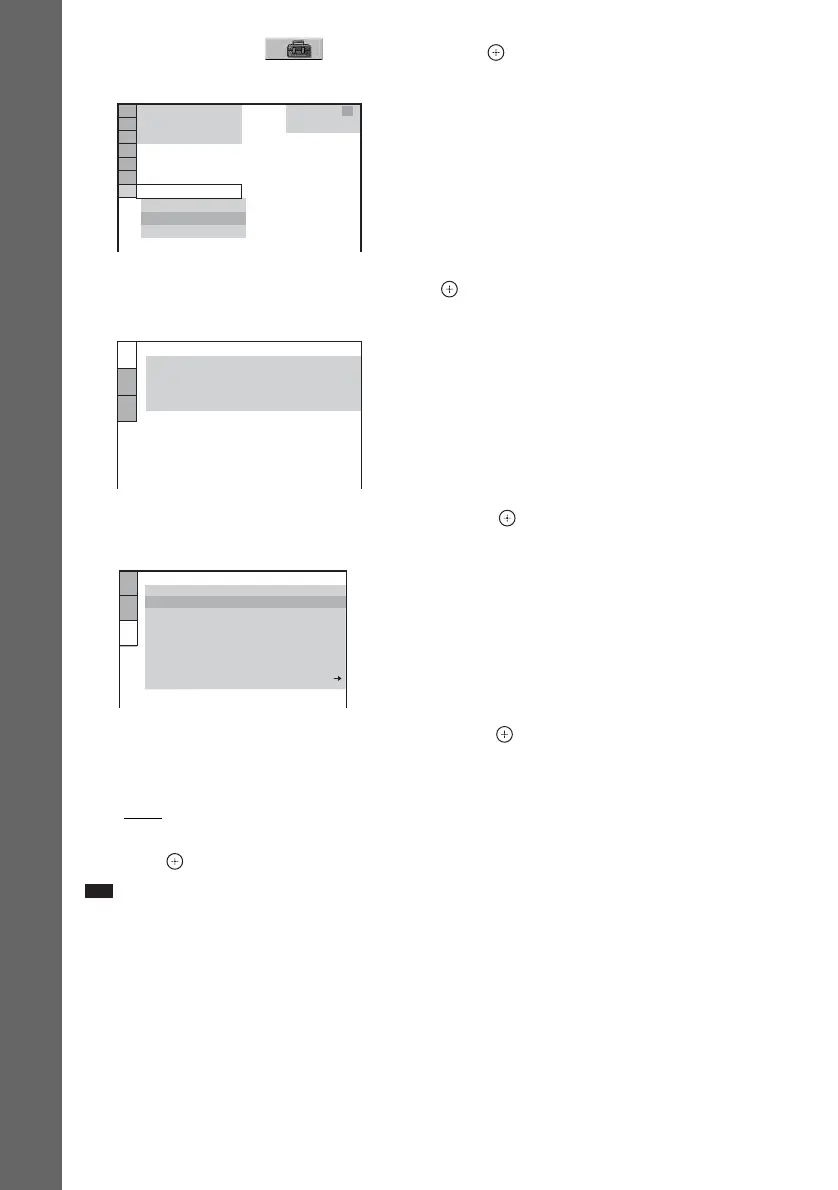
2 Press X/x to select [SETUP], then press .
The options for [SETUP] appear.
3 Press X/x to select [CUSTOM], then press .
The Setup Display appears.
4 Press X/x to select [CUSTOM SETUP], then press .
The Setup item is selected.
5 Press X/x to select [HDMI CONTROL], then press .
6 Press X/x to select [ON].
The default setting is underlined.
• [OFF]: sets the [HDMI CONTROL] function to off.
• [ON]: sets the [HDMI CONTROL] function to on.
7 Press .
Note
• If [Please verify the HDMI connection.] appears in Step 6, check that this system and the TV are connected
properly.
1 2
(
2 7
)
QUICK
QUICK
RESET
DVD VIDEO
BNR
1 8
(
3 4
)
CUSTOM
T
1 : 3 2 : 5 5
LANGUAGE SETUP
MENU:
AUDIO:
SUBTITLE:
ORIGINAL
AUDIO FOLLOW
OSD:
ENGLISH
ENGLISH
MULTI-DISC RESUME:
CUSTOM SETUP
AUTO
PAUSE MODE:
OFF
HDMI CONTROL:
OFF
TRACK SELECTION:
ON
AUDIO DRC:
OFF
AUDIO (HDMI):
OFF
DivX:
Registration Code
OFF
STB SYNCHRO:



 To Next Page