Do you have a question about the Sony DCR-TRV900 and is the answer not in the manual?
Guide on how to read and understand the camcorder manual's structure and conventions.
Important guidelines for maintaining and protecting the camcorder from damage and malfunction.
List and verification of all items included with the camcorder package.
Step-by-step instructions for inserting and charging the camcorder's battery.
Procedure for correctly loading a mini DV cassette into the camcorder.
Fundamental steps and settings for capturing video footage with the camcorder.
How to view recorded footage on the camcorder's screen or an external display.
Locating the end of recorded content on a tape using the End Search function.
Options for powering the camcorder using AC adapter, car battery, or other sources.
Customizing camcorder functions and features through the menu system.
Capturing still images or photos using the camcorder's dedicated functions.
Applying visual enhancements and artistic filters to recorded images.
Adding visual effects like STILL, FLASH, LUMI, TRAIL, and OLD MOVIE to recordings.
Fine-tuning camera settings like exposure, shutter speed, and white balance.
Selecting automatic exposure modes for different shooting scenarios.
Adjusting focus precisely using the manual focus ring for sharp images.
Setting up time-lapse recordings for capturing gradual changes over time.
Creating stop-motion animation effects by recording short segments sequentially.
Adding text titles onto video recordings for identification or annotation.
Creating and saving personalized text titles for video recordings.
Creating and storing custom labels for mini DV tapes in cassette memory.
How to link the camcorder to TVs or VCRs for playback viewing.
Wireless viewing of camcorder footage on a TV using the LASER LINK system.
Locating recorded content based on the date it was captured.
Finding recorded scenes or segments using titles stored on cassette memory.
Finding and reviewing still images recorded on tape or memory.
Viewing recorded metadata such as date, time, and camera settings.
Connecting to external VCRs to transfer and edit video content.
Performing frame-accurate editing between DV devices using i.LINK cable.
Capturing video and audio from external sources like VCRs or TVs onto the camcorder.
Replacing a portion of an existing recording with new footage from a VCR.
Recording new audio over existing sound tracks on a tape.
Overview of the memory card slot's capabilities and compatible media.
Saving moving footage as still images onto floppy disks or PC cards.
Transferring still images from mini DV tapes to floppy disks or PC cards.
Capturing still images directly onto PC cards using the camcorder.
Reviewing still images stored on floppy disks or PC cards.
Accessing and viewing images from disks/cards on a computer.
Safeguarding important images from accidental deletion.
Removing unwanted still images from disks or PC cards.
Transferring still images from memory cards back to mini DV tapes.
Automatic sequential playback of still images as a slideshow.
Information on compatible tape types and playback features.
Procedures and tips for charging the camcorder's battery.
Advice on maximizing battery life and performance.
Essential care, cleaning, and handling instructions for the camcorder.
Guidance on using the camcorder in different countries regarding power and TV systems.
Solutions for common operational problems and symptoms encountered with the camcorder.
Using the camcorder's built-in diagnostic system to identify errors.
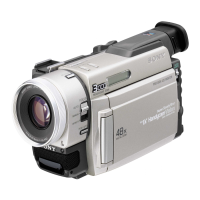
Technical details, dimensions, weight, and performance characteristics of the camcorder.
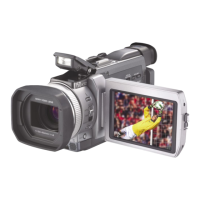
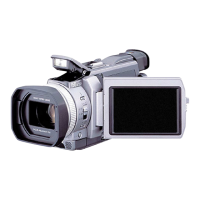
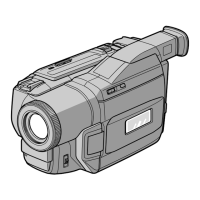
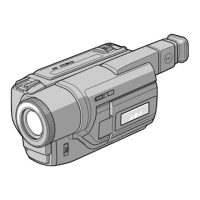
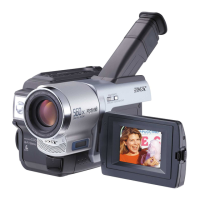
Visual guide to the camcorder's buttons, controls, and connectors.
Explanation of various symbols and indicators displayed on the camcorder screen.
Information shown in the camcorder's display screen, including status indicators.
Identification and meaning of warning messages and flashing indicators.
| Digital zoom | 48 x |
|---|---|
| Optical zoom | 12 x |
| Image stabilizer | Yes |
| Focal length range | 4.3 - 51.6 mm |
| Sensor type | CMOS |
| Total megapixels | 0.18 MP |
| Optical sensor size | 1/4 \ |
| Effective megapixels (movie) | 0.38 MP |
| Video formats supported | DV |
| Minimum illumination | 4 lx |
| Horizontal resolution | 500 lines |
| Depth | 103 mm |
|---|---|
| Width | 193 mm |
| Height | 93 mm |
| Weight | 880 g |