60
6 Click [Finish].
The wizard screen closes.
• To continue copying other images,
disconnect the USB cable (page 61) and
reconnect it. Then follow the procedure
explained in “Stage 3: Connecting the
camera and your computer” on page 58.
• For Windows XP, follow the procedure
explained in “Stage 4-A: Copying images to a
computer” on page 58.
This section describes an example of
copying images to the “My Documents”
folder.
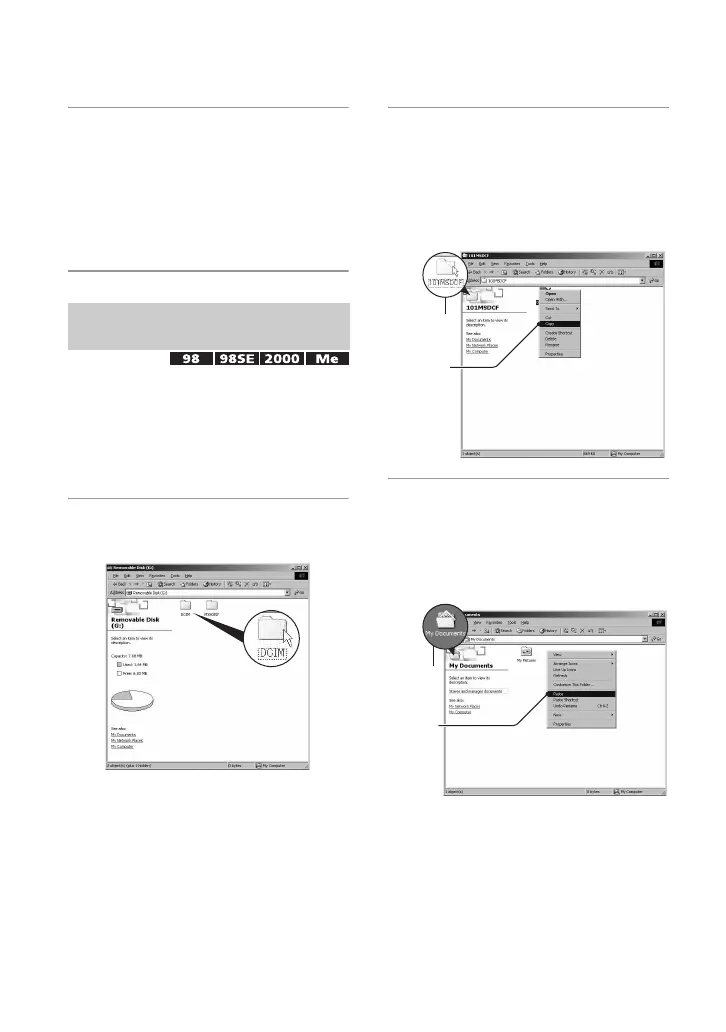
1 Double-click [My Computer] t
[Removable Disk]
t [DCIM].
If no new folders have been created,
only the
“101MSDCF” folder is
displayed.
• If the “Removable Disk” icon is not
displayed, see page 83.
2 Double-click the folder where the
image files you want to copy are
stored.
Then, right-click an image file to
display the menu and click
[Copy].
3 Double-click the [My Documents]
folder. Then, right-click on the
“My Documents” window to
display the menu and click
[Paste].
The image files are copied to the “My
Documents” folder.
Stage 4-B: Copying images to a
Computer
2
1
1
2