24
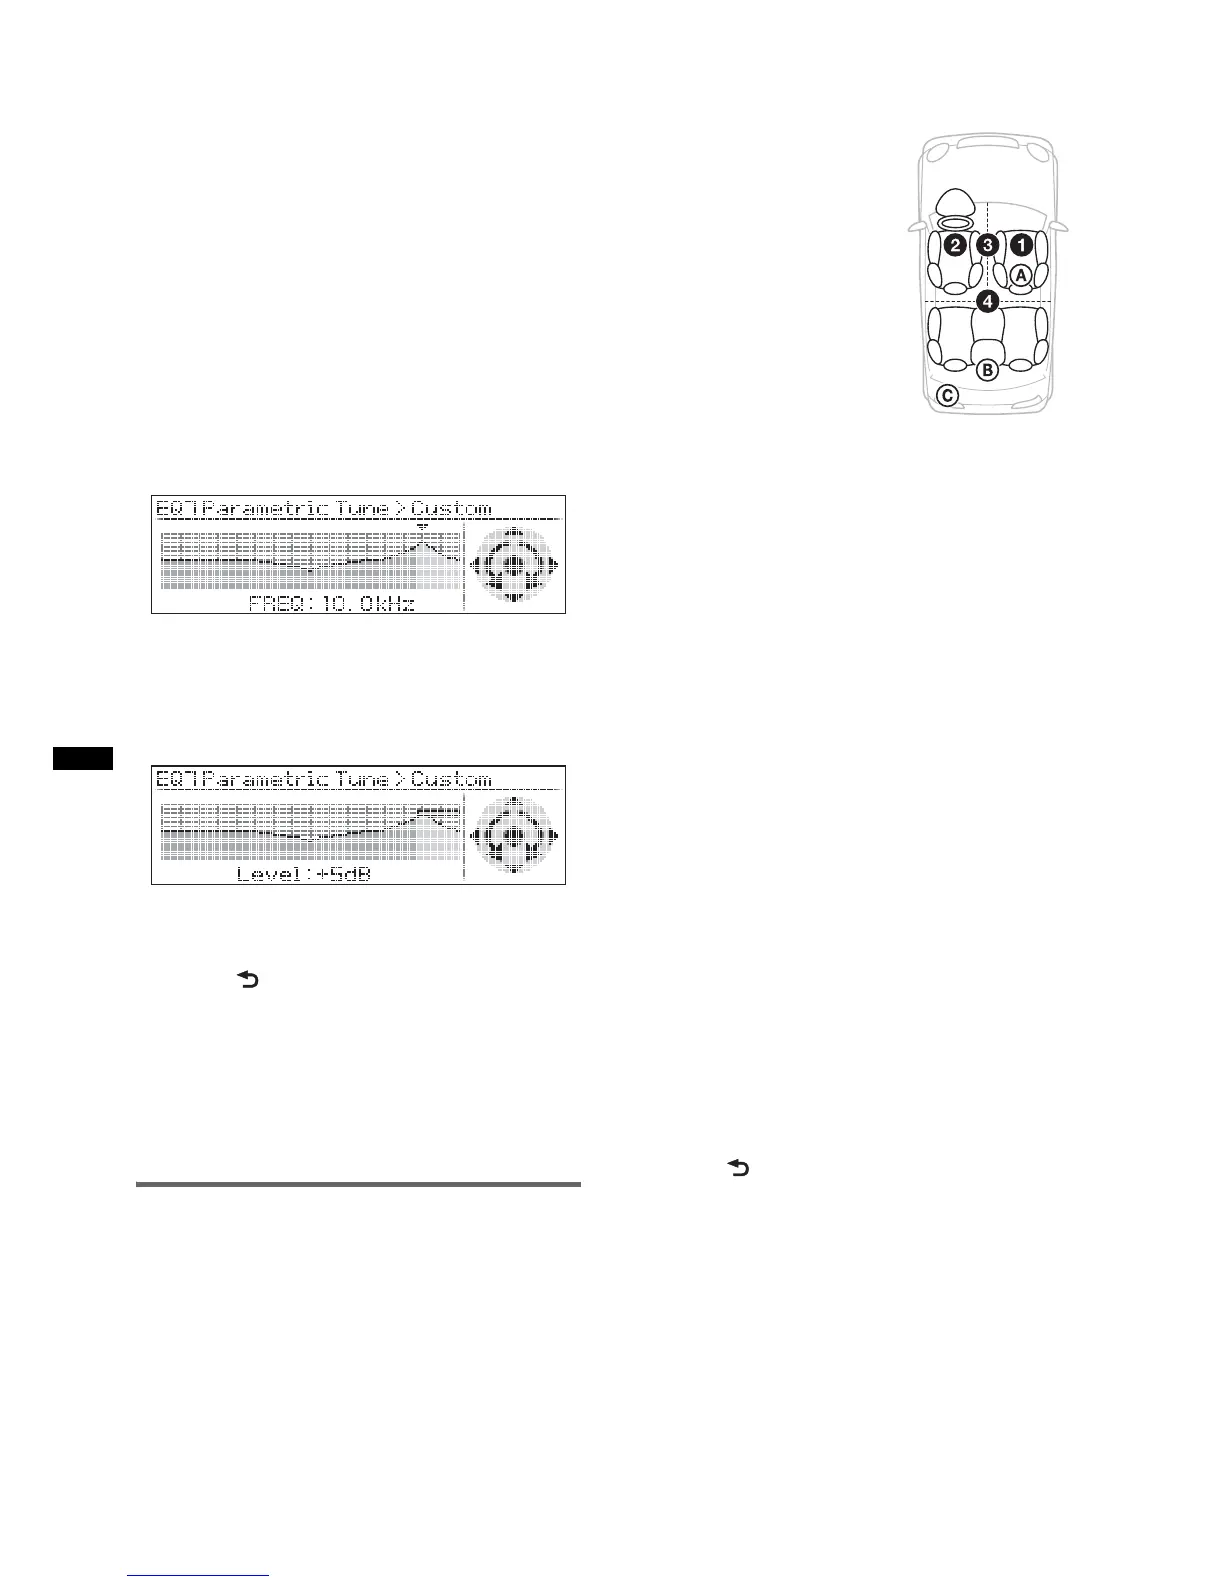
3 Setting the equalizer curve.
• Frequency range
Rotate the multi way encoder to select “Band1”
to “Band7.”
• Center frequency
Push the multi way encoder left/right to select
the center frequency.
Selectable center frequency in each band:
Band1: “40 Hz” or “63 Hz”
Band2: “100 Hz” or “160 Hz”
Band3: “250 Hz” or “400 Hz”
Band4: “630 Hz” or “1.0 kHz”
Band5: “1.6 kHz” or “2.5 kHz”
Band6: “4.0 kHz” or “6.3 kHz”
Band7: “10.0 kHz” or “16.0 kHz”
• Volume level
Push the multi way encoder up/down to adjust
the equalizer curve.
The volume level is adjustable in 1 dB steps,
from –6 dB to +6 dB.
4 Press the multi way encoder when you
finish all equalizer settings.
5 Press (BACK).
The display returns to normal reception/play
mode.
To restore the factory-set equalizer curve, select
“Initialize” and “Yes” in step 3.
Tip
Other equalizer curves are also adjustable.
Optimizing sound by Time
Alignment — Listening Position
The unit can change the localization of sound by
delaying the sound output from each speaker to
suit your position, and simulate a natural sound
field with the feeling of being in the center of it
wherever you sit in the car.
The options for “Listening Position Front/Rear”
are indicated below.
You can also set the approximate subwoofer
position from your listening position if:
– the subwoofer is connected
– the listening position is set to “Front R,” “Front
L,” “Front” or “All.”
The options for “Listening Position Subwoofer”
are indicated below.
“Near” (A): Near
“Normal” (B): Normal
“Far” (C): Far
1 During reception/playback, press the
multi way encoder.
2 Rotate the multi way encoder until
“Listening Position Front/Rear”
appears, then press it.
3 Push the multi way encoder up/down
to select from “Front R,” “Front L,”
“Front,” “All” or “Custom,” then press
it.
4 Rotate the multi way encoder until
“Listening Position Subwoofer”
appears, then press it.
If you select “Front R,” “Front L,” “Front” or
“All” in step 3 above, you can set the
subwoofer position. Push the multi way
encoder up/down to select from “Near,”
“Normal” or “Far,” then press it.
5 Press (BACK).
The display returns to normal reception/play
mode.
To cancel listening position, select “off” on step
3.
Note
If you select “Custom” in step 3 above, you cannot set
the subwoofer position.
“Front R” (1): Front right
“Front L” (2): Front left
“Front” (3): Center front
“All” (4): In the center of
your car
“Custom”: Precisely
calibrated position (page 25)
“off”: No position set






 To Next Page