56
US
2
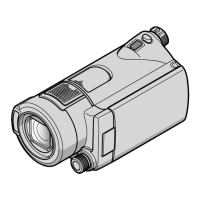
Connect your camcorder to the
recording device with the A/V
connecting cable.
Connect your camcorder to the input jacks
of the recording device.
3
Start playback on your
camcorder, and record it on the
recording device.
4
When dubbing is finished, stop
the recording device, and then
your camcorder.
Notes
You cannot copy images to recorders connected
with an HDMI cable.
Since copying is performed via analog data
transfer, the image quality may deteriorate.
High definition image quality (HD) movies
will be copied with standard definition image
quality (STD).
When you connect a monaural device, connect
the yellow plug of the A/V connecting cable
to the video input jack, and the white (left
channel) or the red (right channel) plug to the
audio input jack on the device.
Copying date and time information: [Data
Code] (p. 62)
Using 4:3 screen size display device: [TV Type]
(p. 63)
A/V
connecting
cable
Signal flow
Input
A/V Remote
Connector
Red White Yellow
 Loading...
