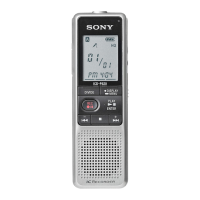
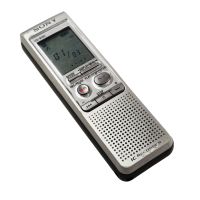
Changing the Display
The display changes as follows every time you press DISPLAY.
After 10 seconds without pressing any button, the unit returns to
clock display.
Notes
• Recordable time varies depending on if SP or LP is selected.
• " – – – –" is displayed instead of:
–– the clock display when you have not set the clock.
–– the recorded date of the note when you have not set the clock.
–– the recorded date when you have not recorded any note.
To see the display in a dark place
Press LIGHT and the display is lit.
To turn off the light, press LIGHT again.
If you do not operate the unit for 10 seconds while the light is on,
the light turns off automatically.
LIGHT
DISPLAY
Recordable time
v
1
43
44
44
4
23
4
5
1
Index mark erasing
Recorded date
Time counter
Index numbers decrease
43
1
v
1
2345
2
Index marking
44
44
4
Index numbers increase
INDEX
ERASE
pp
pp
pSTOP
µ
µ
µ
2
((
((
(
FILE
pp
pp
pSTOP
MENU/NEXT
HOLD
Various ways of playing
Playing a note repeatedly (Repeat play)
Press ( for more than a second until " " appears while the unit
is playing the desired note. The unit will play the note over and
over again.
To stop Repeat play
Press pSTOP.
To return to the normal play
Briefly press (.
Playing all notes in a file continuously
You can play back all notes in a file continuously without pressing
( for each note.
1 Press MENU/NEXT repeatedly until "cont" appears.
2 Press + or = to select "On".
3 Press pSTOP.
The display returns to the normal mode.
4 Press (.
To play back the notes one by one
Select "OFF" on step 2.
Playing the beginning of each note
(Scanning Play)
When you press ( for more than a second while the unit is in the
stop mode, the unit plays the first five seconds of all notes. This
makes it easy to find the desired note.
If you press ( when you find the desired note, you can listen to
the complete note.
After playing the last note, the unit returns to the first note and
stops.
To stop Scanning play
Press pSTOP.
INDEX
VOL
Playing a note using timer
You can set the unit to play a note automatically on a chosen day
and time with the alarm.
You cannot set the alarm if you have not set the clock on the unit.
Also, you cannot use the alarm if you have not recorded any note.
1 Select the file and the index number you want to play with an
alarm by pressing FILE and =/+.
2 Press MENU/NEXT repeatedly until "AL" appears.
3 Press + or = to select "On".
4 Press MENU/NEXT.
The day flashes.
5 Press + or = to select a day you want.
If you select:
•"mon" to "Sun", the note is played back only on that day
within a week.
•"ALL", the note is played back every day.
6 Press MENU/NEXT.
The time flashes.
7 Press + or = to select the desired time.
8 Press pSTOP to return to the normal mode.
∆ appears and the alarm is set.
When the set day and time come, the alarm rings for 10 seconds
and then the note is played.
To stop the note from playing
Press pSTOP while the alarm sounds, otherwise the note starts
playback.
Even if the HOLD switch is on, you can stop the note.
To play the note before alarm sound finishes
Press pSTOP and (.
To select an other index number
1 Press MENU/NEXT repeatedly until "AL" appears.
2 Press + or = to select "OFF".
3 Press pSTOP.
4 Repeat steps 1 to 8 of "Playing a note using the timer".
Notes
• The note plays back at the set volume, so make sure to set the volume at a
comfortable level.
• If the set alarm time comes during recording, the alarm sounds and the
note plays right after the recording finishes. ∆, however, flashes at the set
time.
• The alarm does not sound during menu mode. It will sound when you
return to the normal mode.
• If you erase the note to be played by timer, the alarm and timer play will be
cancelled.
Preventing accidental operation
Slide the HOLD switch in the direction of the arrow. “H” is
displayed, indicating that all the functions of the buttons are
locked, except p STOP to stop an alarm.
When the unit is in the MENU mode, the HOLD function is ignored
even if you have set the HOLD switch to work.
To release the key protection, slide the HOLD switch in the
opposite direction.
=/+=/+
=/+=/+
=/+
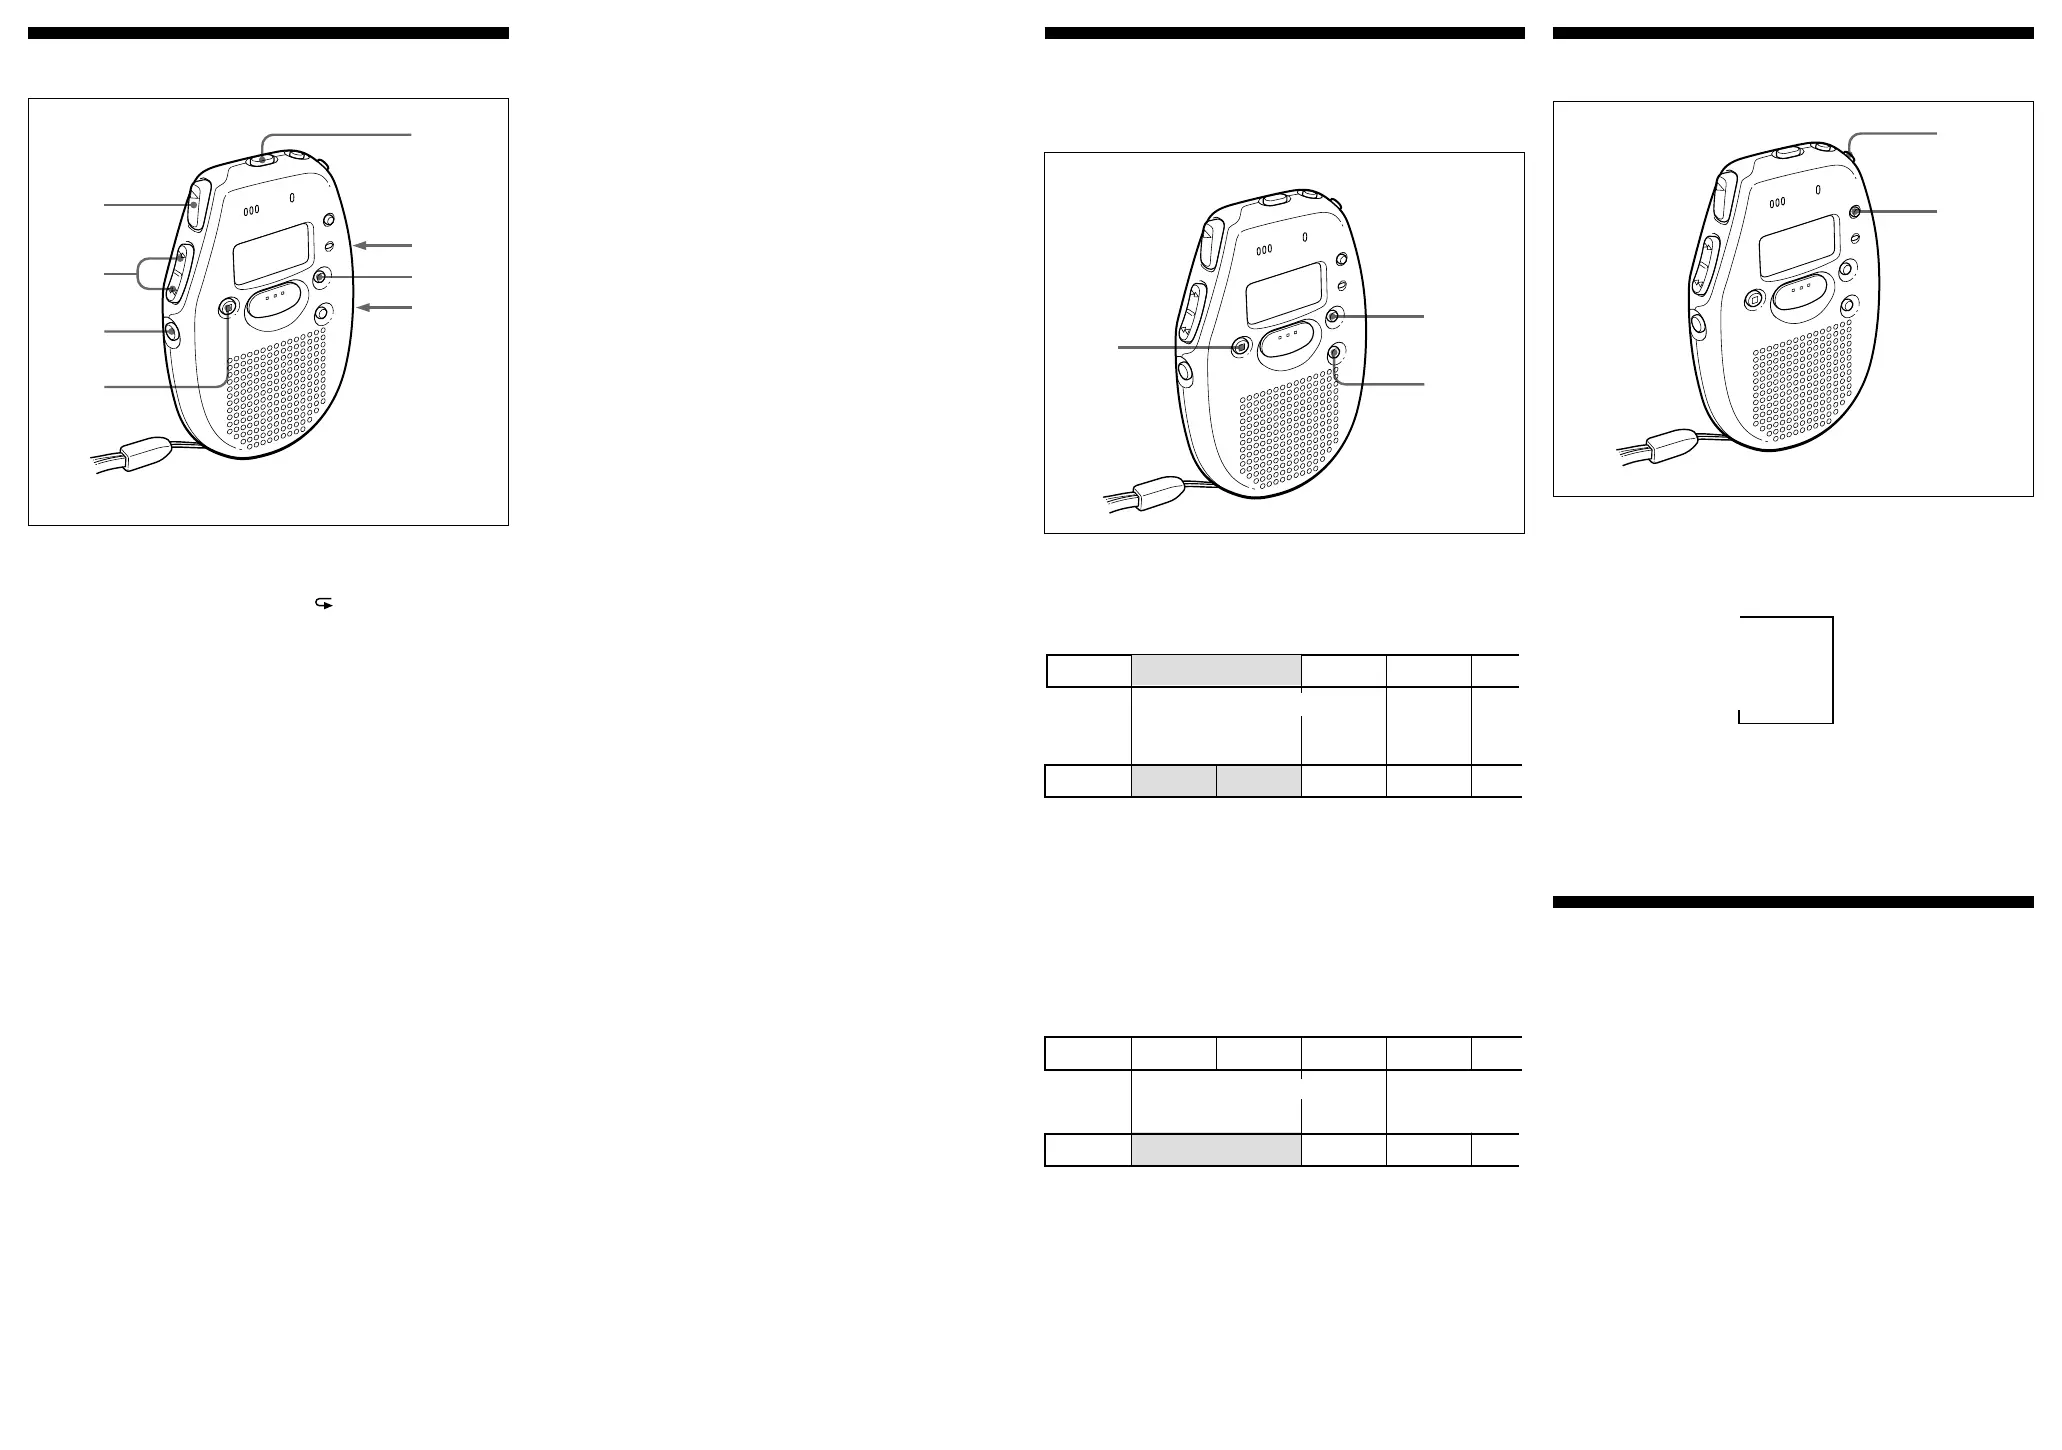
Adding/Erasing Index Marks
You can add or erase index marks after recording.
Dividing a note
You can divide a note by adding index marks.
The index numbers will increase as follows.
While the unit is playing a note, press INDEX at the point you want
to mark. The index number flashes.
An index mark is added and the following index numbers will
increase by one.
Combining notes
You can erase an index mark to combine the notes before and after
the index mark.
The index numbers will change as follows.
1 Find the index number you want to erase.
2 Press INDEX and ERASE at the same time for more than a
second.
The index number and "ErASE" flashes for 10 seconds.
3 While the display is flashing, press ERASE.
The notes are then combined and unit returns to the normal
mode.
To cancel Erasing
Press pSTOP before step 3.
 Loading...