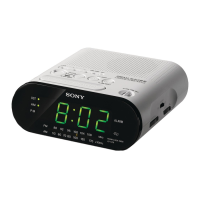
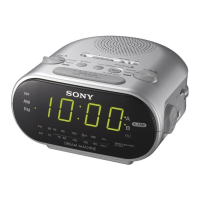
Playing
an
iPod
You
can enjoy iPod audio by connecting to this
unit.
To
use an iPod, refer to the user's guide
of
your iPod.
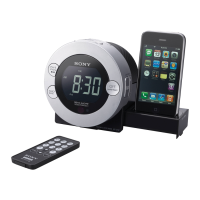
Ifyou are using an iPhone or iPhone 3G. attach
the supplied universal dock adapter for iPhone
or
iPhone 3G before inserting into the connector.
The adapter number, @
or
@,
is
shown
on
the
bottom-rear
of
the supplied universal dock
adapters. @
is
for the iPhone, and @
is
for the
iPhone
3G.
Check the adapter
number
before use.
'1
'1'1
FM2
DJ,D
Sf
FM:
Extend the FM wire antenna fully to increase
reception sensitivity.
AM:
Connect the supplied
AM
loop antenna to
the unit. Rotate the antenna horizontally for
optimum reception.
After a while, the display will return to the
current time.
To
preset another station, repeat these steps.
To
change the preset station, tune into the
desired station and hold down the STATION·
SELECT
-
PRESET
1 to 5 button. The new
station will replace the previous station
on
the
preset button.
Example:
To
preset
FM
89.8
MHz onto the
preset 1 button.
Improving
the
reception
Notes
On
radio reception
• Keep digital music players or mobile phones
away from the
AM
loop antenna
or
the FM
antenna. as this may lead to reception
interference.
• When you are listening to the radio with an
iPhone connected to the unit, interference with
radio reception may occur.
• When you are listening to the radio while
charging an iPod, interference with radio
reception may occur.
Tip
Ifthe FM broadcast
is
noisy. press MODE until
"MONO" appears
in
the display, the radio
will
play in monaural and the sound will become
clearer.
To
display
the
preset
number
and
frequency
of
the
current
station
Press
DISPLAY/MEMORY
once
for
the preset
number. and press
it
again for the frequency.
If
you
press
DISPLAY/MEMORY
once only, the
display shows the preset number for about
2 seconds. then changes to the frequency.
After a
few
moments, the display returns to the
current time.
-Auto
preset
tuning
1 Follow steps 1
to
2
in
"Manual
tuning"
and
select
the
AM
or
FM
band.
2 Press
and
hold
RADIO BAND
until
"AP"
flashes in
the
display.
3 Press DISPLAYIMEMORY.
The unit automatically presets the available
channels in order.
Tip
To
stop auto preset tuning, press OFF/ALARM
RESET.
Tuning
in
to
a
preset
station
1 Follow steps 1
to
2
in
"Manual
tuning"
and
select
the
AM
or
FM
band.
2 Press
one
of
the
STATION·
SELECT
- PRESET
buttons
where
the
desired
station
is
stored.
The preset station can also be selected by
PRESET +
or
- on the remote.
3 Adjust
the
volume
using
VOLUME +
or
-
(VOL
+
or
-
on
the
remote).
Presetting a
station
1 Follow steps 1
to
4 in
"Manual
tuning"
and
manually
tune
into
the
station
you
wish
to
preset.
2 Press
and
hold
the
desired
STATION·
SELECT - PRESET 1 to S
buttons
until
the
preset
number
display
changes
from
flashing
to
fully lit.
-Preset
tuning
You
can preset up to
10
stations
in
FM
(5
stations
in
FMl.
5 stations
in
FM2). and 5 stations in AM.
Playing
the
radio
-Manual
tuning
1 Press RADIO BAND
to
turn
on
the
radio.
2 Press RADIO BAND
repeatedly
to
select
the
desired
band.
Each press changes the band as follows:
r
FM!
--+
FM2
--+
AM J
FM
land
FM2 are the same frequency bands.
3 Press TUNING +
or
- (TUNE +
or
-
on
the
remote)
to
tune
into
the
desired
station.
4 Adjust
volume
using
VOLUME +
or-
(VOL +
or
-
on
the
remote).
To
turn offthe radio, press OFF.
Tuning in
to
a
station
The unit automatically scans
AM
or
FM
stations.
1 Follow steps 1
to
2 in
"Manual
tuning"
and
select
the
AM
or
FM
band.
2 Press
and
hold
TUNING +
or
- (TUNE +
or
-
on
the
remote).
+ :
scans upward through the frequency bands.
- : scans downwards through the frequency
bands.
Scanning starts from the currently-tuned
frequency. When a station
is
received,
scanning stops.
3
Adjust
the
volume
using
VOLUME +
or-
(VOL +
or
-
on
the
remote).
To
display
the
year
and
date
Press
SNOOZE/DATE/SLEEP
OFF
(SNOOZE
on
the remote) once for the date, and press
it
again
for the year.
After a
few
seconds. the display
will
change back
to the current time automatically.
Setting
the
brightness
of
the
display
Three levels
of
brightness are available by pressing
•
BRIGHTNESS.
Hit
(default) - Middle - Low J
Even ifyou set the level
of
brightness to
Low,
it
will
be
changed to Middle, while
ALARM
is
occurring.
•
To
activate Automatic
DST/Summer
Time
adjustment again, press and hold
CLOCK
and
SNOOZE/DATE/SLEEP
OFF
at
the same time
at least 2 seconds.
"."
and "On" appear in the display to show that
Automatic DST/Summer Time adjustment has
been activated. The display returns to the clock.
1 Plug in
the
unit.
2 Press
and
hold
CLOCK
until
the
year
flashes
in
the
display.
3 Press TIME SET +
or
-
repeatedly
to
set
the
year.
4 Press CLOCK.
S
Repeat
steps 3
and
4
to
set
the
month,
day,
hour
and
minute,
and
then
press
CLOCK,
The seconds start incrementing from zero.
Notes
• If you do not press any button for about
1 minute while setting the clock. the clock
setting will be canceled.
• A calendar
is
installed
in
this unit. When the
date
is
set, the day
of
the week
is
automatically
displayed.
MaN
= Monday, TUE = Tuesday,
WED
~
Wednesday. THU = Thursday,
FRI
=
Friday,
SAT
= Saturday,
SUN
~
Sunday
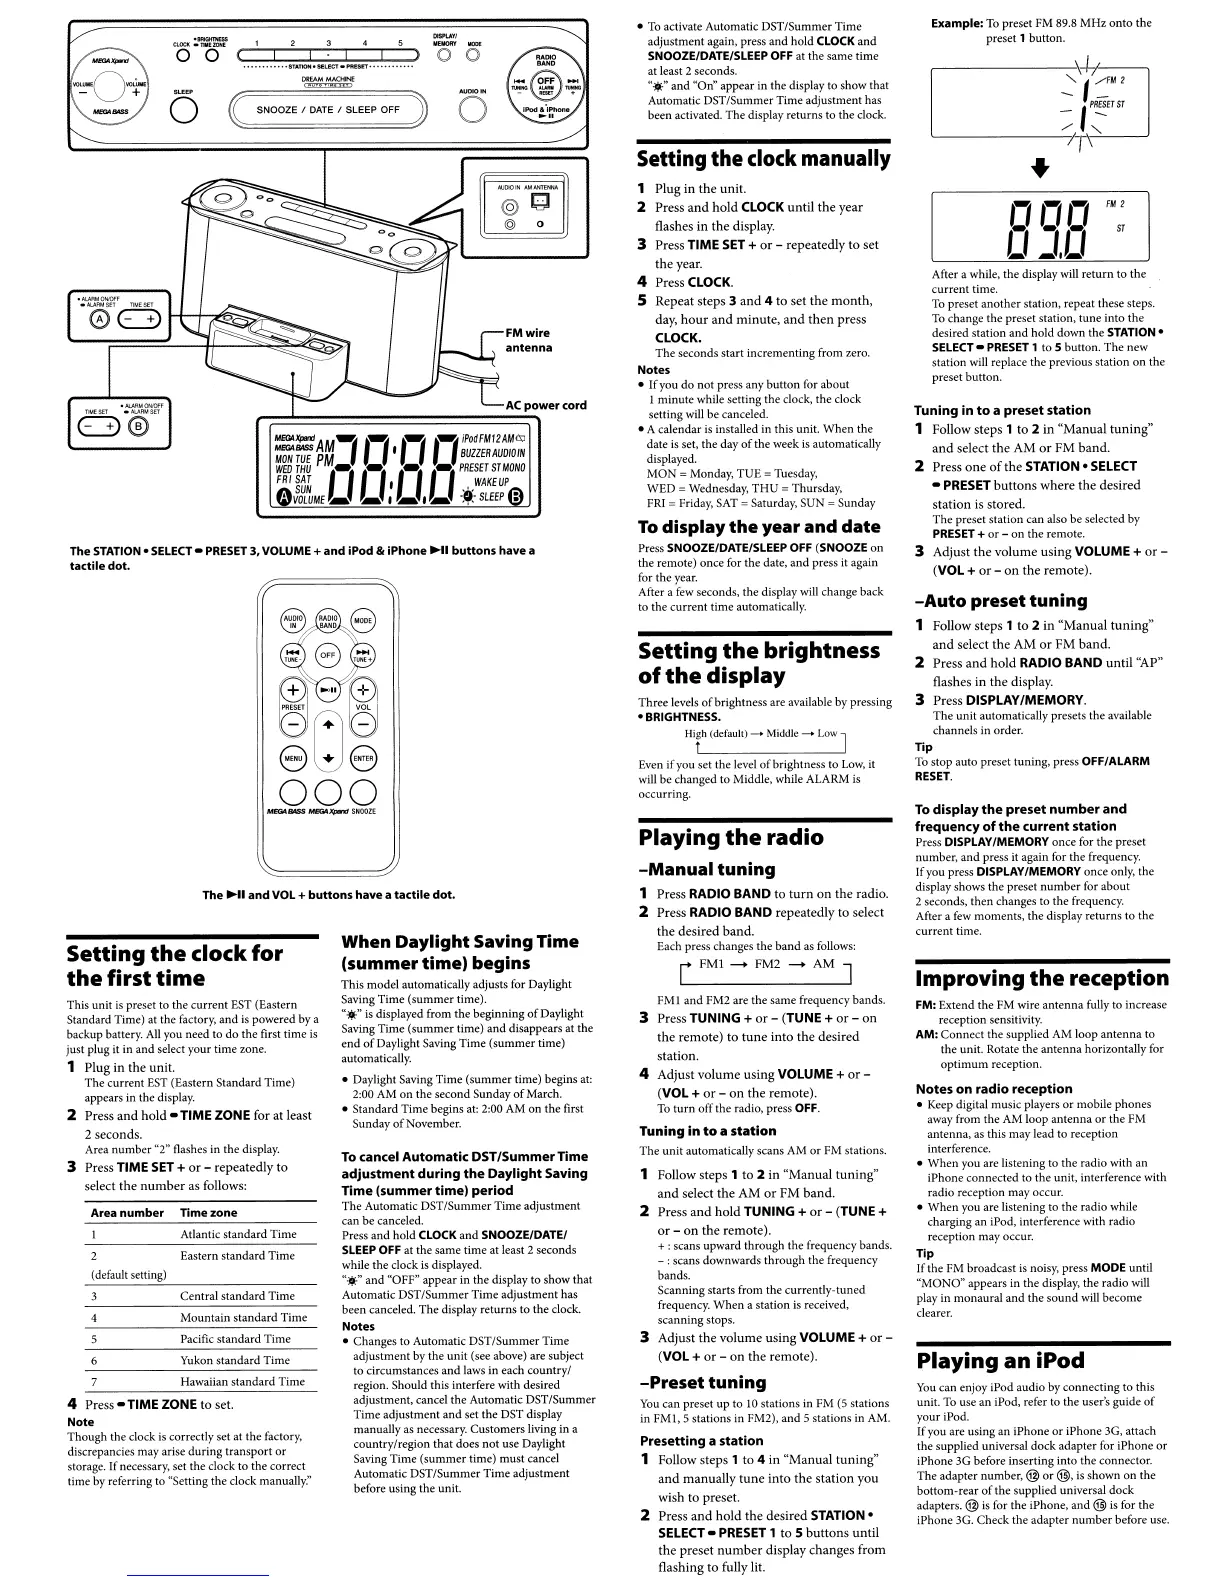
Setting theclock manually
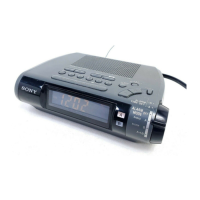
FMwire
antenna
@Q
@ 0
To
cancel Automatic
DST
ISummerTIme
adjustment
during
the
Daylight Saving
Time (summertime)
period
The Automatic
DST/Summer
Time adjustment
can be canceled.
Press and hold
CLOCK
and SNOOZE/DATE/
SLEEP
OFF at the same time at least 2 seconds
while the clock
is
displayed.
"."
and "OFF" appear in the display to show that
Automatic
DST/Summer
Time adjustment has
been canceled. The display returns to the clock.
Notes
• Changes to Automatic DSTISummer Time
adjustment by the unit (see above) are subject
to circumstances and laws in each countryl
region. Should this interfere with desired
adjustment, cancel the Automatic DST/Summer
Time adjustment and set
the
DST display
manually as necessary. Customers living in a
countrylregion that does not use Daylight
Saving Time (summer time) must cancel
Automatic
DST/Summer
Time adjustment
before using the unit.
When
Daylight
Saving
Time
(summer
time)
begins
This model automatically adjusts
for
Daylight
Saving Time (summer time).
.....
is
displayed from the beginning
of
Daylight
Saving Time (summer time) and disappears at the
end
of
Daylight Saving Time (summer time)
automatically.
• Daylight Saving Time (summer time) begins at:
2:00
AM
on
the second Sunday
of
March.
• Standard Time begins at: 2:00 AM
on
the first
Sunday
of
November.
==AM-'
,-,.,-,
,_,iPOdFMI2AM<s;J
MON
ruE
BUZZER
AUo/OIN
WEOTHU
PM_
_ _ _
PRESETSTMONO
FRISAT
, "
,.,
'"
WAKEUP
•
$g~ME~
~.
~I~
'*'SlEEP :
AC
power
cord
~====================~
( SNOOZE I
DATE
I SLEEP
OFF)
Area
number
Time
zone
Pacific standard Time
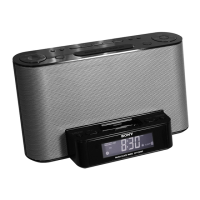
The STATION.
SELECT
-
PRESET
3,
VOLUME
+
and
iPod &
iPhone
HI
buttons
have
a
tactile
dot.
Mountain standard Time
(default setting)
Central standard Time
Setting
the
clock
for
the
first
time
Eastern standard Time
Atlantic standard Time
Yukon standard Time
4 Press
-TIME
ZONE
to
set.
Note
Though the clock
is
correctly set at the factory,
discrepancies may arise during transport
or
storage. If necessary. set the clock to the correct
time by referring to "Setting the clock
manuaUY:'
The
~II
and
VOL
+
buttons
have
a
tactile
dot.
Hawaiian standard Time
This unit
is
preset to the current
EST
(Eastern
Standard Time) at the factory. and
is
powered by a
backup battery.
All
you need to do the first time
is
just plug it in and select your time zone.
1 Plug in
the
unit.
The current
EST
(Eastern Standard Time)
appears
in
the display.
2 Press
and
hold
- TIME ZONE for
at
least
2 seconds.
Area number "2" flashes in the display.
3 Press TIME SET +
or
-
repeatedly
to
select
the
number
as follows:
 Loading...