Adjustment Using the Menus
28
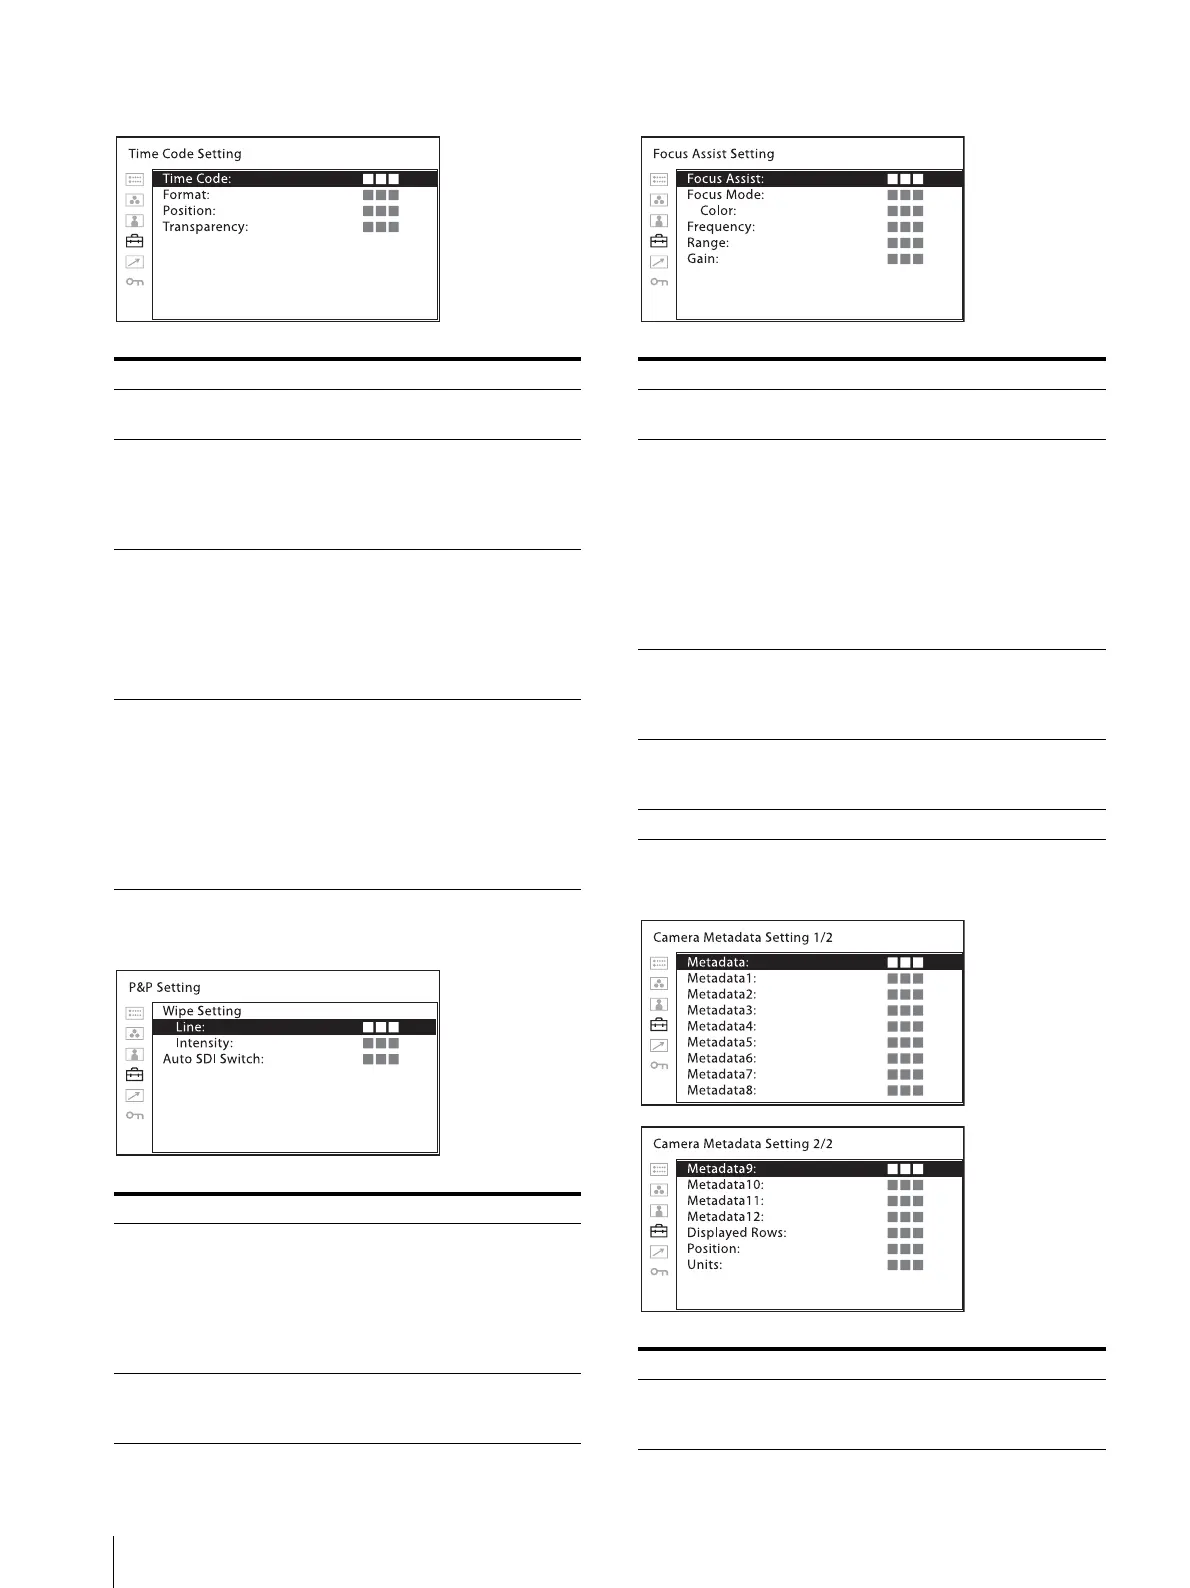
[Time Code Setting]
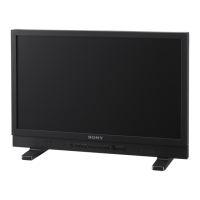
[P&P Setting]
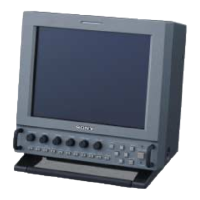
[Focus Assist Setting]
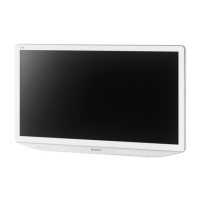
[Camera Metadata Setting]
Submenu Setting
[Time Code] Selects [On] to display the time code
and [Off] not to display.
[Format] Sets the time code format.
[VITC]: To display the time code in
VITC format.
[LTC]: To display the time code in
LTC format.
[Position] Sets the position of the time code
display. You can select between [Top]
and [Bottom].
However, depending on the [Position]
settings of the [In-Monitor Display
Setting], your selected position of the
time code may not be reflected.
[Transparency] Selects [Black] or [Half] (transparent)
for the background of time code display.
[Black]: The background becomes
black. Displayed image is hidden
behind the background.
[Half]: The background becomes
transparent. Displayed image
appears under the time code
display.
Submenu Setting
[Wipe Setting] Sets the wipe screen setting.
[Line]: Select [On] to always display
the boundary line and [Off] to
not display.
[Intensity]: Sets the brightness of the
boundary line. Select [Low] or
[High].
[Auto SDI Switch] Sets the automatic switching duration
from the SDI signal. Select from among
[Short], [Medium], [Long].
Submenu Setting
[Focus Assist] Selects [On] to use the camera focus
and [Off] not to use.
[Focus Mode] Switches the camera focus mode.
[Color]: Displays the intensified areas
of images with color selected in
the color setting below.
[Color]: Selects the displayed
intensified color from among
[Red], [Green], [Blue],
[Yellow], [White].
[Standard]: An image with
sharpened edges is displayed.
[Frequency] Sets the center frequency of the edge
sharpening signal. You can select from
among [Low], [Middle], [Middle High],
[High].
[Range] Sets the target of edge sharpening. You
can select from among [Narrow],
[Middle], [Wide].
[Gain] Sets the level of edge sharpening.
Submenu Setting
[Metadata] Sets the display of the camera metadata.
Select [On] to display the camera
metadata and [Off] to not display.


 To Next Page