Do you have a question about the Sony PCM-R700 and is the answer not in the manual?
Instructions to prevent electrical shock and fire hazards by avoiding moisture and unauthorized cabinet access.
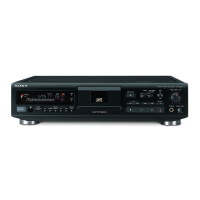
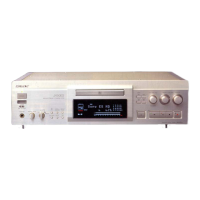
Lists common and specific features of the PCM-R500 and PCM-R700 models, including advanced functions.
Guides on connecting analog audio sources and outputs using XLR or phono connectors.
Instructions for connecting digital audio sources via AES/EBU or coaxial interfaces.
Explains digital signal formats, connector types, and copy information during recording.
Procedure for setting the deck's built-in clock for accurate time recording.
Details on basic playback functions like stop, pause, track skipping, and rewinding.
Guide to selecting appropriate input connectors (analog/digital) for recording.
Guidance on setting optimal recording levels using peak meters.
Details on selecting between standard and long-play recording modes for different input signals.
Procedure to find the end of recorded material for accurate recording.
Methods for locating tracks using AMS or Direct Access after recording start IDs.
Techniques for finding precise points on tape using variable speed or marking.
Explanation of sub codes like start IDs, skip IDs, and program numbers on DAT tapes.
Descriptions of essential menu settings like SET ID6, REC MUTE, and input sensitivity.
Important safety and operational precautions to ensure proper and safe use of the unit.
Solutions for common problems like cassette holder issues, button malfunctions, and no sound.
Guidance on resolving issues with sub codes, start IDs, search functions, tape transport, and clock.
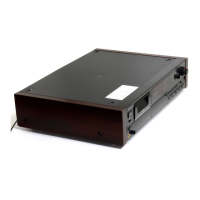
Detailed technical specifications for the Digital Audio Tape Deck, including recording section and connectors.
| Track System | 2-channel stereo |
|---|---|
| Tape Speed | 8.15 mm/s |
| Sampling Frequency | 48 kHz, 44.1 kHz, 32 kHz |
| Type | DAT (Digital Audio Tape) Recorder |
| Recording Time | Up to 120 minutes (with 120-minute tape) |
| Frequency Response | 2 Hz to 22 kHz (48 kHz sampling) |
| Signal to Noise Ratio | Greater than 90 dB |
| Dynamic Range | Greater than 90 dB |
| Digital Inputs | Optical, Coaxial |
| Digital Outputs | Optical, Coaxial |
| Analog Inputs | 2 x RCA (L/R) |
| Analog Outputs | 2 x RCA (L/R) |
| Headphone Output | 1 x 6.3mm jack |