B
berryjordanAug 9, 2025
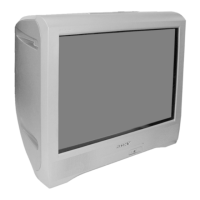
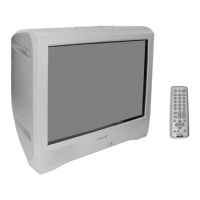
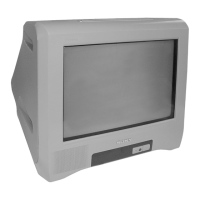
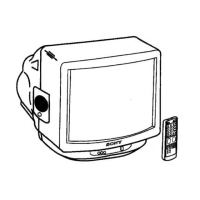
What to do if my Sony TRINITRON KV-BT212M81 TV has no picture and no sound?
- EEmily MonroeAug 9, 2025
If your Sony TV shows no picture and produces no sound, first check the power cord, antenna, and VCR connections to ensure they are properly connected. Also, make sure the TV is turned on by pressing the power button. If the TV does not respond, try turning off the TV for about five seconds using the main power button on the TV, then turn it on again.