Do you have a question about the Sony XAV-AX3200 and is the answer not in the manual?
Warning about coin/button cell battery ingestion hazards.
Information regarding lithium battery safety and handling.
Caution about battery drain if the car lacks an ACC position.
Sony's disclaimer for third-party services.
General disclaimer about Sony's liability for damages.
Warning about relying solely on Bluetooth for essential communications.
Information on BLUETOOTH device interference and security.
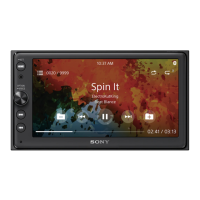
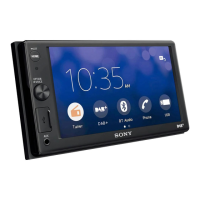
Displays status and controls during playback.
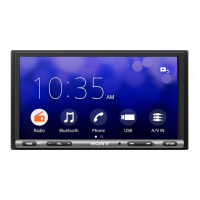
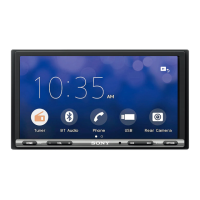
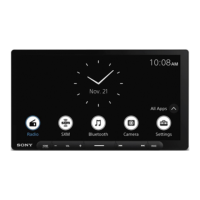
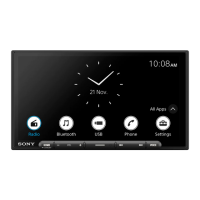
Shows the main menu and system status.
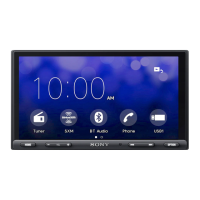
Presents various settings and options.
How to set the FM/AM tuning step for your country.
Steps for mutual registration of Bluetooth devices.
Instructions to turn off the demonstration mode.
General safety precautions and warnings for operation.
Procedure for replacing the remote commander's battery.
Technical details of the display monitor.
Technical specifications for FM and AM radio.
Specifications for the USB player interface.
Specifications for the A/V input terminal.
Technical details of BLUETOOTH wireless communication.
Important cautions regarding installation and wiring.
Lists the components included for installation.
Guidance on amperage rating when connecting multiple components.
Information on potential unit restarts with start-stop systems.
Alerts about potential function issues with electric parking brakes.
Recommendation for the optimal mounting angle.
Output for subwoofer audio signal.
Output for rear speaker audio signals.
Output for front speaker audio signals.
Input for rear view camera signal.
Input for microphone.
Input for steering wheel remote control.
Connection for smartphone or USB device.
Input for A/V device.
Connect the black ground lead to a common ground point.
Connect to the always-on +12 V power terminal.
Connect to the accessory position +12 V power terminal.
Connect to power antenna control or booster.
Connect to optional power amplifier remote input.
Connect to the car's illumination signal.
Connect to the parking brake switch lead.
Warnings about microphone cord placement and airbags.
Tips for mounting the microphone and base.
Information on connecting the RC-SR1 cable.
Instructions for using an adaptor for remote control.
Requirement and connection of an A/V cable.
Warning about using the correct A/V cable.
Guidance on installing the unit in specific Japanese cars.
Important note on using mounting screws.
Instructions for replacing a blown fuse.
| Display Size | 6.95 inches |
|---|---|
| Apple CarPlay | Yes |
| Android Auto | Yes |
| Bluetooth | Yes |
| Preamp Outputs | 3 (Front, Rear, Sub) |
| Rear View Camera Input | Yes |
| SiriusXM Ready | Yes |
| USB Input | Yes |
| Display | 6.95-inch |
| USB Port | Rear |
| Power Output | 20 watts RMS/55 peak x 4 channels |